I’ve made a pencil case on the lathe before, but I’ve only done one. I’m a firm believer that beginner’s luck is a thing and you don’t really know how to make or do something until you’ve done it several times. Enough times to run into problems and work around them.
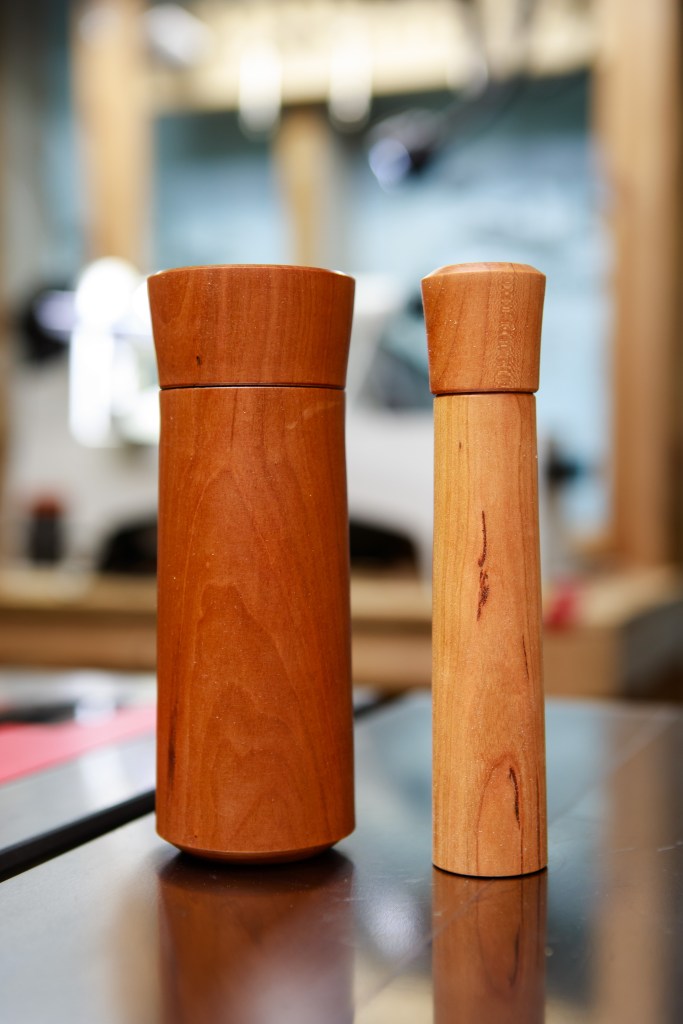
So last week I decided to make a pair. One larger and one smaller than before. I also wanted to do them without hitting youtube for any video refreshers.
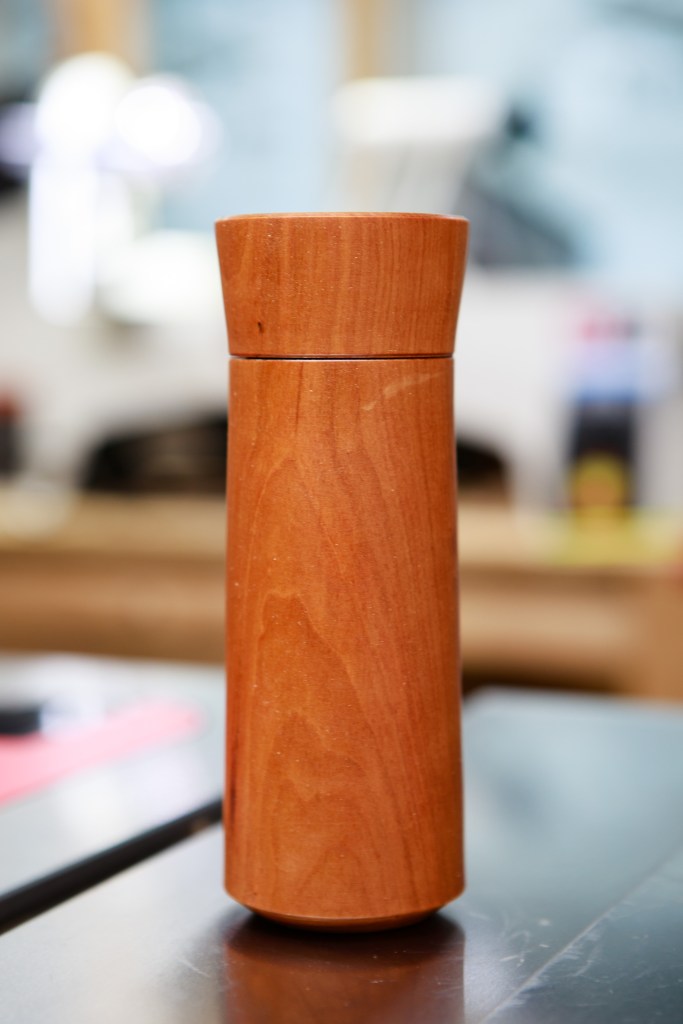
The large one came out well. The lid is a good friction fit and holds well upside down. I did not hit any real problems and overall the process was smooth.
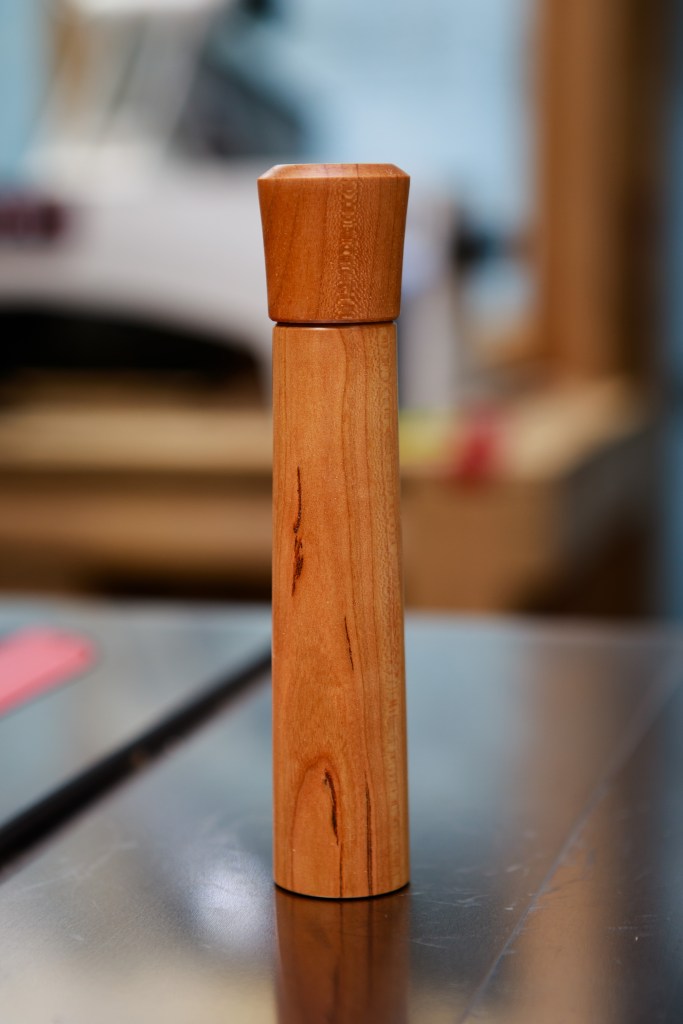
Next up with the narrow version.
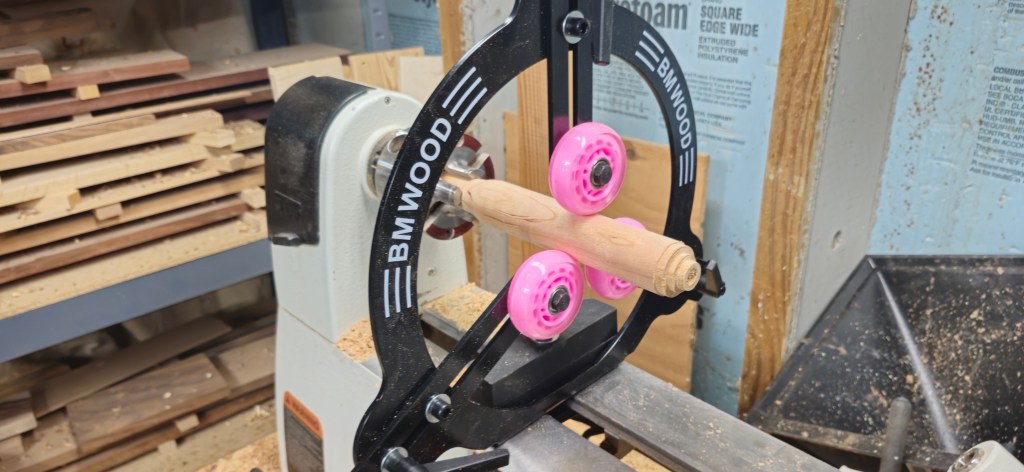
This was going to offer a couple challenges. First was just work holding in general. I have a pair of pin jaws I was going to have to use, something I haven’t done often. The second was just dealing with the instability of such a narrow piece. To help with this, I got to use my new BM Wood Steady Rest. I’ve never used one before and, wow, I’m impressed.
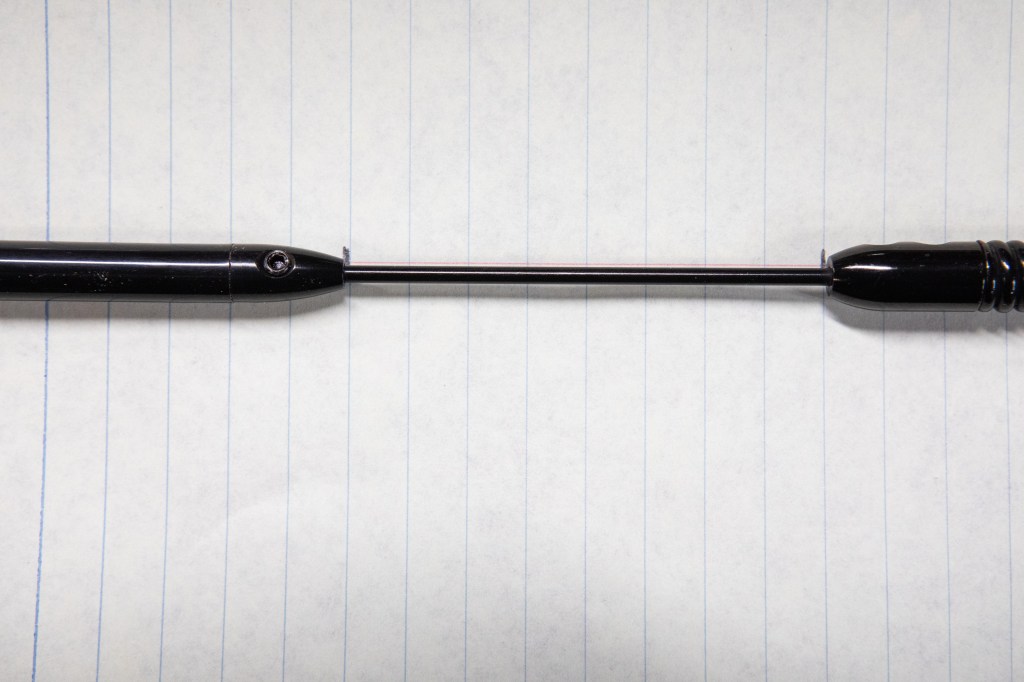
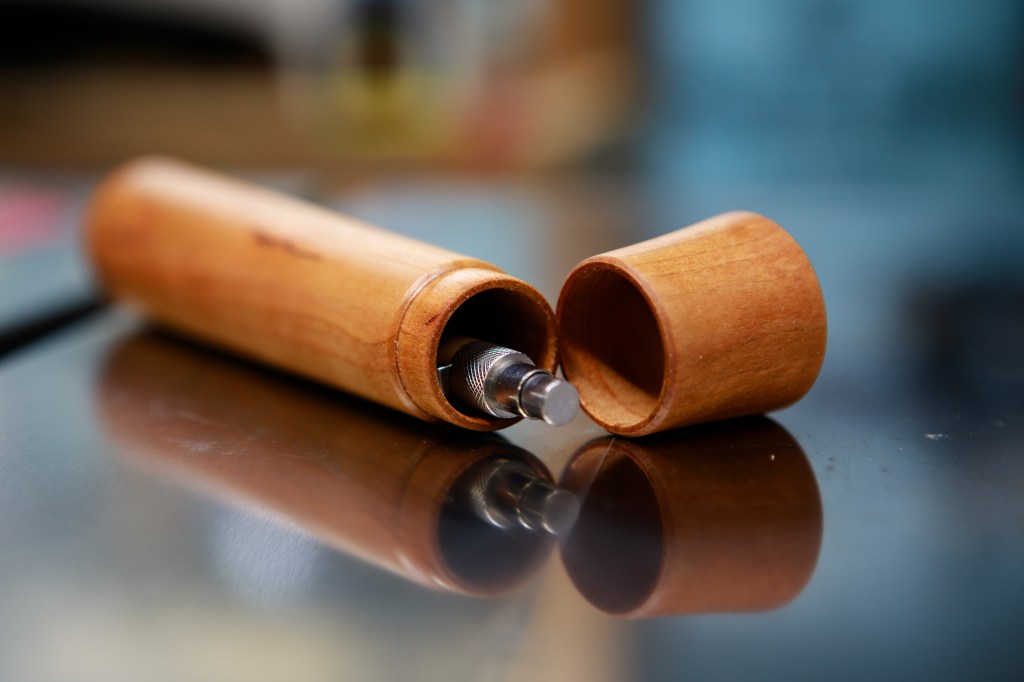
Thing went well, but I did run into two issues. First, as I was finishing up the bottom of the case, making one last cut to remove a center nub, I just cut through the bottom. By a mere fraction of a millimeter, I had turned through it and left a small hole. Darn it! I eventually used a 1/16″ drill bit and cut it out cleanly so it at least looks intentional 🙂
Next, I wasn’t happy with the lid/cap. It was too loose for my liking and the walls were just too thin. So I tossed it out and turned a new one the next day.
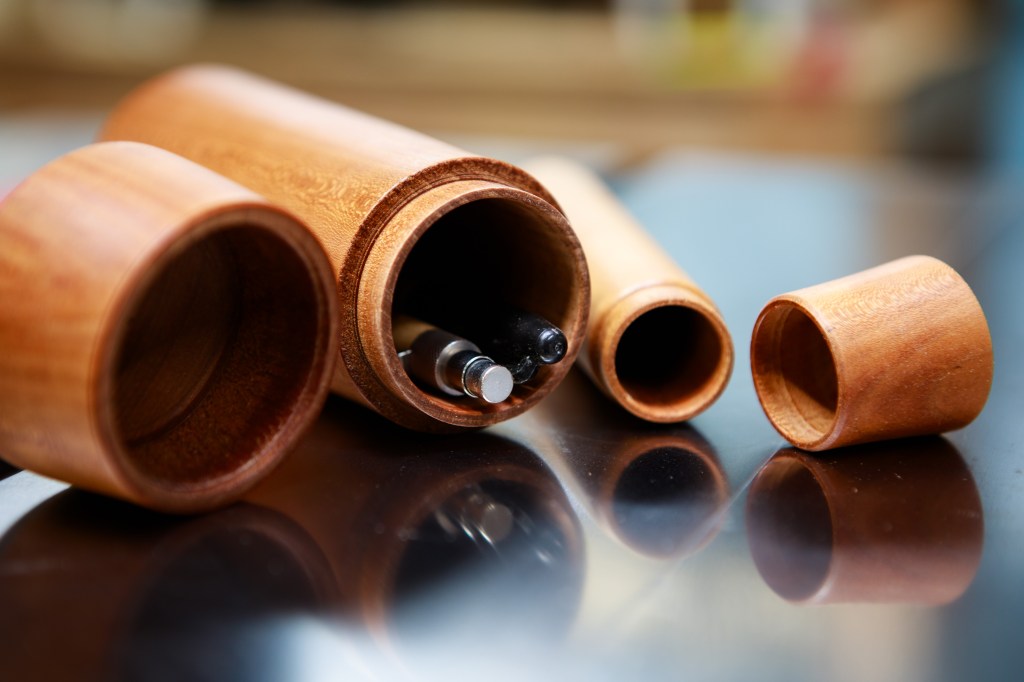
In the end I have two new cases (for which I honestly have no use) under my belt. I encountered and overcame a few problems along the way, and feel much more confident in my ability to make them.
These were cherry wood, finished with two coats of tung oil.