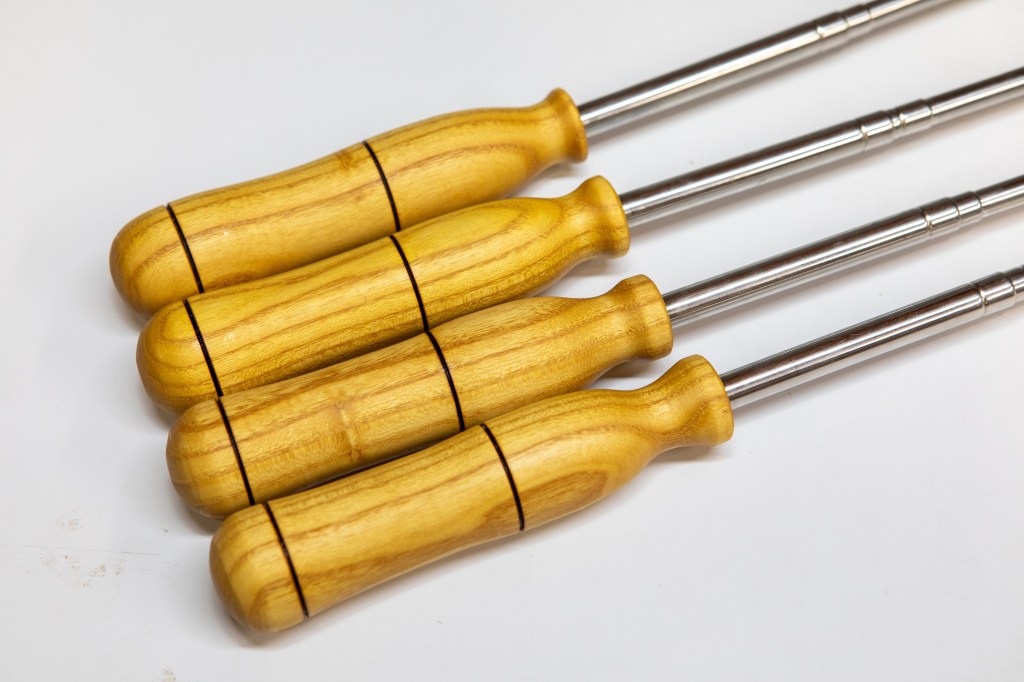
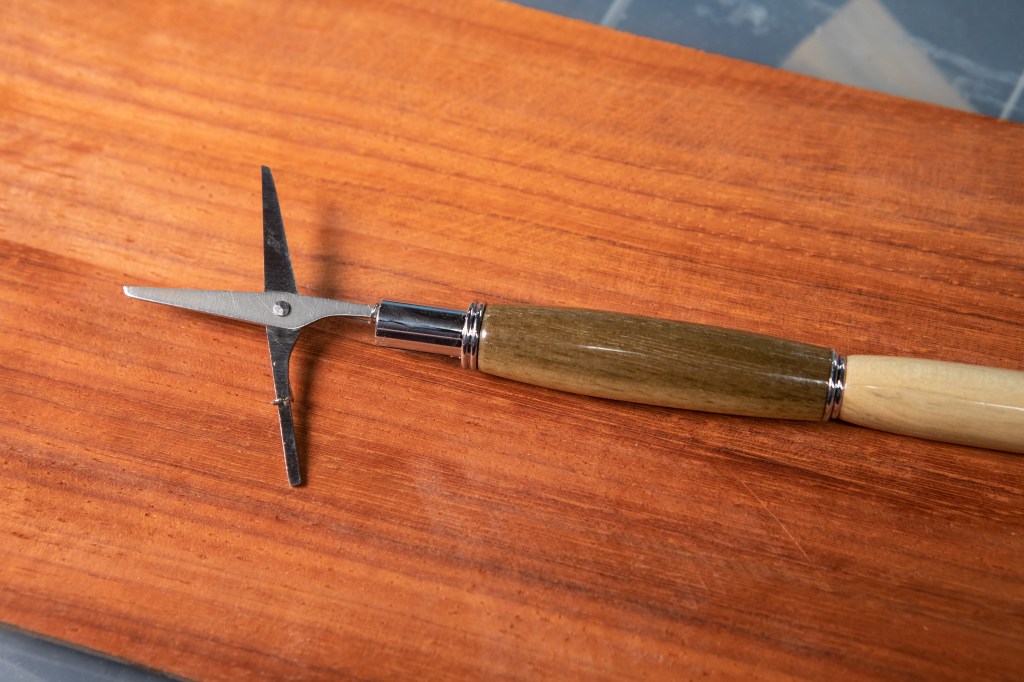
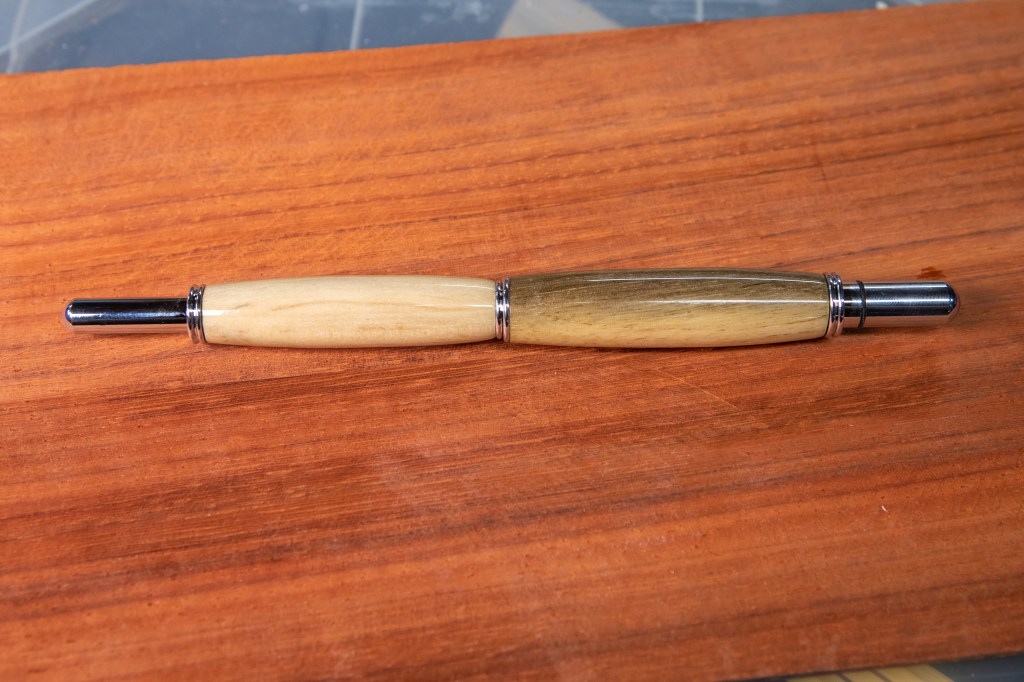
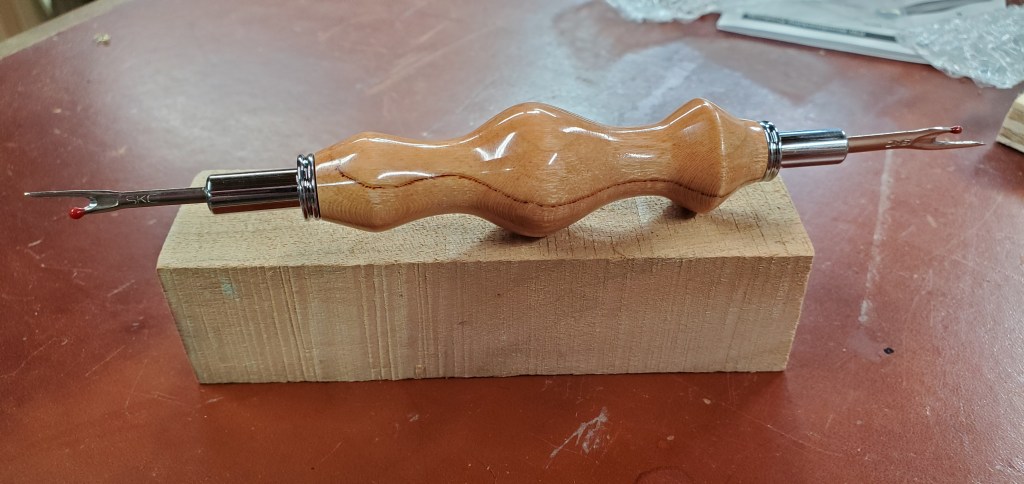
A few months ago, we visited a Woodcraft where they had a Campfire Roasting Fork Turning Kit on sale, so I picked it up. I knew winter was coming and there would be some to get them made.
That time came last week. I hunted through my wood stash and found a couple perfect pieces of Mulberry and got started turning a set of handles.
The set of four came out nicely, they actually look like a matching set. Good thing I threw away the first one, the one I tried without sketching a profile – wow it was ugly.
Anyway, fun project and I’m certain they will get put to use this year when camping.
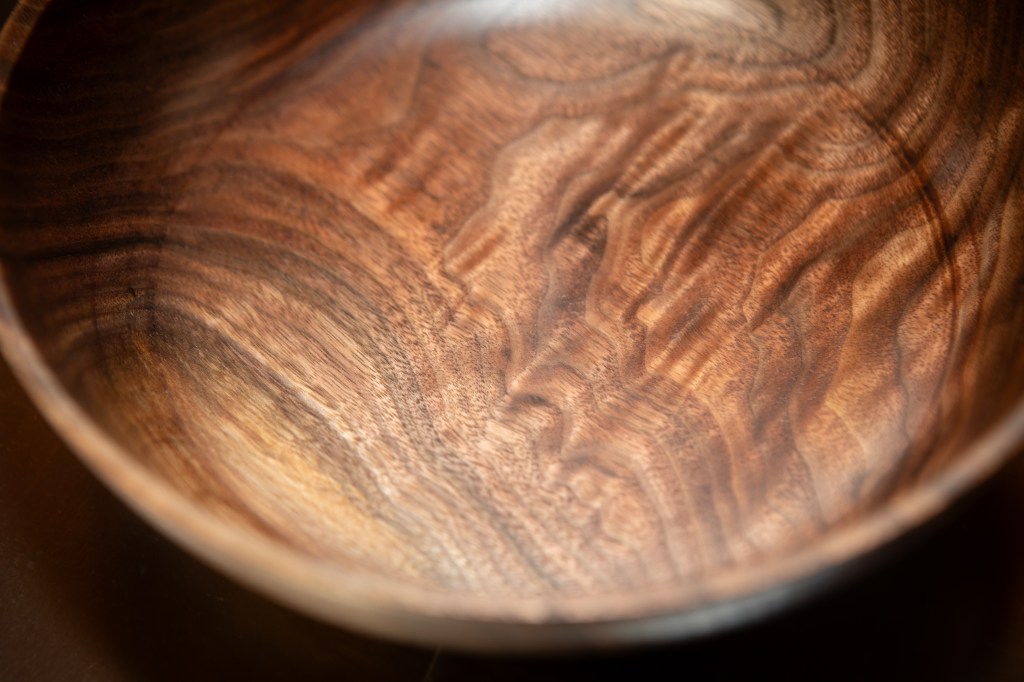
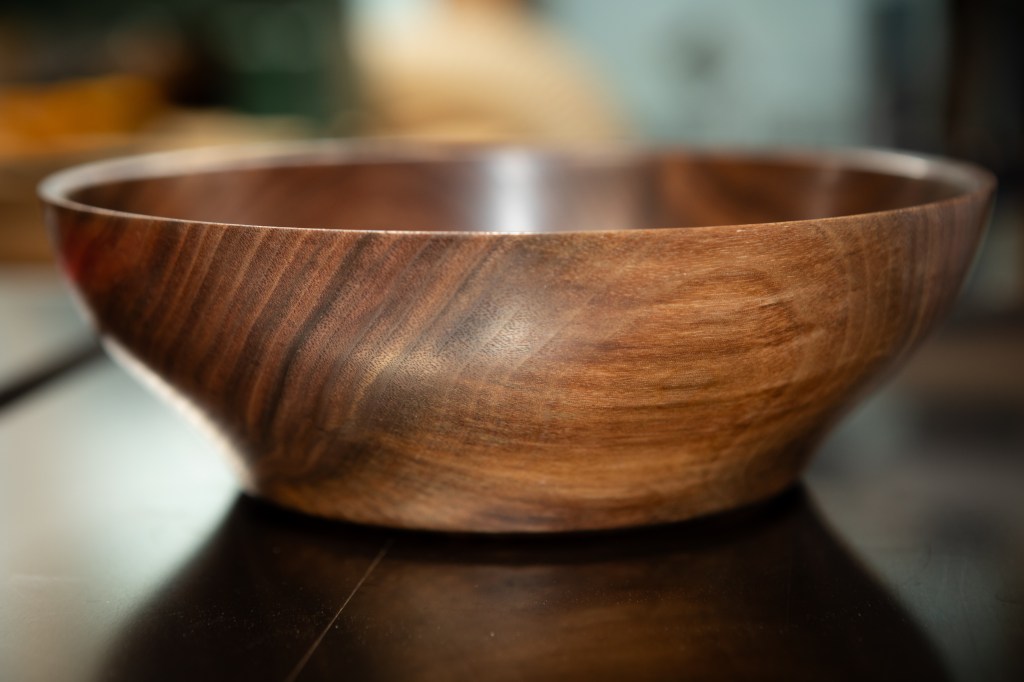
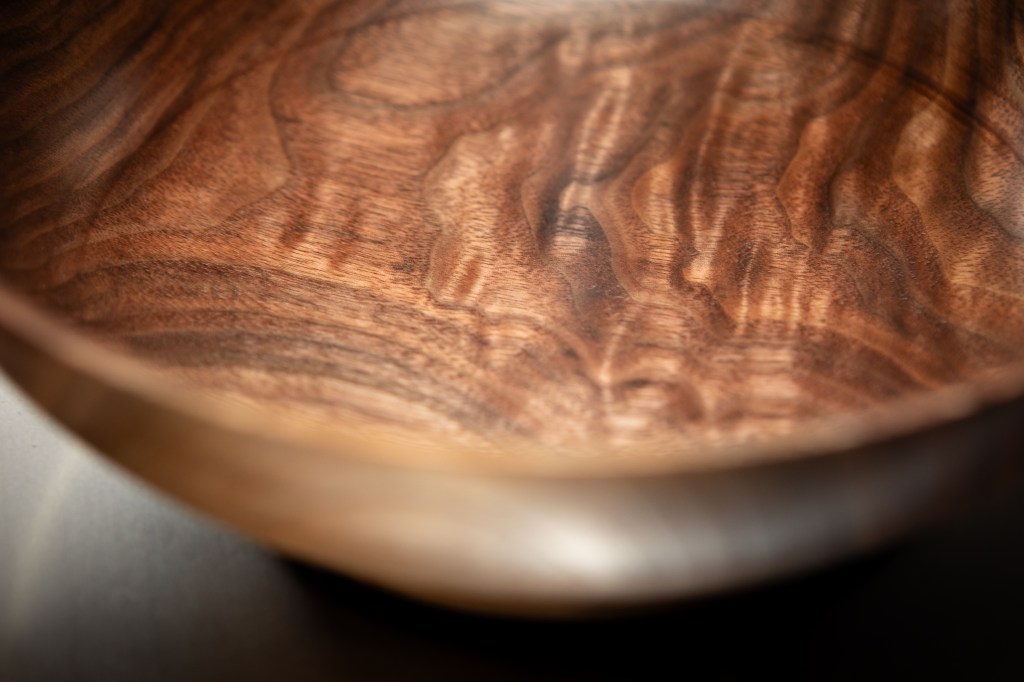
Following up on Logs to Bowls, here is a pair of bowls made from some figured walnut I received in log form earlier this year.
This one has the best looking figure, but I did end up accidentally leaving some tool marks, much to my disappointment. The walls were already too thin for me to make one more pass to try and clean them up, so I’ve just resigned myself to being OK with it. That said, this is my favorite of the two.
The other has a nice knot in the middle, which adds to its overall apperance. As simple as it is, I like the shape of this one better.
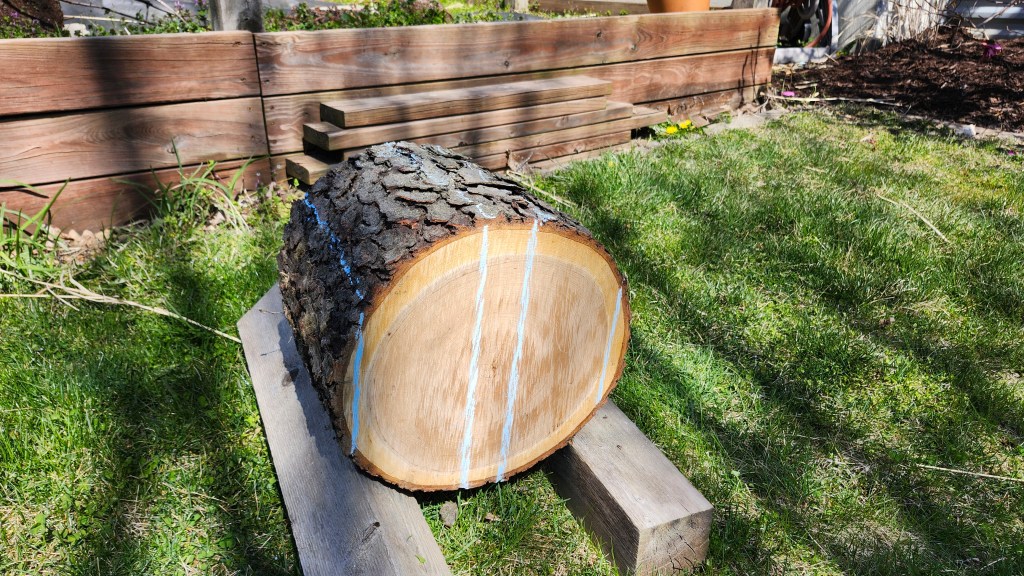
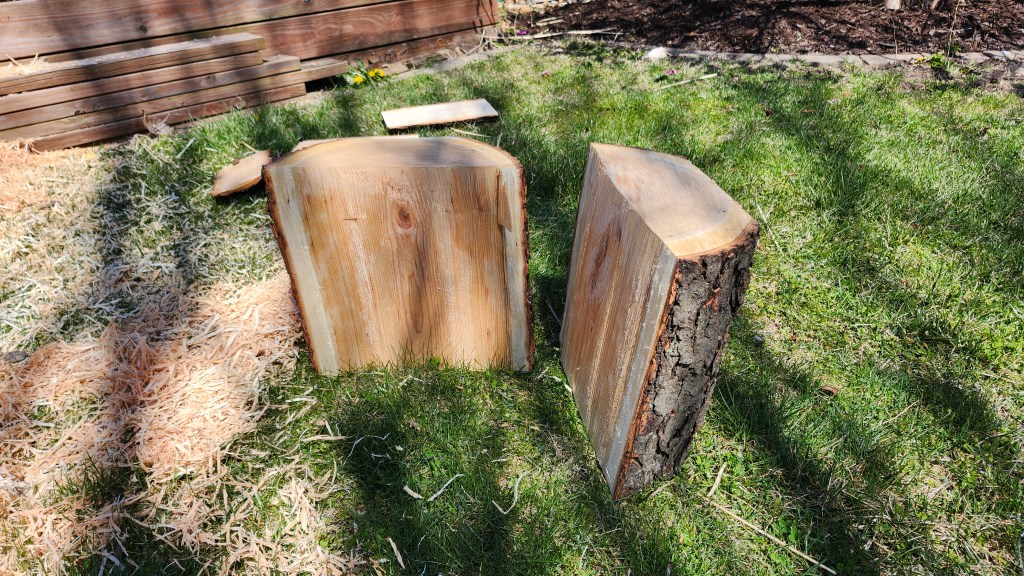
Earlier this year I was given several logs from which to make bowls. This includes several varieties: cherry; walnut; bradford pear; honey locust; and others.
I don’t have a sophisticated setup, and have never processed logs on my own so it was a learning experience.
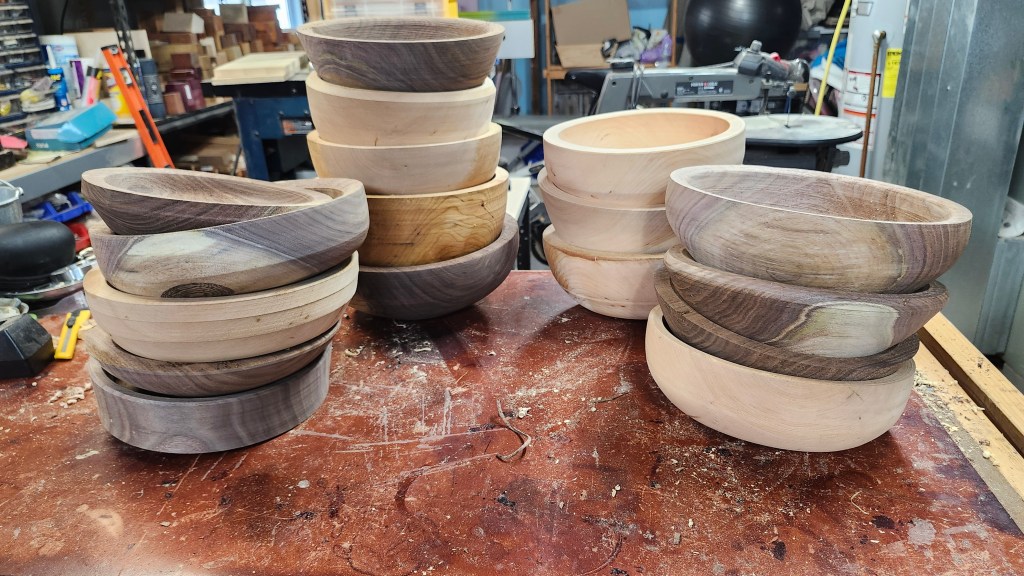
I ended up with far too much waste, but I did also end up with a good set of bowl blanks which I then took the time to rough turn on the lathe to cut down some of the weight and help the drying process.
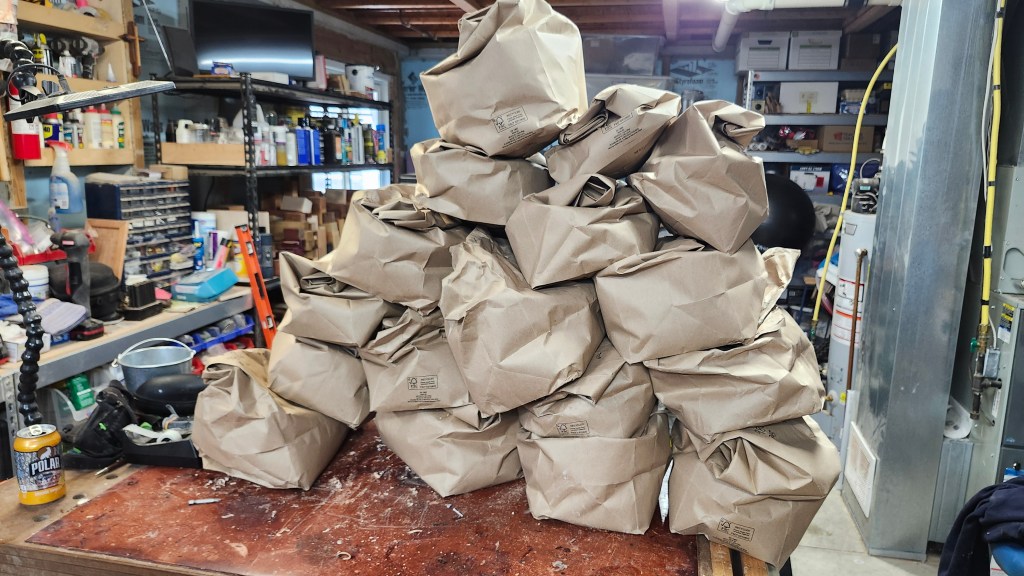
After the initial roughing out, I weighed each blank and placed them into a paper bag with some of their shavings. Every 4-6 weeks I re-weighed and recorded the info on the bag. Once I see the weight loss has stabilized, I know they’re ready to be finally turned into bowls.
Now I have a good stash to make it through the winter.
I have now had my lathe for a year. When I first starting using it, my goal was to be able to make some simple things by the end of the first year. I was able to achieve this, and even start turning some basic bowls.
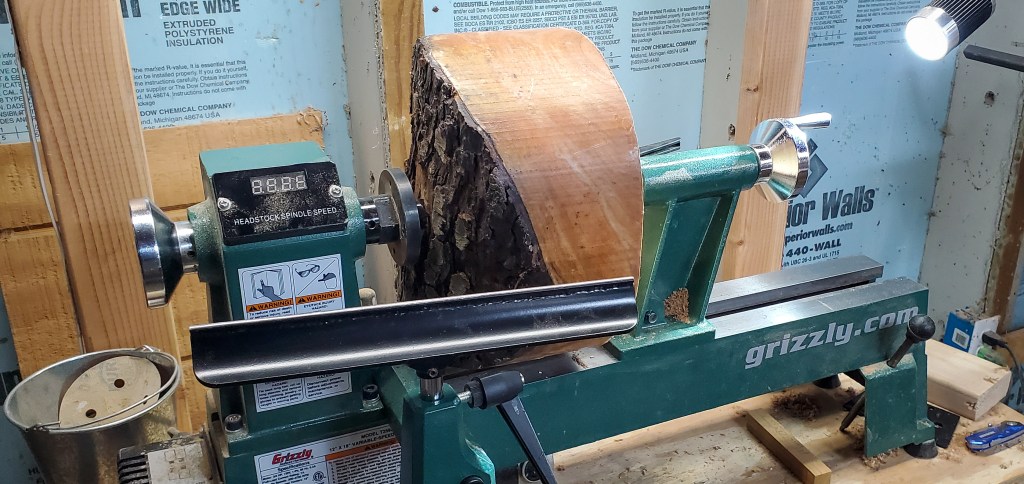
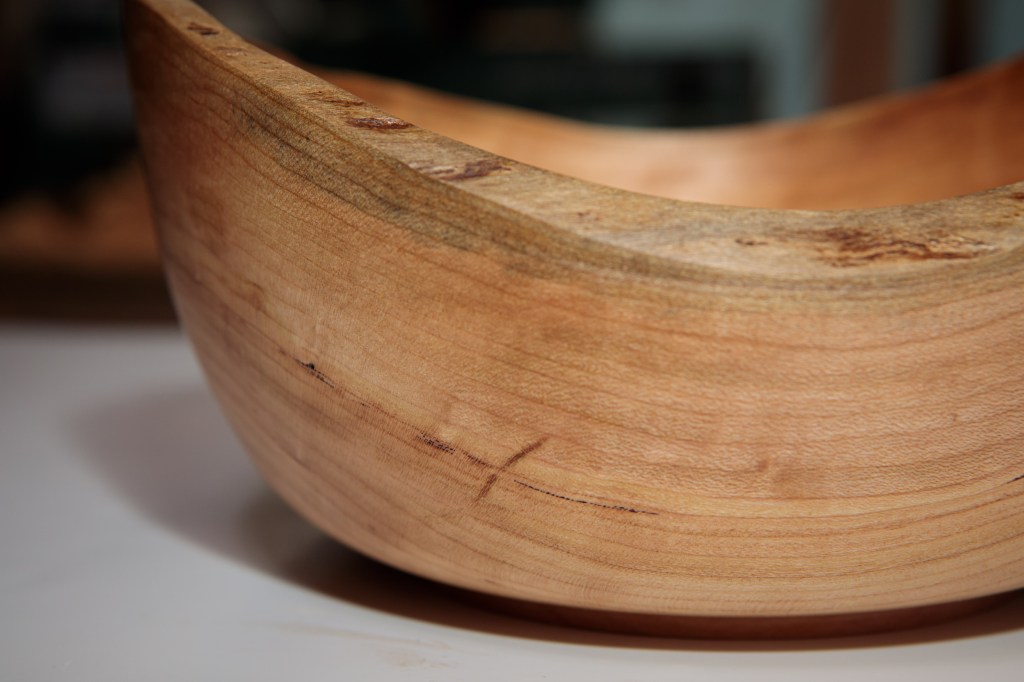
Last week I decided to try a more ambitious bowl – one starting from a far more raw form than the “blanks” I’ve been using, and much larger.
Enter this nice piece of cherry, which only barely fit on my lathe. This tool can handle up to 12″ round, this one clocked in at 11 1/2″. It’s also the heaviest thing I’ve tried on this machine.
It was rough starting out. I initially had the lathe set to the lowest speed in the High range, and boy did it complain. It was slow to start, quick to slow down under pressure, and had just enough vibration to make cutting a struggle.
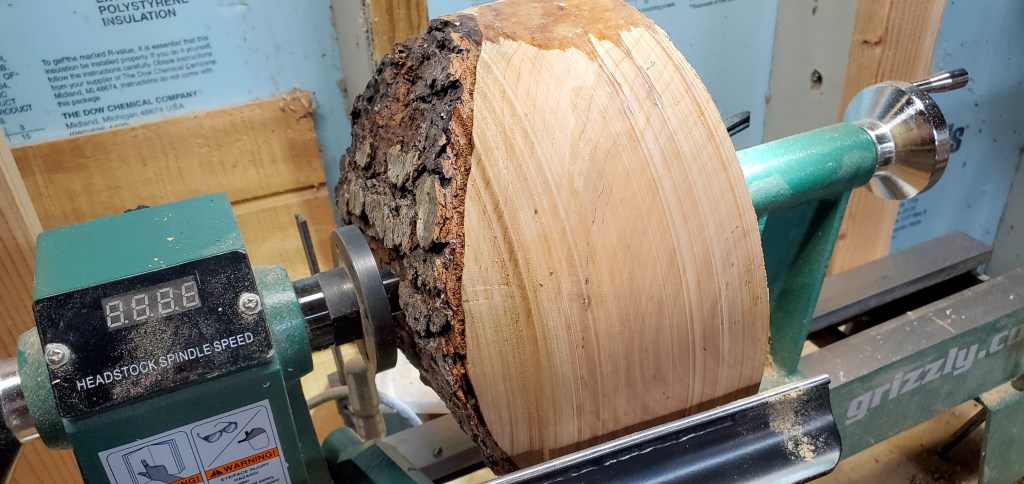
Once I got smart and changed the belts to Low mode, things went much better and progress much quicker.
It wasn’t too long until it actually started to look like a bowl – at least on the outside.
I had every intention of making a live edge bowl – meaning the bark remains along the rim. It started out well, but eventually enough came off that I decided to strip all of it and end up with a natural edge bowl instead.
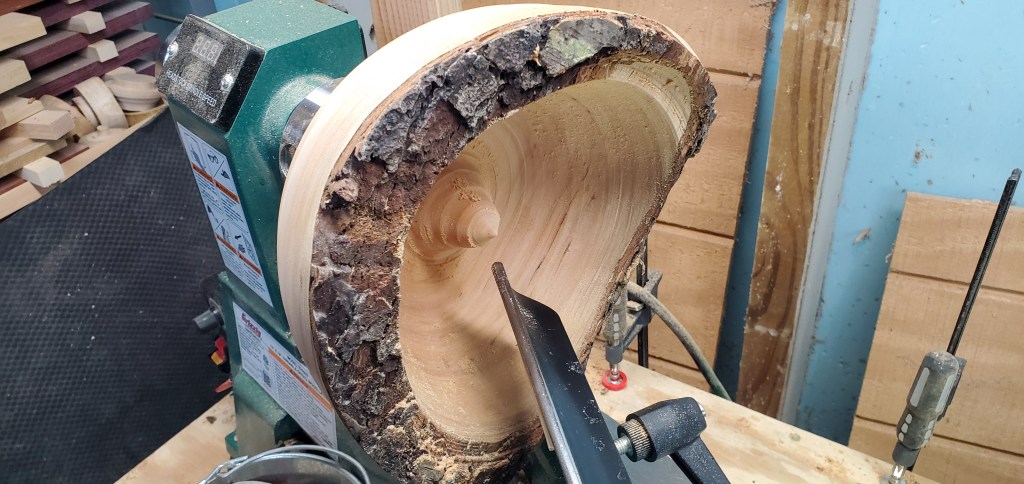
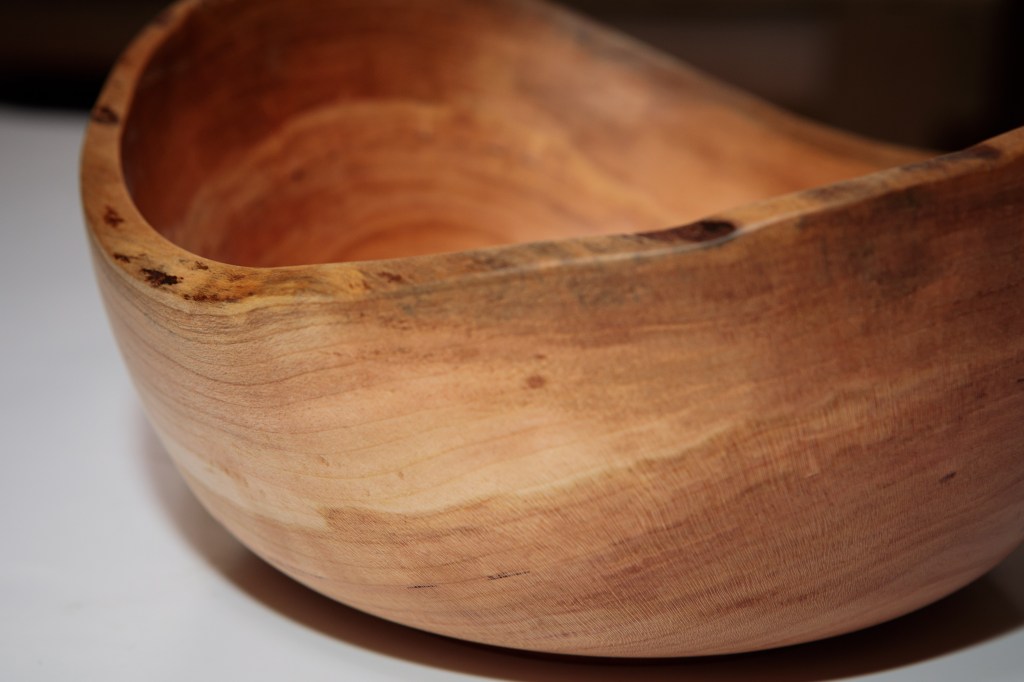
After the main portion of the bowl was complete, I made my first jam chuck and turned the bowl around (with some quilting batting from Ana) so that I could complete the bottom. 4 months ago, the thought of having to first turn a jam chuck on the lathe before using it was daunting. Now? Not so much. Progress.
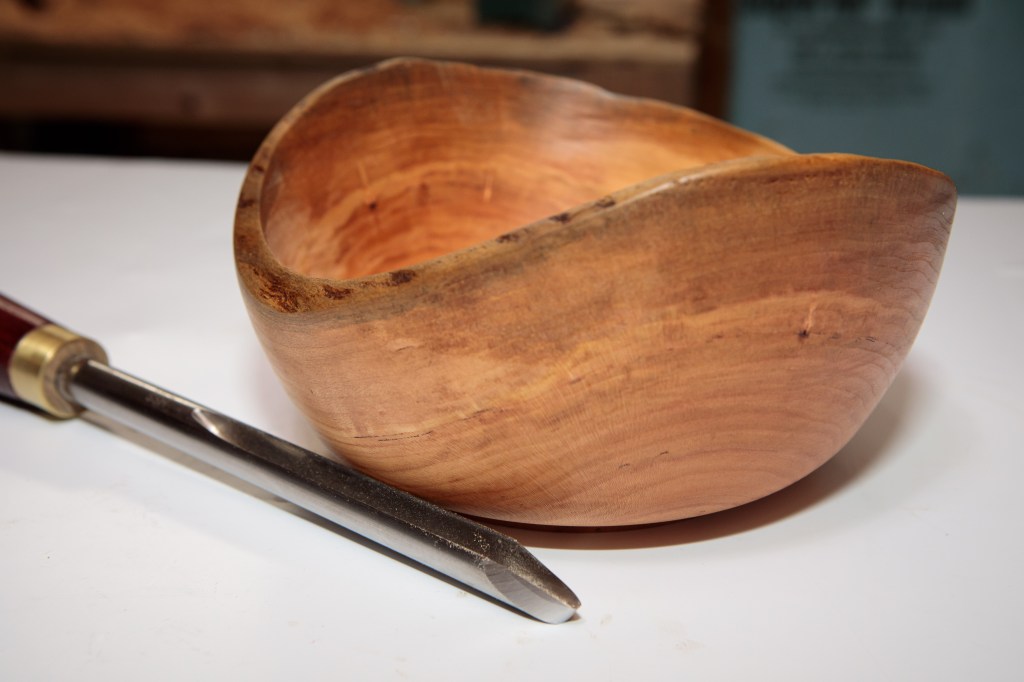
After turning and applying some tung oil, the bowl was complete. There are still some tool marks in the bowls I make, and this one is no exception. I am, however, improving with each one I make. I’ve also made some great strides with regards to sharpening, which helps tremendously.
Here’s the final product! I don’t know what we’ll do with it, but it feels like a bit of a milestone I’m proud of.
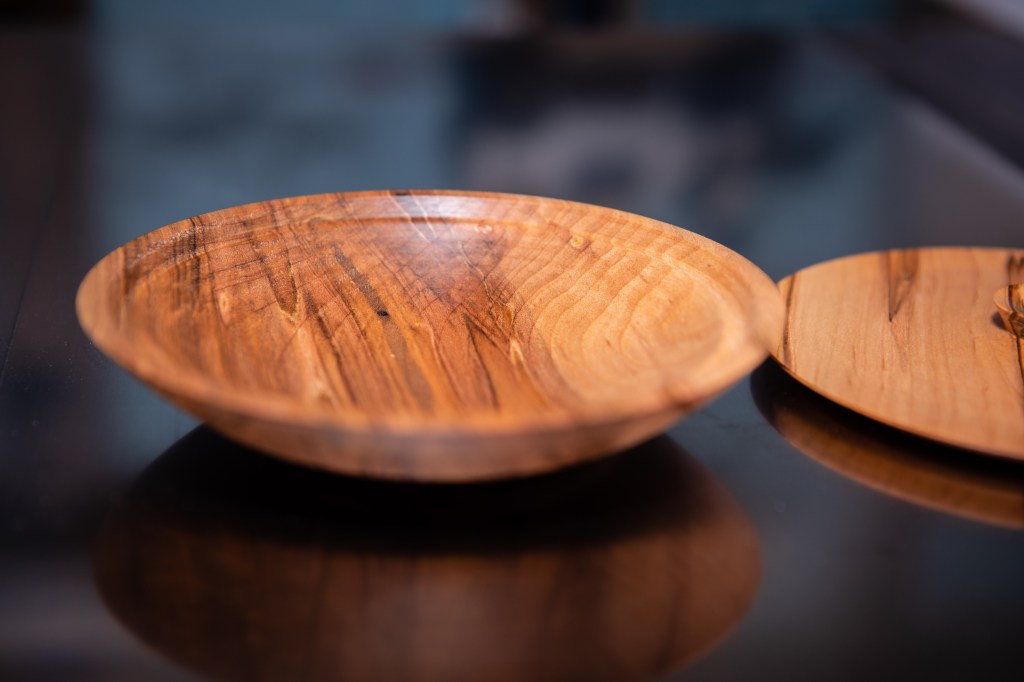
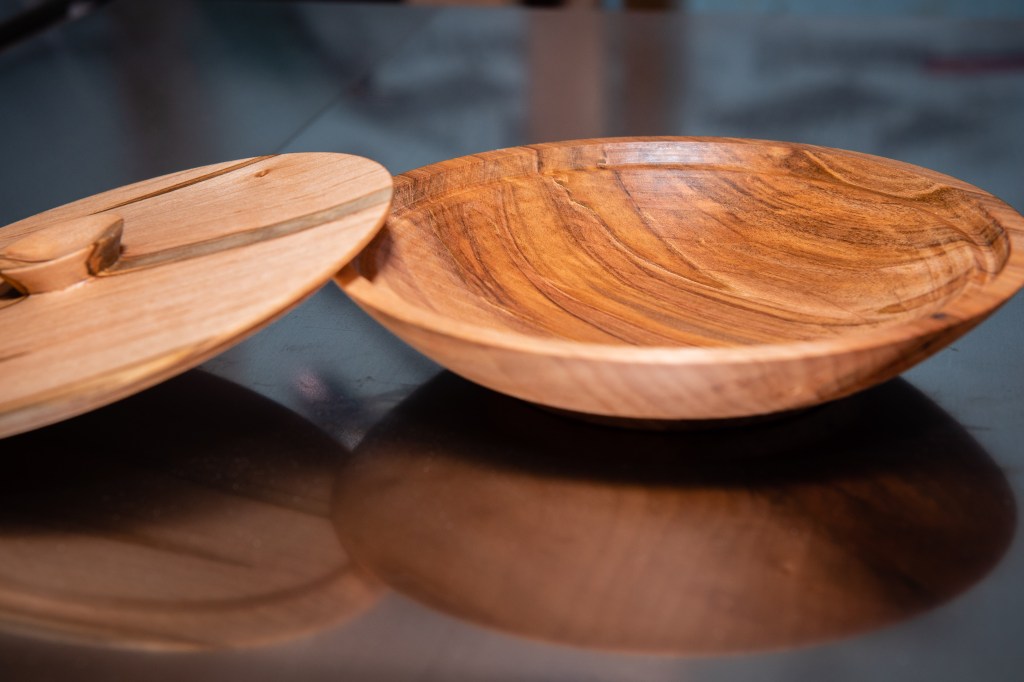
Furthering my effort to chronicle my projects and progress with a woodworking lathe, here’s my latest creation. My first bowl with a lid.
Using Kent Weakley’s great tutorials and videos at https://turnawoodbowl.com, this was a breeze. Since I really only have small stock available, the results are quite a bit smaller than I’ve seen elsewhere but I’m still learning the basics.
This one is made out of two pieces of spalted maple.
To get some woodturning practice in this afternoon, I turned a small piece of maple (6″x6″x2″ I believe) into what I’m calling a candy dish.
It isn’t a regular bowl shape. Rather, there’s a small base upon which the dish sits and the sides of the dish have more character than a simple bowl shape.
A maple “candy dish”
Looking at it now after a few hours, I can see the base could use a little shaping itself and possibly be made a little shorter. I find it funny that I’ve seen bowls and dishes my whole life but it isn’t easy to come up with pleasing shapes when turning. This is close, I think, but could benefit from some tweaks.
Two other new things for me in this piece are: 1) the black groove, burned in with wire, and 2) the use of friction polish to give it it’s glossy finish.
I bought this wood as cheap practice blanks but, wow, I really like how they look.
As mentioned in New Shop Addition, I have started learning how to use a lathe. In the past couple weeks I have started learning how to do faceplate turning, as opposed to spindle turning used in making pens.
For now I’ve concentrated on bowls and small dishes. We’ll see where it progresses, but right now I’m happy with what I’ve been able to do thus far and I’m learning something new each and every time.
Here are a few of my latest.
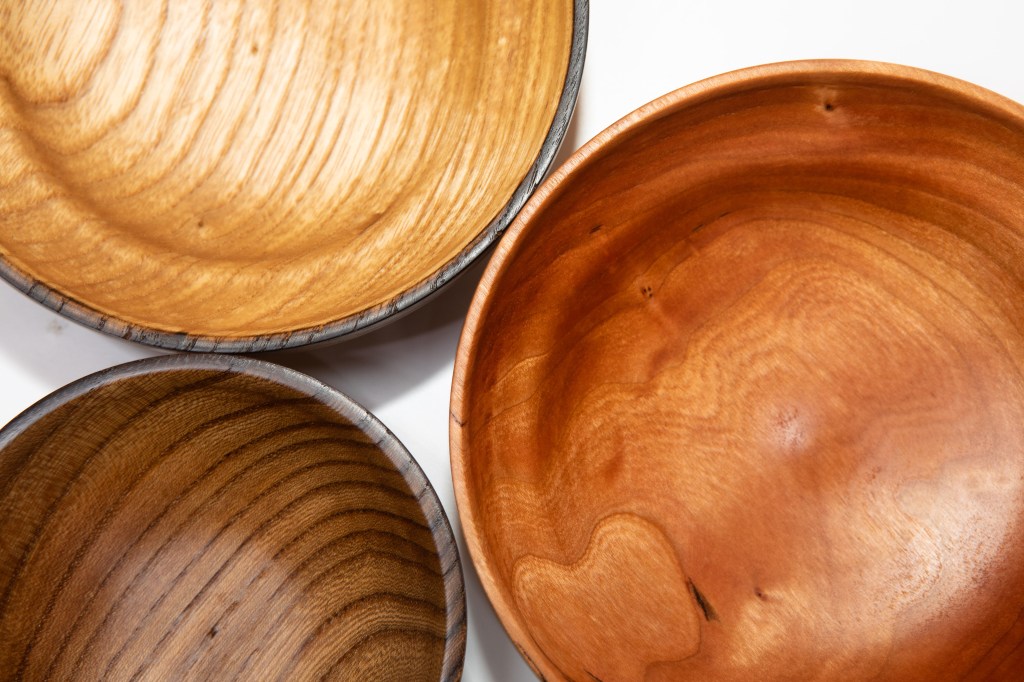
I don’t know what I’m going to do with all of these!Starting at the top and going clockwise: ash, cherry, and elm.
I tried my hand at a thin platter/tray, made out of maple.
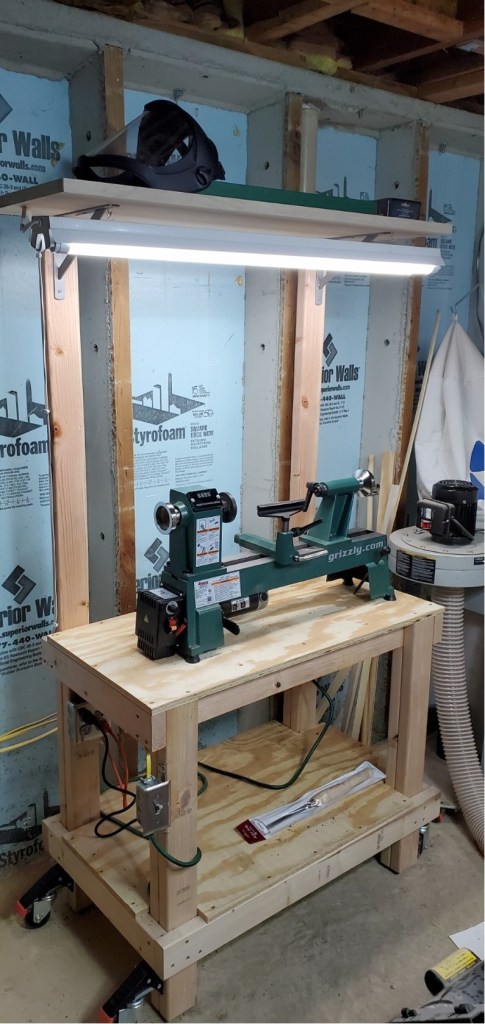
This past Christmas, my workshop gained a new piece of equipment: a lathe! It’s a Grizzly T25290, 12×18 and boy do I like it. The day after Christmas I drove down to Rockler and Woodcraft and quickly learned how much other stuff you have to buy – turning tools, sharpener, sharpener stand, chuck, adapter, safety gear, etc!
I decided to avoid the much quicker route of using carbide tools and opted for the traditional High Speed Steel ones which also required I learn how to sharpen. I was a little hesitant with the sharpening but I think I’m doing a good job at it – the tools are cutting well at least.
For the first week or so I had the tool sitting atop my work bench. Since then, I have cobbled together a little cart that is serving me well. I’ve avoided adding accessory racks or other adornments until I get some time on it and learn what will be useful and what will not.
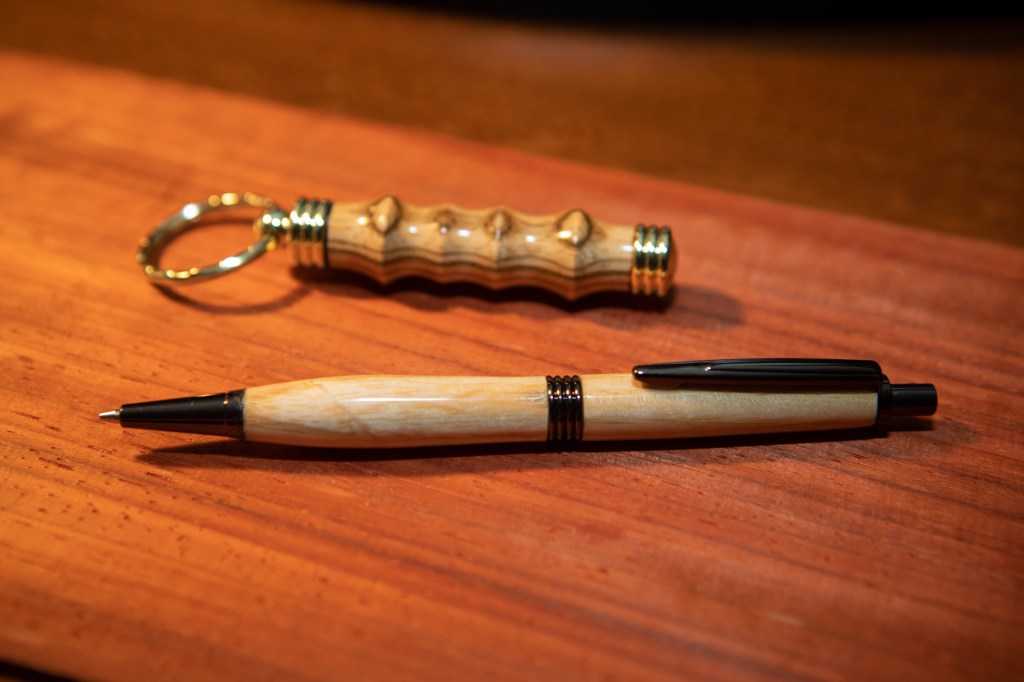
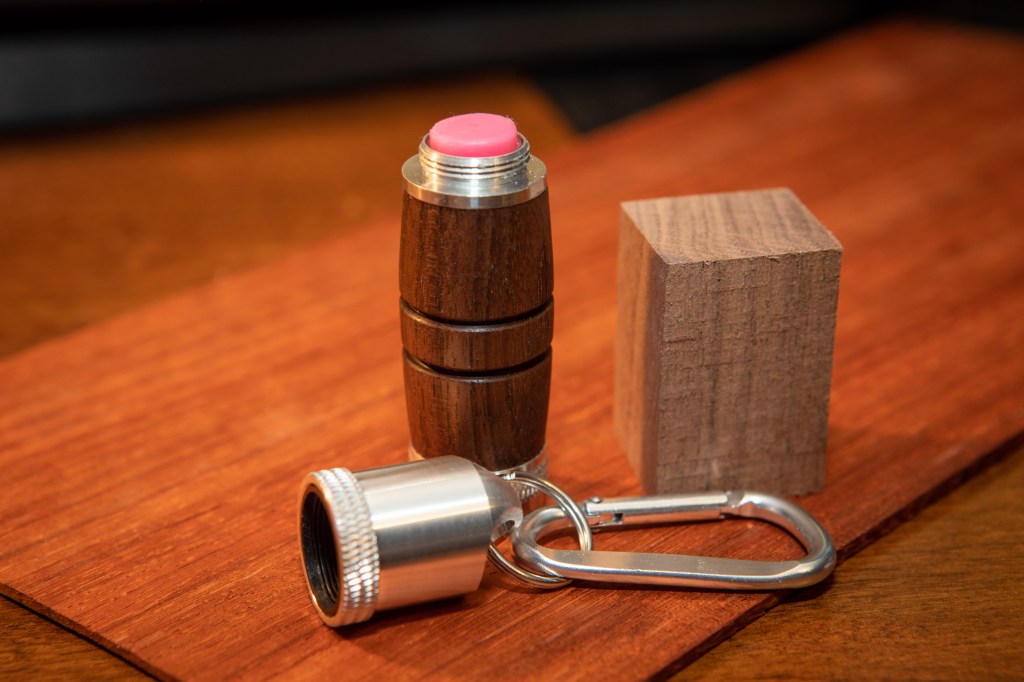
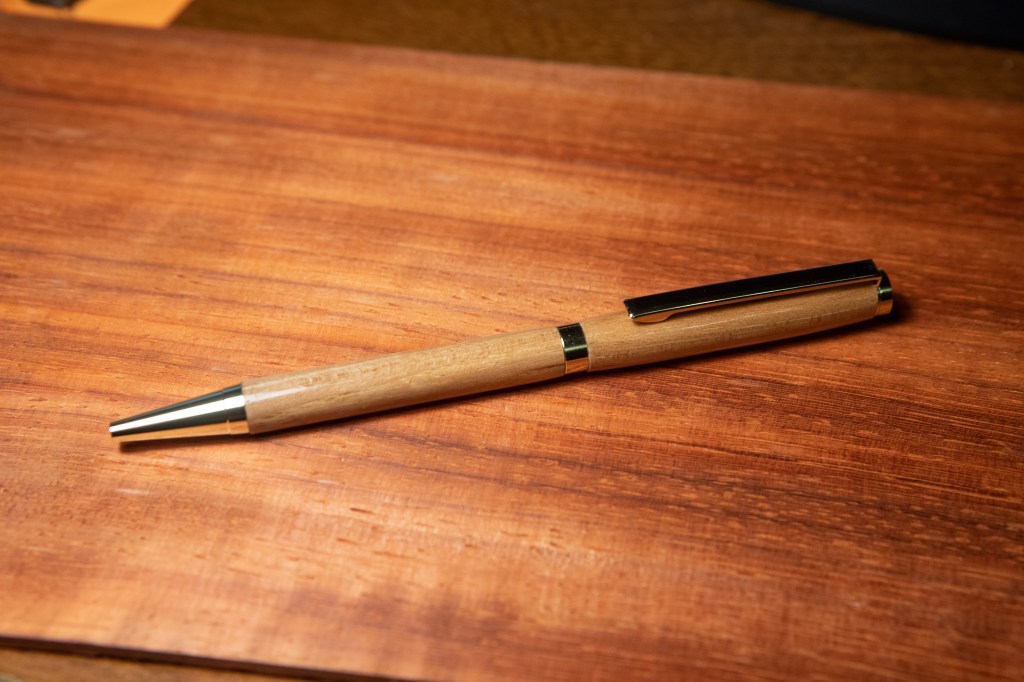
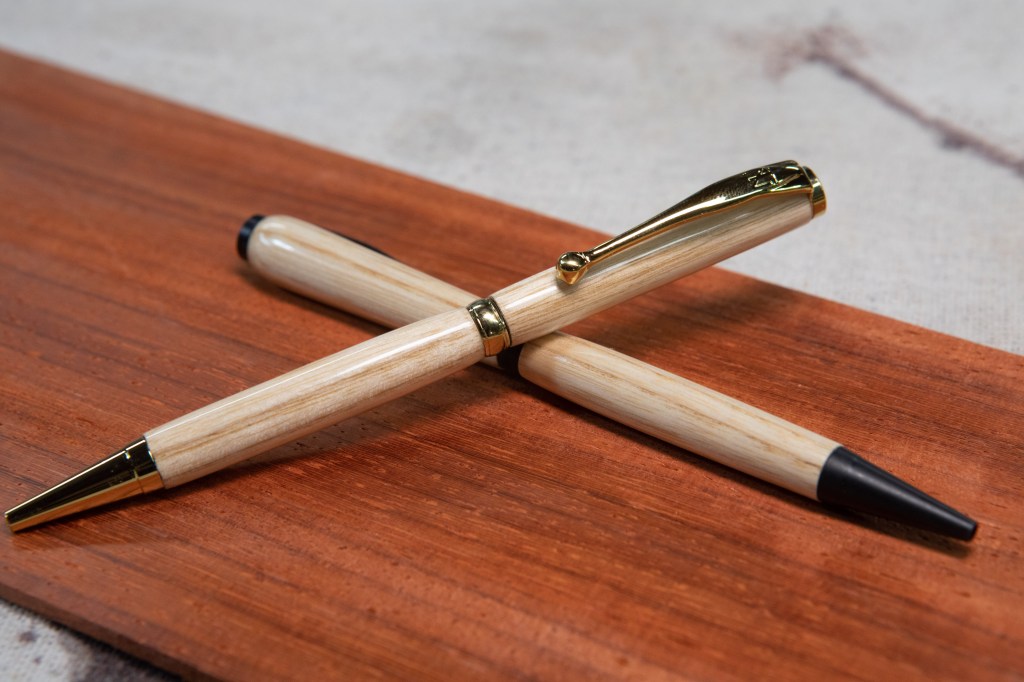
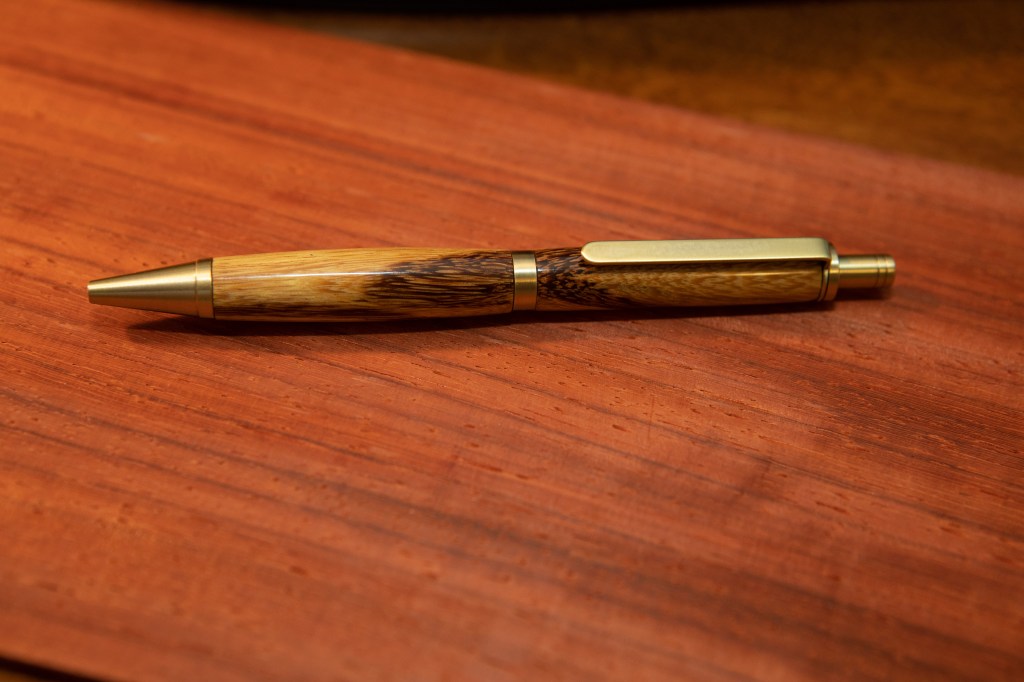
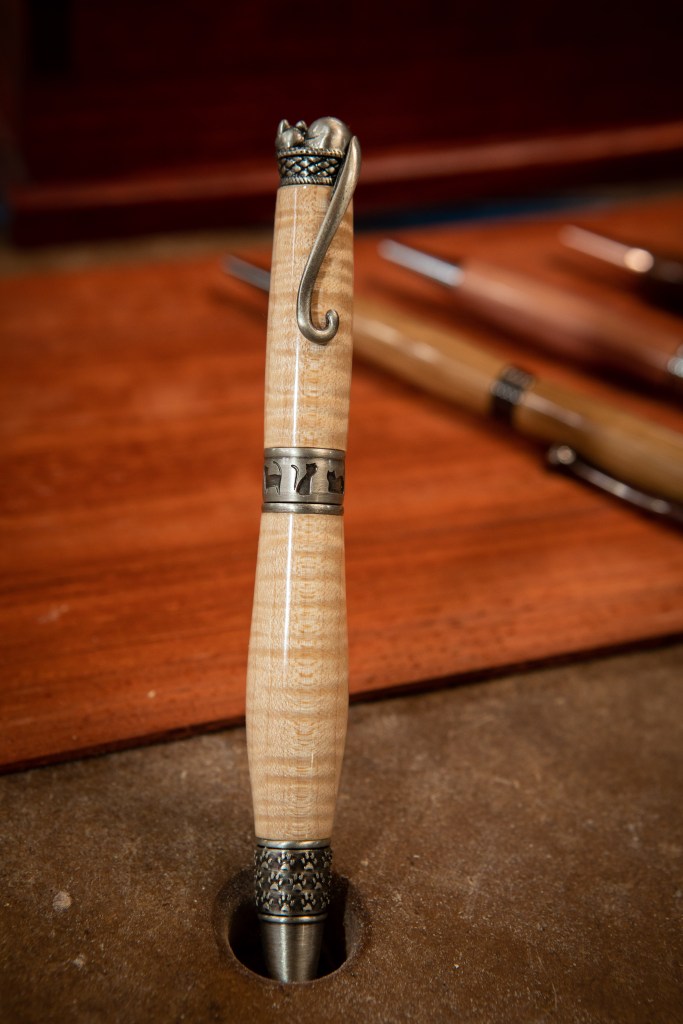
I’ve stuck with small spindle turnings for now: practice blanks; seem rippers; lip balm holders; needle/toothpick holders; and pens. And it is an absolute blast.
Here’s a small selection of what I’ve turned so far.
I was hoping that by the end of this year I’d be able to turn a pen. Mission accomplished, I guess. I have so many pens around here that I don’t know what do do with them all 🙂
If and when this gets tiring, I’ll turn my attention to larger things like bowls, bottle openers, and wine stoppers. But for now, it’s incredibly enjoyable doing pens.