This is long overdue, but we went down to Washington County State Recreation Area in Nashville, IL for the 2024 total solar eclipse. Here are my two keepers of the event.
We had incredible weather for an early April day in Illinois, and it made for a memorable experience.
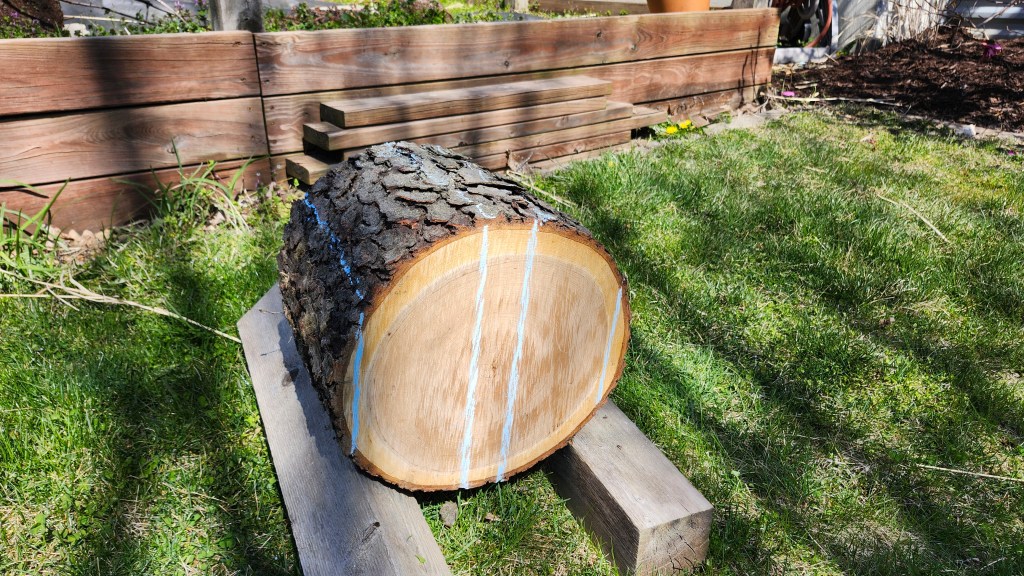
Earlier this year I was given several logs from which to make bowls. This includes several varieties: cherry; walnut; bradford pear; honey locust; and others.
I don’t have a sophisticated setup, and have never processed logs on my own so it was a learning experience.
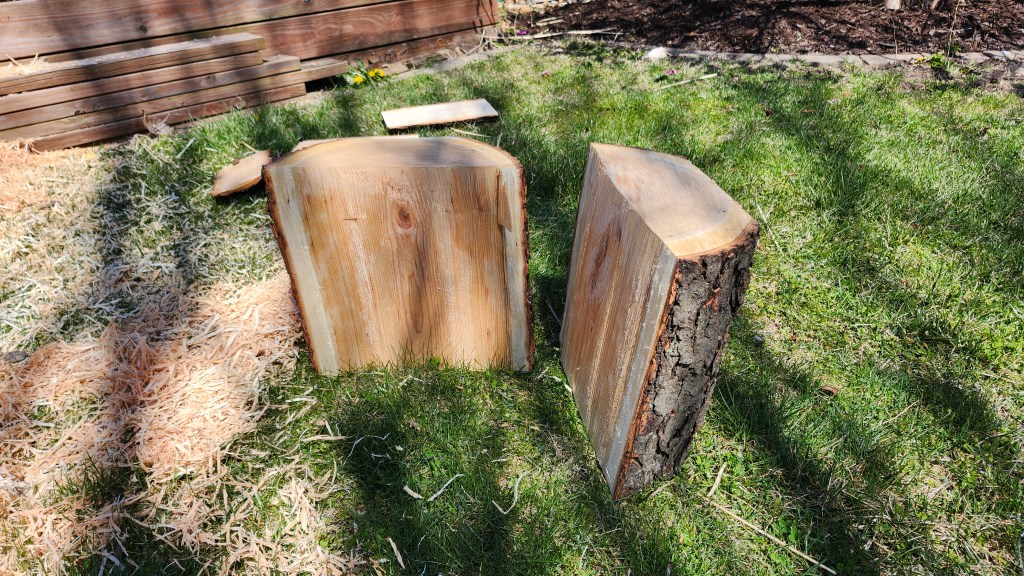
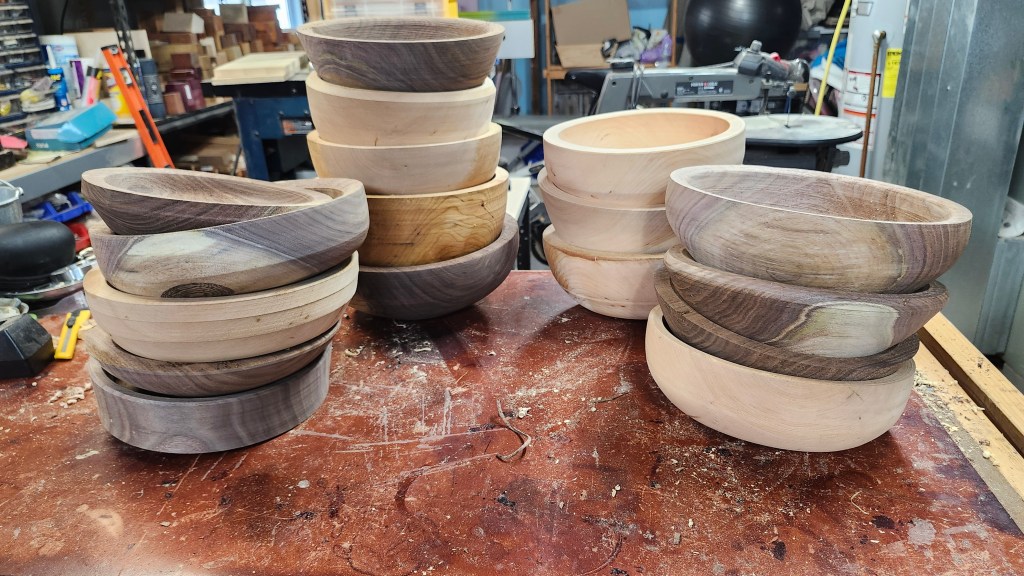
I ended up with far too much waste, but I did also end up with a good set of bowl blanks which I then took the time to rough turn on the lathe to cut down some of the weight and help the drying process.
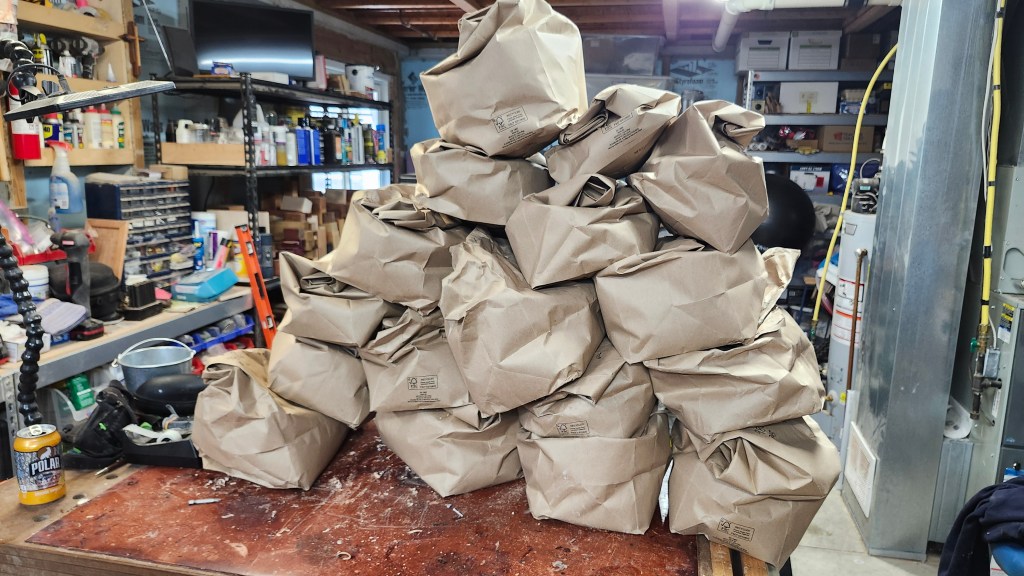
After the initial roughing out, I weighed each blank and placed them into a paper bag with some of their shavings. Every 4-6 weeks I re-weighed and recorded the info on the bag. Once I see the weight loss has stabilized, I know they’re ready to be finally turned into bowls.
Now I have a good stash to make it through the winter.
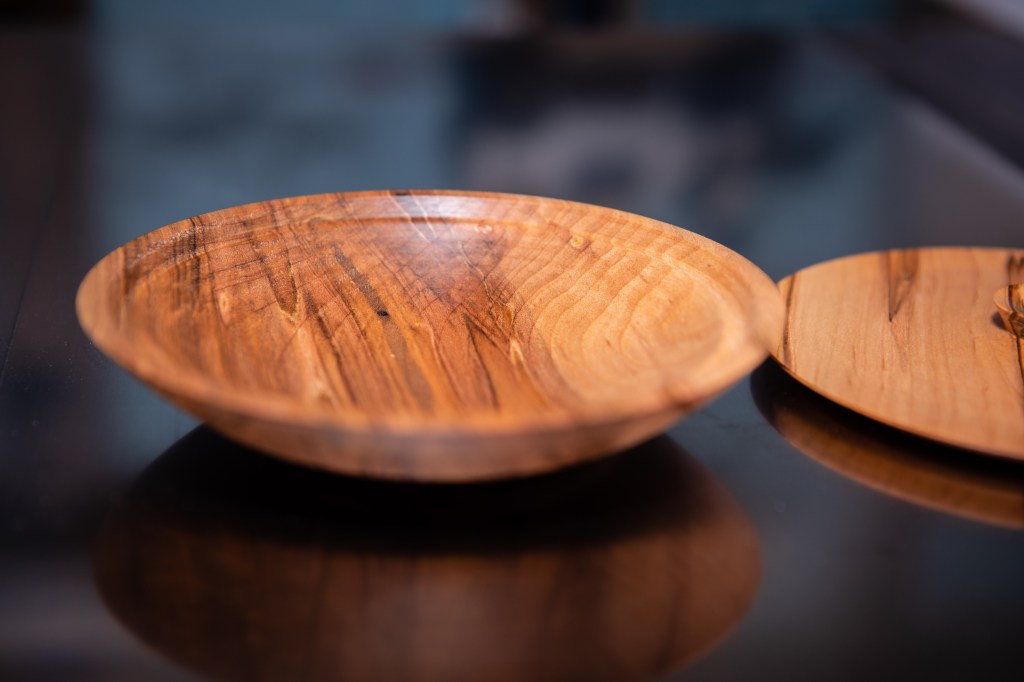
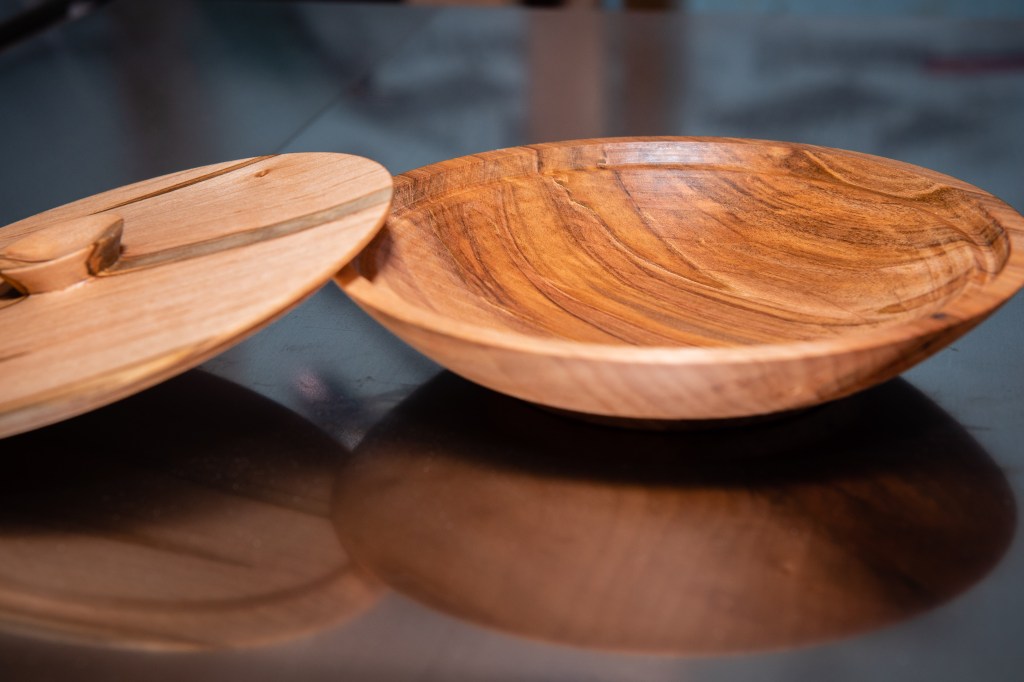
Furthering my effort to chronicle my projects and progress with a woodworking lathe, here’s my latest creation. My first bowl with a lid.
Using Kent Weakley’s great tutorials and videos at https://turnawoodbowl.com, this was a breeze. Since I really only have small stock available, the results are quite a bit smaller than I’ve seen elsewhere but I’m still learning the basics.
This one is made out of two pieces of spalted maple.
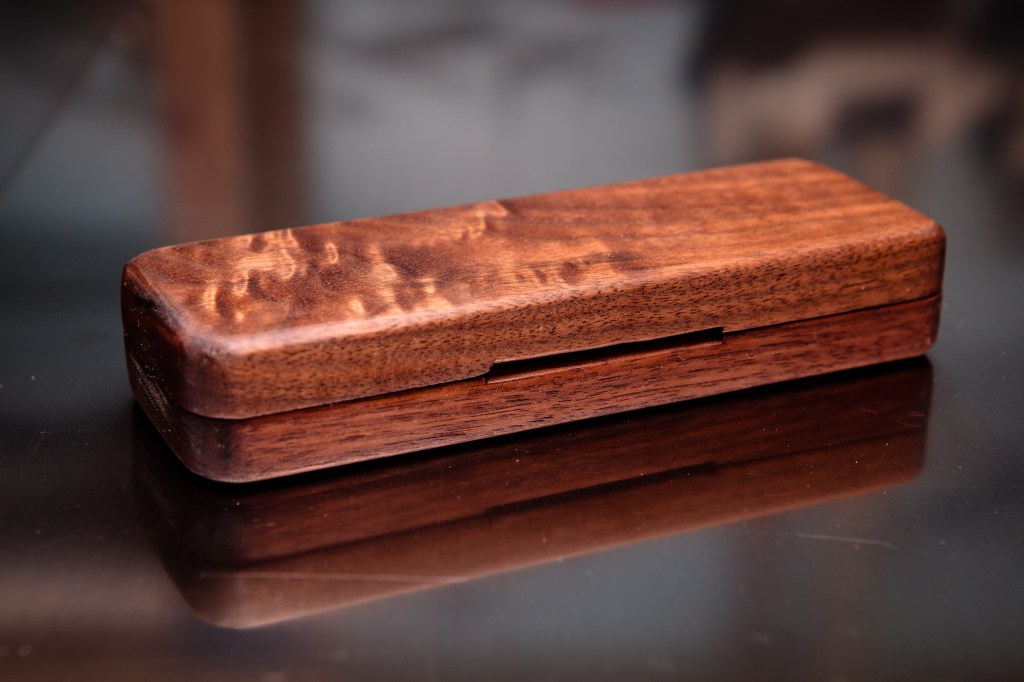
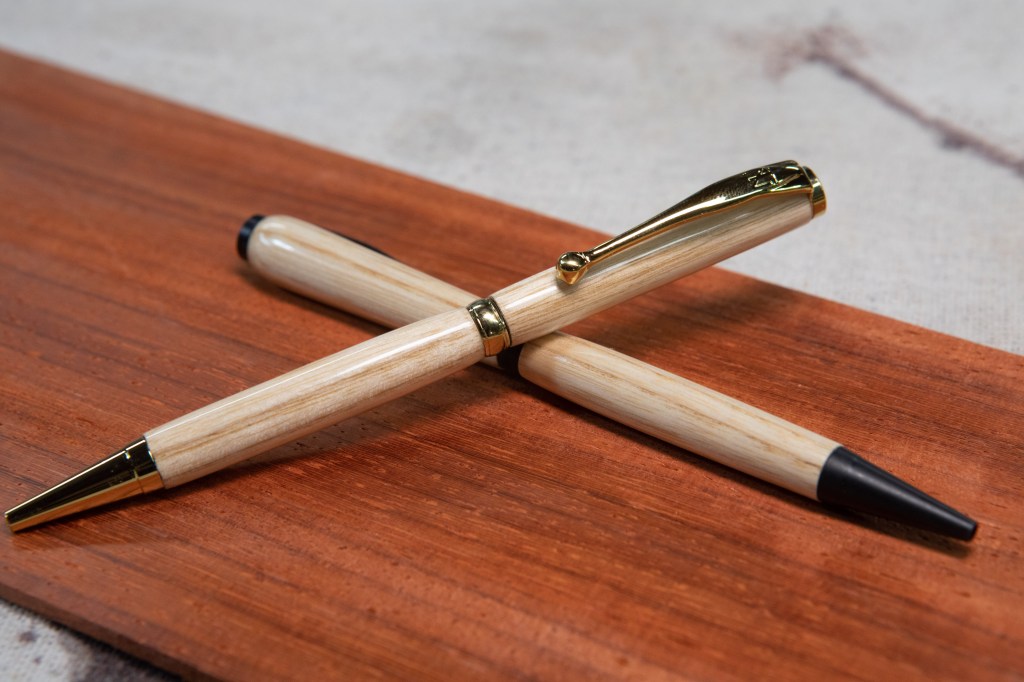
I recently completed a pen and mechanical pencil set as a gift, but before sending it off thought I would take the opportunity to try making an accompanying case to hold them. I wanted something with a smaller profile than the pencil boxes I’ve made before – something more along the lines of a hard eyeglasses case.
I grabbed a couple of pieces of small walnut off my shelf and got to work last night. Without any plan whatsoever, I was able to start and finish it in just a few short hours. I made a minor mistake or two, but I’m very happy with the results.
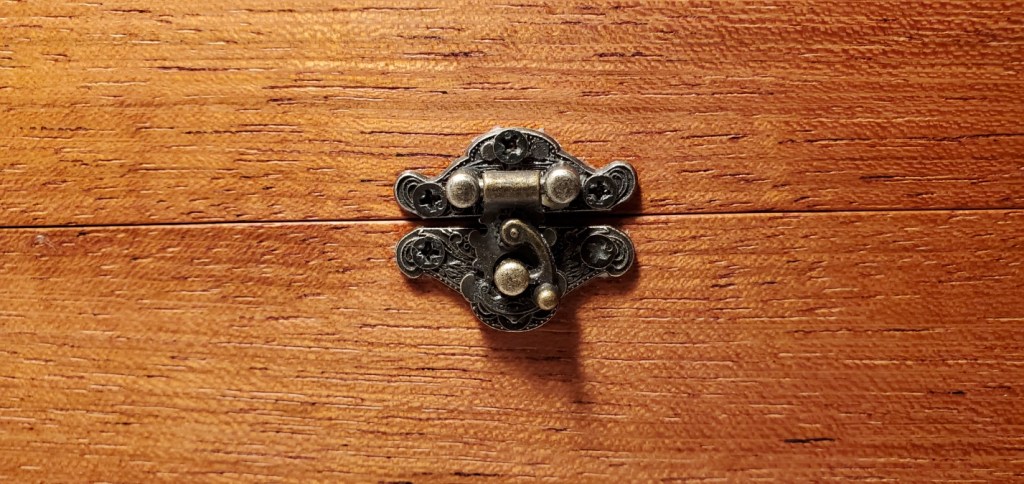
I used some small hinges on the back. They’re a little tricky to install
The lid is held closed with two pair of rare earth magnets. Opening it up revels space for two pens.
I intend to make a few more of these so I can get the finer tails nailed down.
As mentioned in New Shop Addition, I have started learning how to use a lathe. In the past couple weeks I have started learning how to do faceplate turning, as opposed to spindle turning used in making pens.
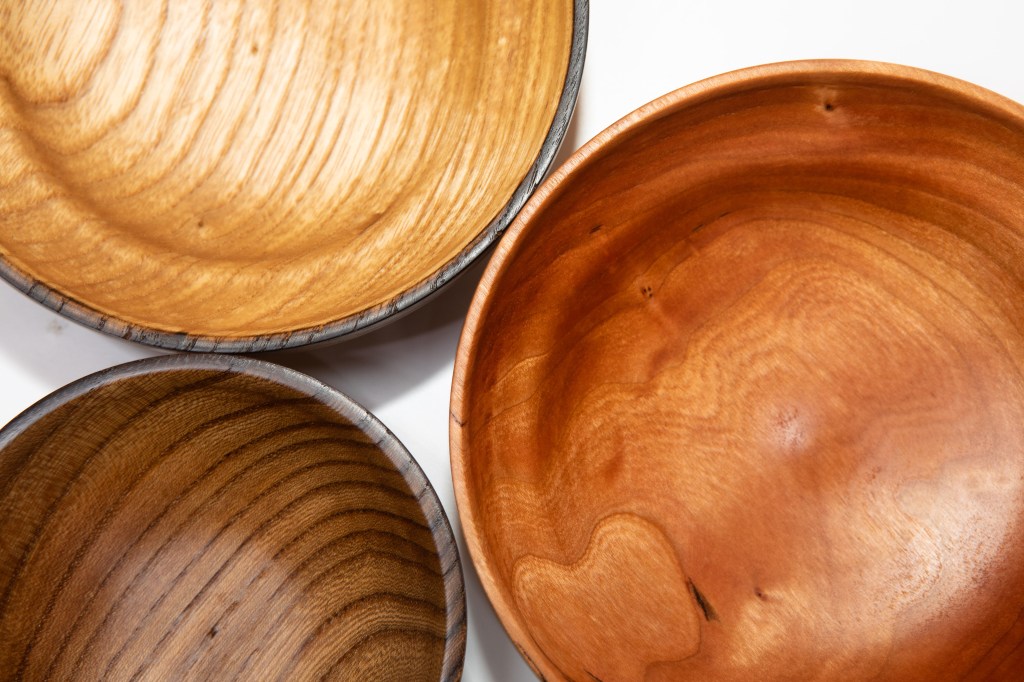
For now I’ve concentrated on bowls and small dishes. We’ll see where it progresses, but right now I’m happy with what I’ve been able to do thus far and I’m learning something new each and every time.
Here are a few of my latest.
I don’t know what I’m going to do with all of these!Starting at the top and going clockwise: ash, cherry, and elm.
I tried my hand at a thin platter/tray, made out of maple.
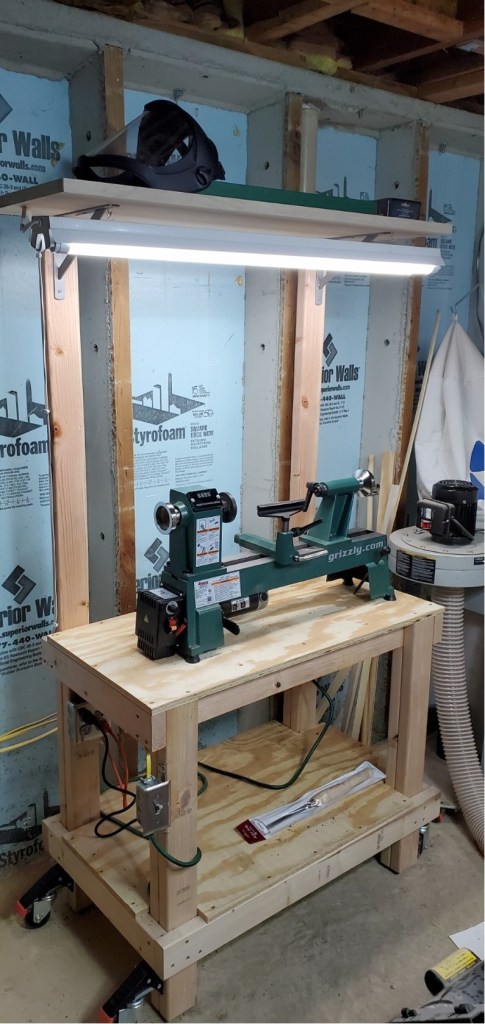
This past Christmas, my workshop gained a new piece of equipment: a lathe! It’s a Grizzly T25290, 12×18 and boy do I like it. The day after Christmas I drove down to Rockler and Woodcraft and quickly learned how much other stuff you have to buy – turning tools, sharpener, sharpener stand, chuck, adapter, safety gear, etc!
I decided to avoid the much quicker route of using carbide tools and opted for the traditional High Speed Steel ones which also required I learn how to sharpen. I was a little hesitant with the sharpening but I think I’m doing a good job at it – the tools are cutting well at least.
For the first week or so I had the tool sitting atop my work bench. Since then, I have cobbled together a little cart that is serving me well. I’ve avoided adding accessory racks or other adornments until I get some time on it and learn what will be useful and what will not.
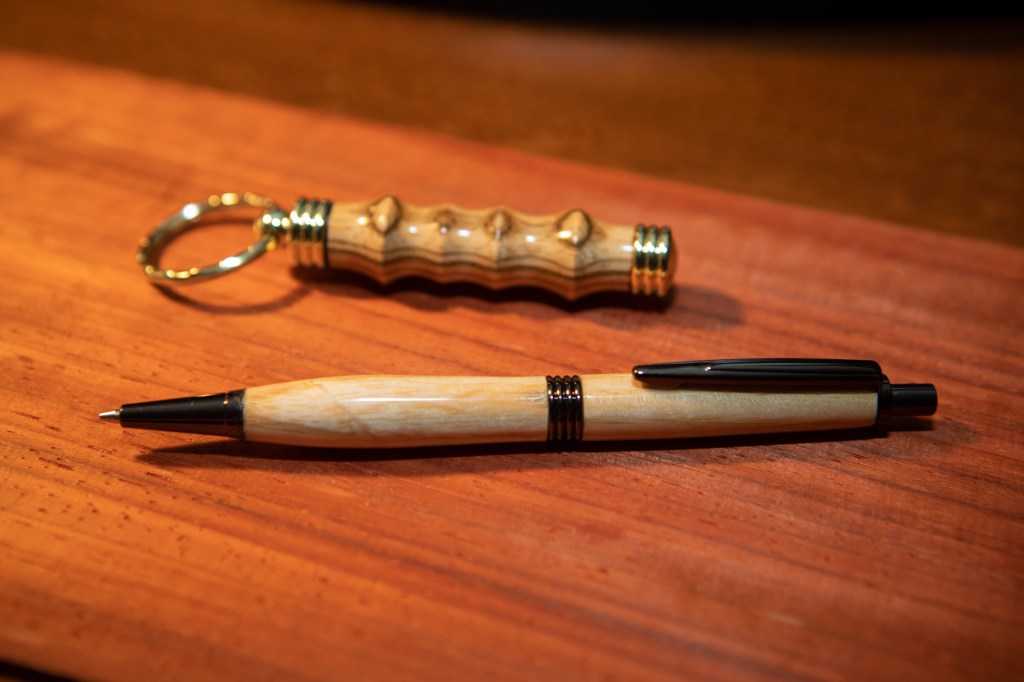
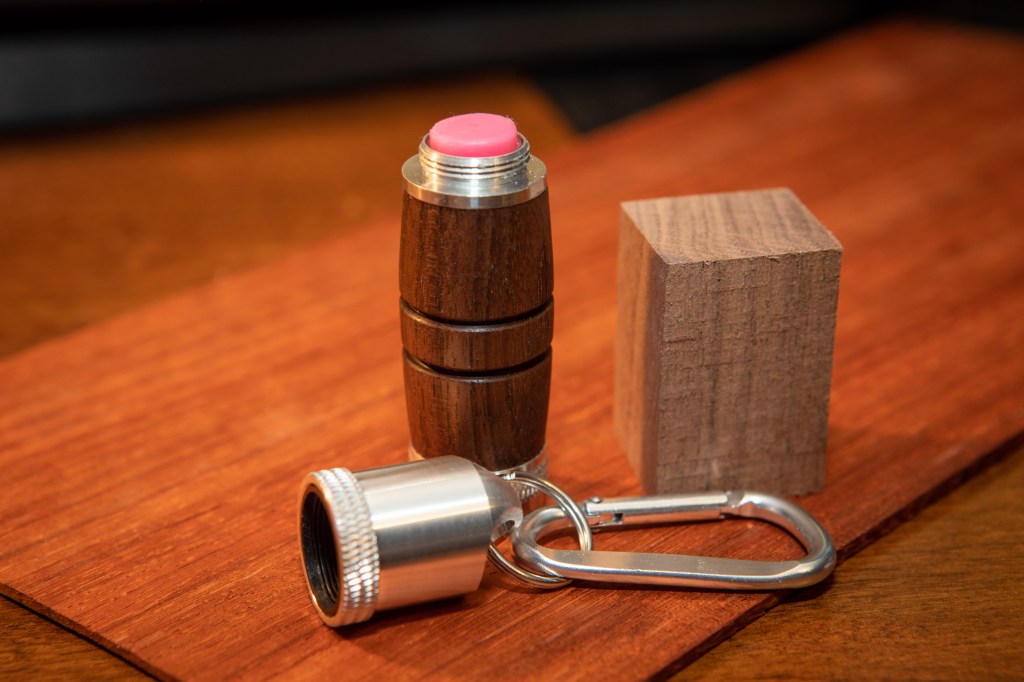
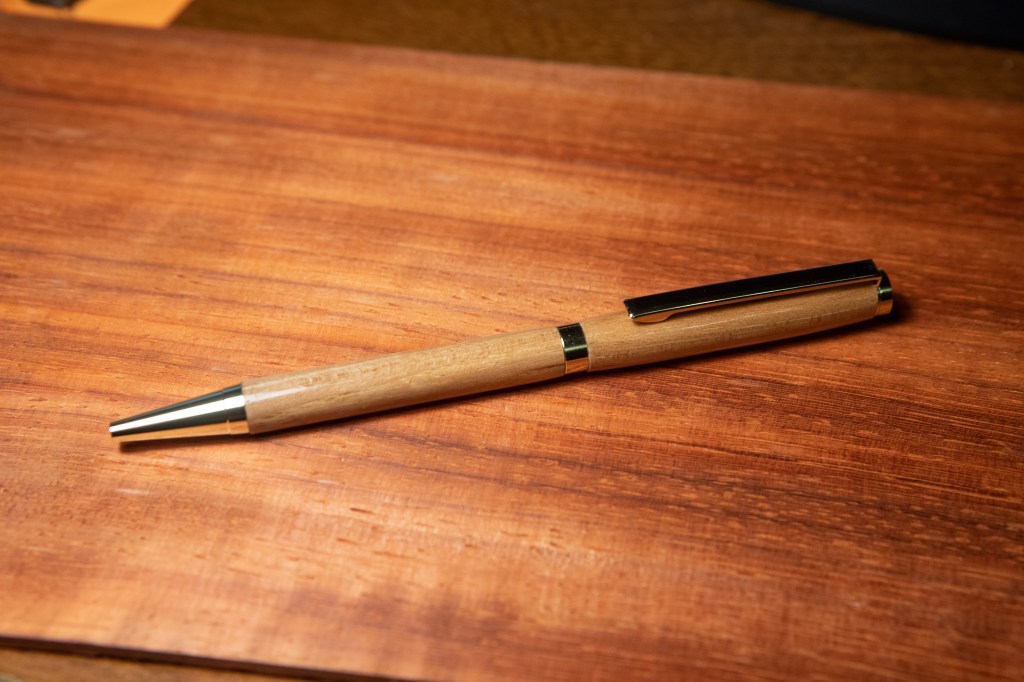
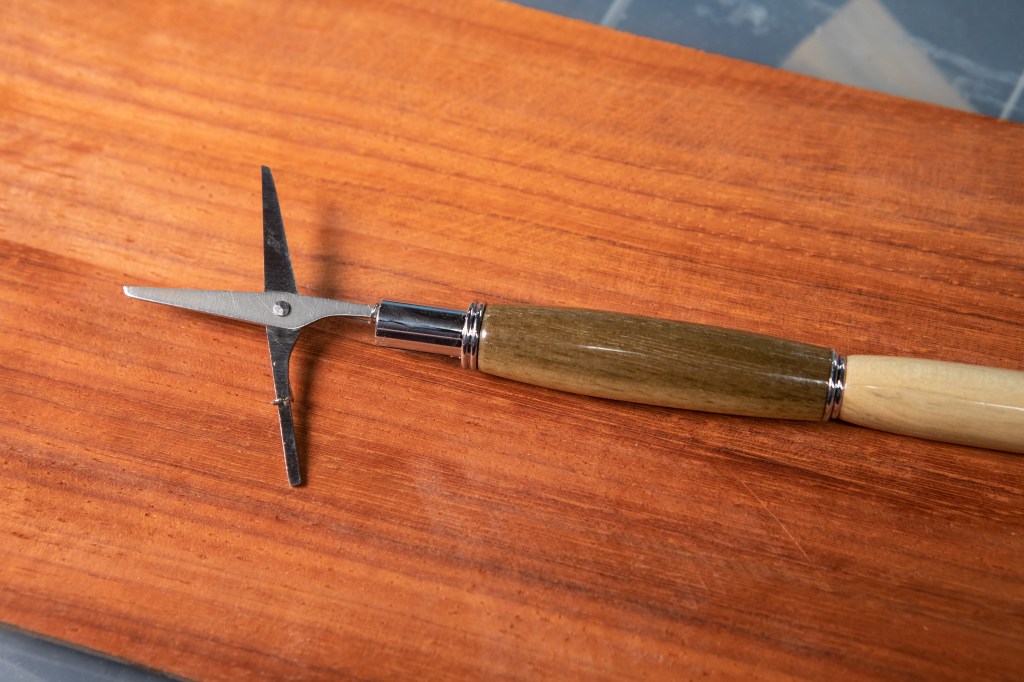
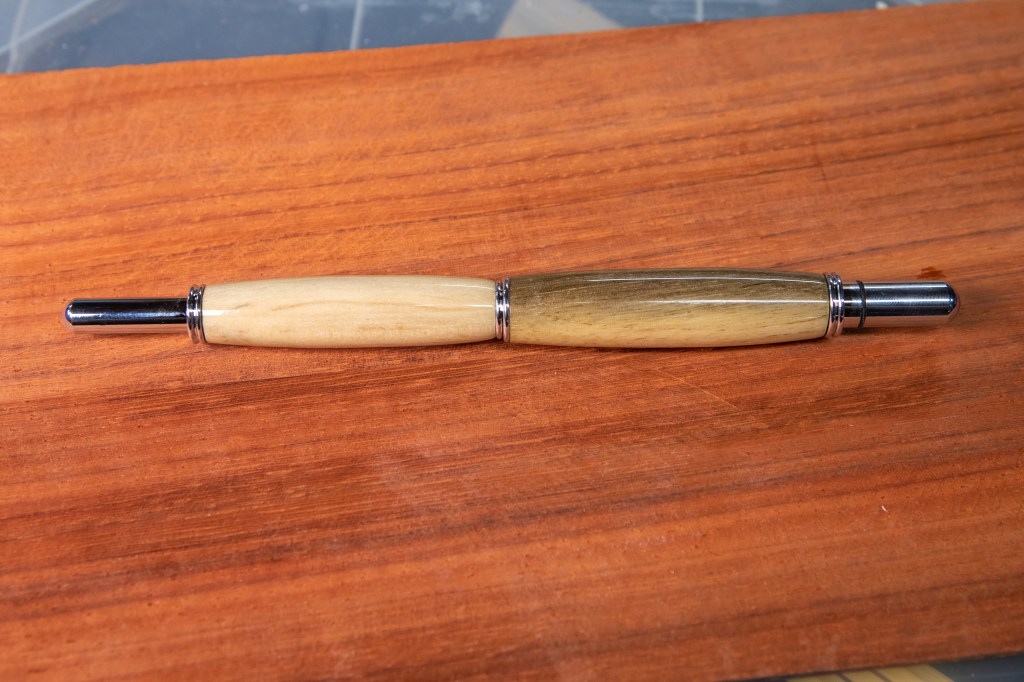
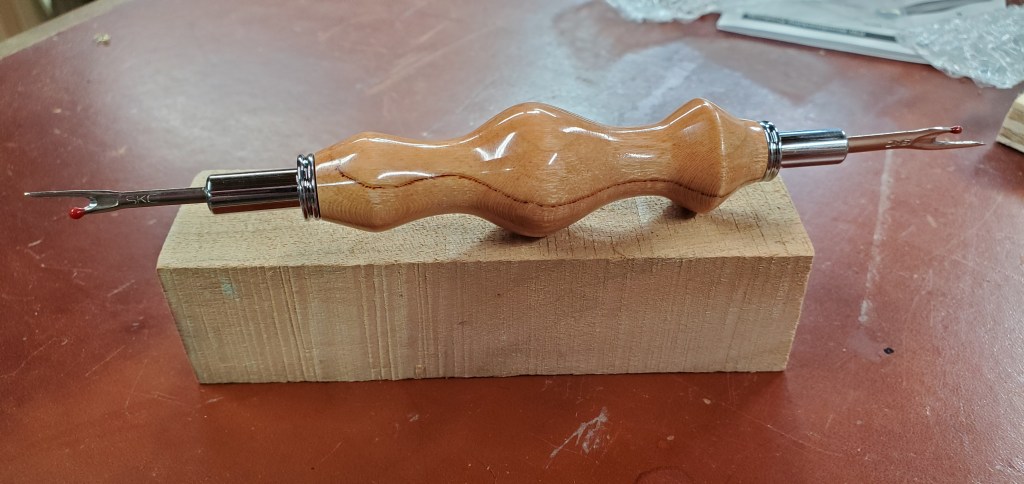
I’ve stuck with small spindle turnings for now: practice blanks; seem rippers; lip balm holders; needle/toothpick holders; and pens. And it is an absolute blast.
Here’s a small selection of what I’ve turned so far.
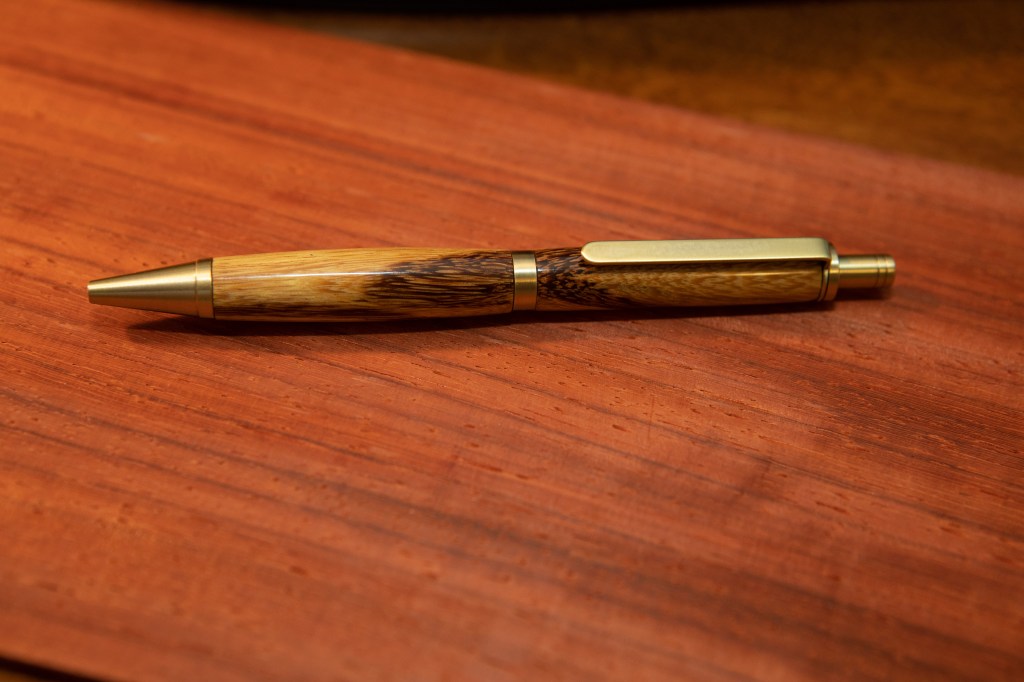
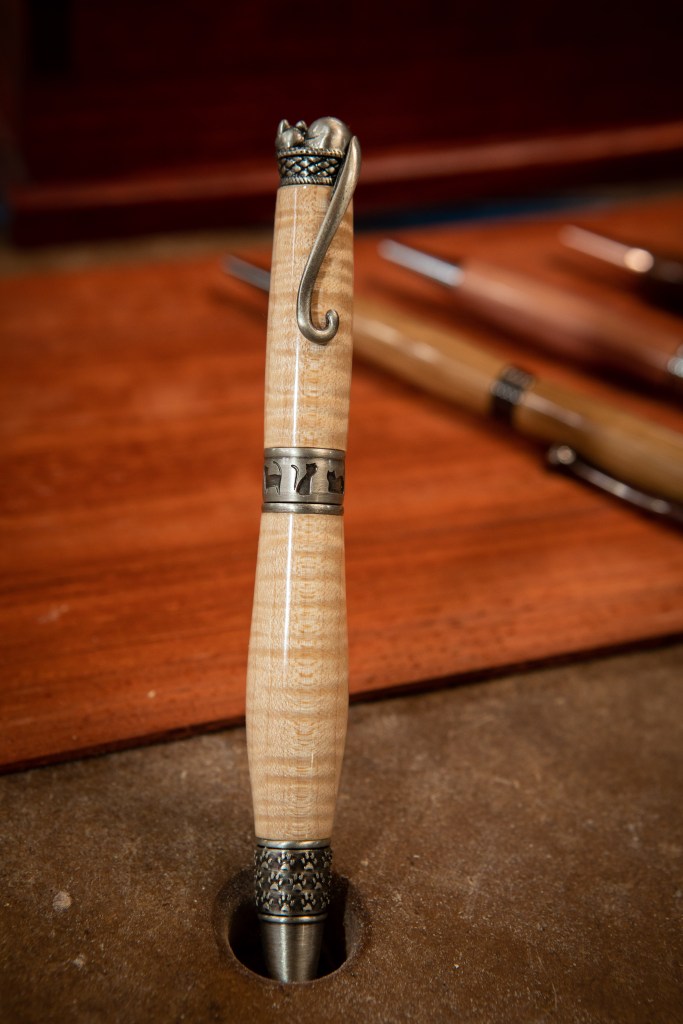
I was hoping that by the end of this year I’d be able to turn a pen. Mission accomplished, I guess. I have so many pens around here that I don’t know what do do with them all 🙂
If and when this gets tiring, I’ll turn my attention to larger things like bowls, bottle openers, and wine stoppers. But for now, it’s incredibly enjoyable doing pens.
This week I made a recipe box for Ana. Unlike my typical builds, I was not going off of any plans for this. I decided to just do a couple rough sketches and wing it.
I started with a board of Brazilian cherry (Jatoba) and two small boards of walnut. Since the overall dimensions were larger than any of these boards, I had to resaw the Jatoba and glue up a panel to serve as the sides of the box. One new aspect to this box from my priors is the thickness – just under 5/16″ thick. I was nervous about this for a couple reasons, not the least of which was the screw sizes I had available for the hardware. I cringed running the panel through the planer, just hoping it wasn’t going to crack or shatter but it went through unscathed and without snipe.
I wanted to get more practice using the hand saws and chisels so I decided to cut the joinery by hand rather than use the table saw. They could be tighter and I need to be more mindful of staying at 90 degrees on my crosscuts, but the final product is workable. It was a little tricky keeping track of which were mating pieces and which faces were interior vs. exterior, so I resorted to some mixture of alpha- and numeric labeling of the pieces as I was cutting. It turned into quite the jigsaw puzzle.
Both the lid and the bottom are made from walnut, both of which were resawn and glued into panels before cutting to size.
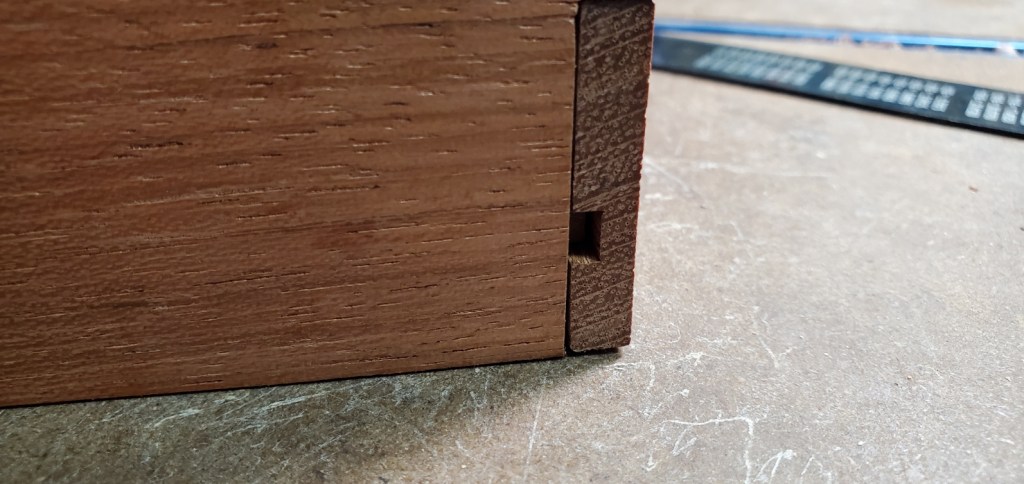
After making panels which were to serve as the bottom (over 1/2″ thick) and the lid (3/8″ thick), it came time to cut the dados for them to fit into the sides. And this is where I made the late night mistake of forgetting about blind dadoes and their necessity when you’re doing joints like this.
I decided to keep these little holes as reminders. I don’t think I’ll make that mistake again.
After some cursing when I cut the bottom’s dado all the way through, I took corrective action and handled the lid’s dados correctly.
The routed blind dado which I squared off with a chisel after the photo.
This is the first box I’ve made where I’m following the process of making an enclosed cube and then separating the lid from the base at the table saw once everything is glued up. Here’s how the pieces fit together before the glue-up.
Separating the lid from the box was a breeze on the table saw, as was adding the hardware. The interior dimensions turned out perfect for both the 4×6″ recipe cards as well as their oversized divider tabs. I finished the box with Tung oil finish and paste wax.
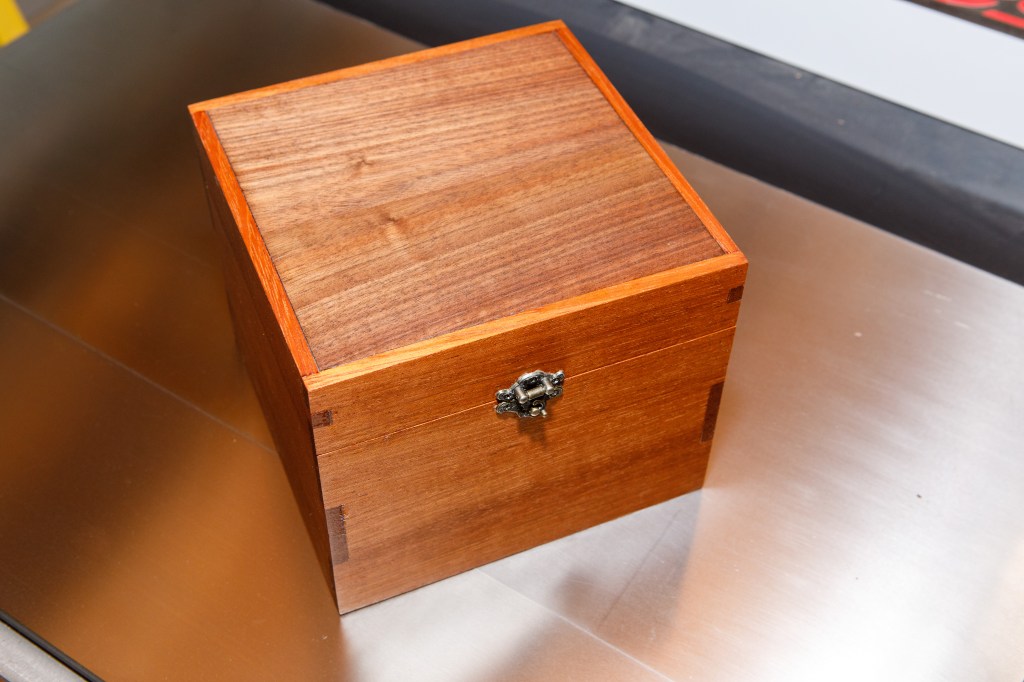
I really like the warm tones of the wood; the thickness (thinness) of the sides give it just the right feel I was looking for; and the size of the hardware turned out to be almost perfect. This all added up to a finished product that looks and feels like what I had in mind when I started. That feels good.
Here it is, the glamour shot – all oiled up and mostly hiding the accidental through dado holes.Depending on the viewing angle, two pieces which make up the lid can take on two highly contrasting tones (not seen here). I’m not sure if that’s due to grain direction or what.The cards and dividers fit perfectly, and they sit high enough out of the opened box to be easy to flip through.I bought this hardware six months ago but had not found any good use for it. I think it works well for this size of a box, the proportions feel right.
For my birthday this year, Ana gave me a 17″ Blackstone griddle which we’re planning on giving plenty of use while camping.
This model came with a hood, but I’m not comfortable just stacking things on it – which is sure to happen as we’re loading the truck up for camping. With this in mind, I set out to build a box for storage and travelling. I want to make sure that it’s protected, can have stuff stacked atop it, and is easy to pack/unpack.
This afternoon I wrapped up the simple build and the final coat of stain is drying as I type this.
It’s a simple box constructed of 1/2″ birch plywood, sitting on a 3/4″ birch plywood base. Handles are routed into the sides for easy carrying, and a set of spring loaded toggle latches affix the box to its base. With this arrangement we’re able to just lift the lid off the base and get to the griddle. We may just end up cooking with the griddle on the base.
Some testing has shown the latches to be more than capable of securely holding a pair of 20lb dumbbells so the griddle’s weight isn’t a problem.
The second coat of finish is drying here.
I added small strips of wood to aid in lid alignment and a set of braces for the griddle’s legs to set into to keep it from sliding around as it’s in transit and being carried around.
The finish is Minwax Polyshades, Classic Black, Satin. I used this combination stain and polyurethane finish before for a tablet stand for the car, so I’m expecting it to be a good fit here too. The outside is covered in three coats, while the inside has two.
Ana created the vinyl logo on her Cricut machine and in the coming days I’ll be coating the whole thing with some polyurethane to add just a little more protection.
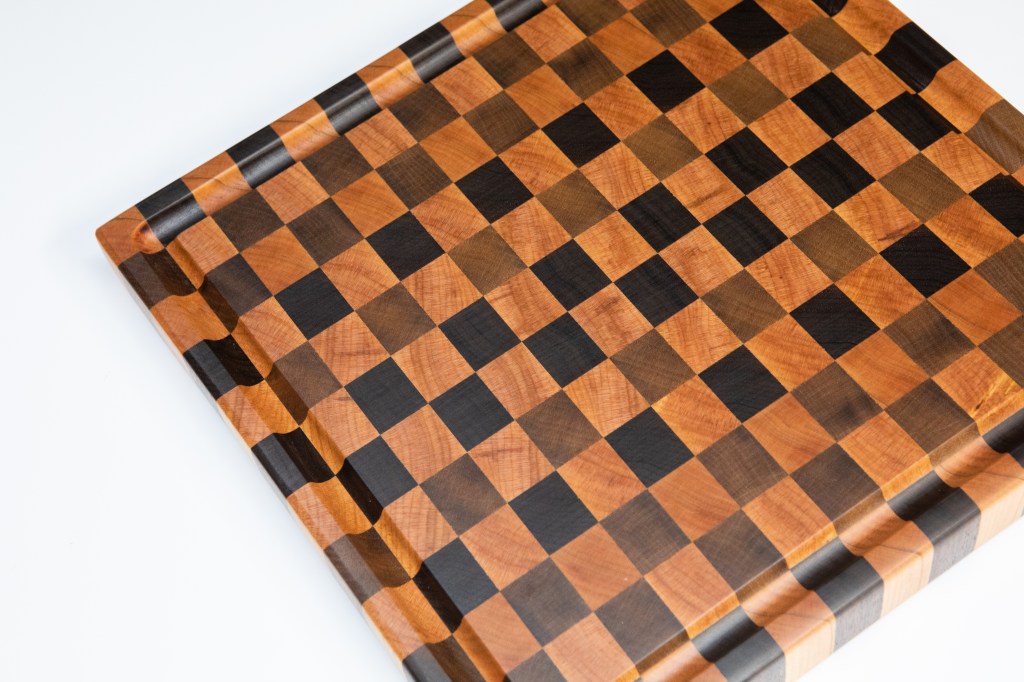
This weekend I completed my third end grain cutting board.
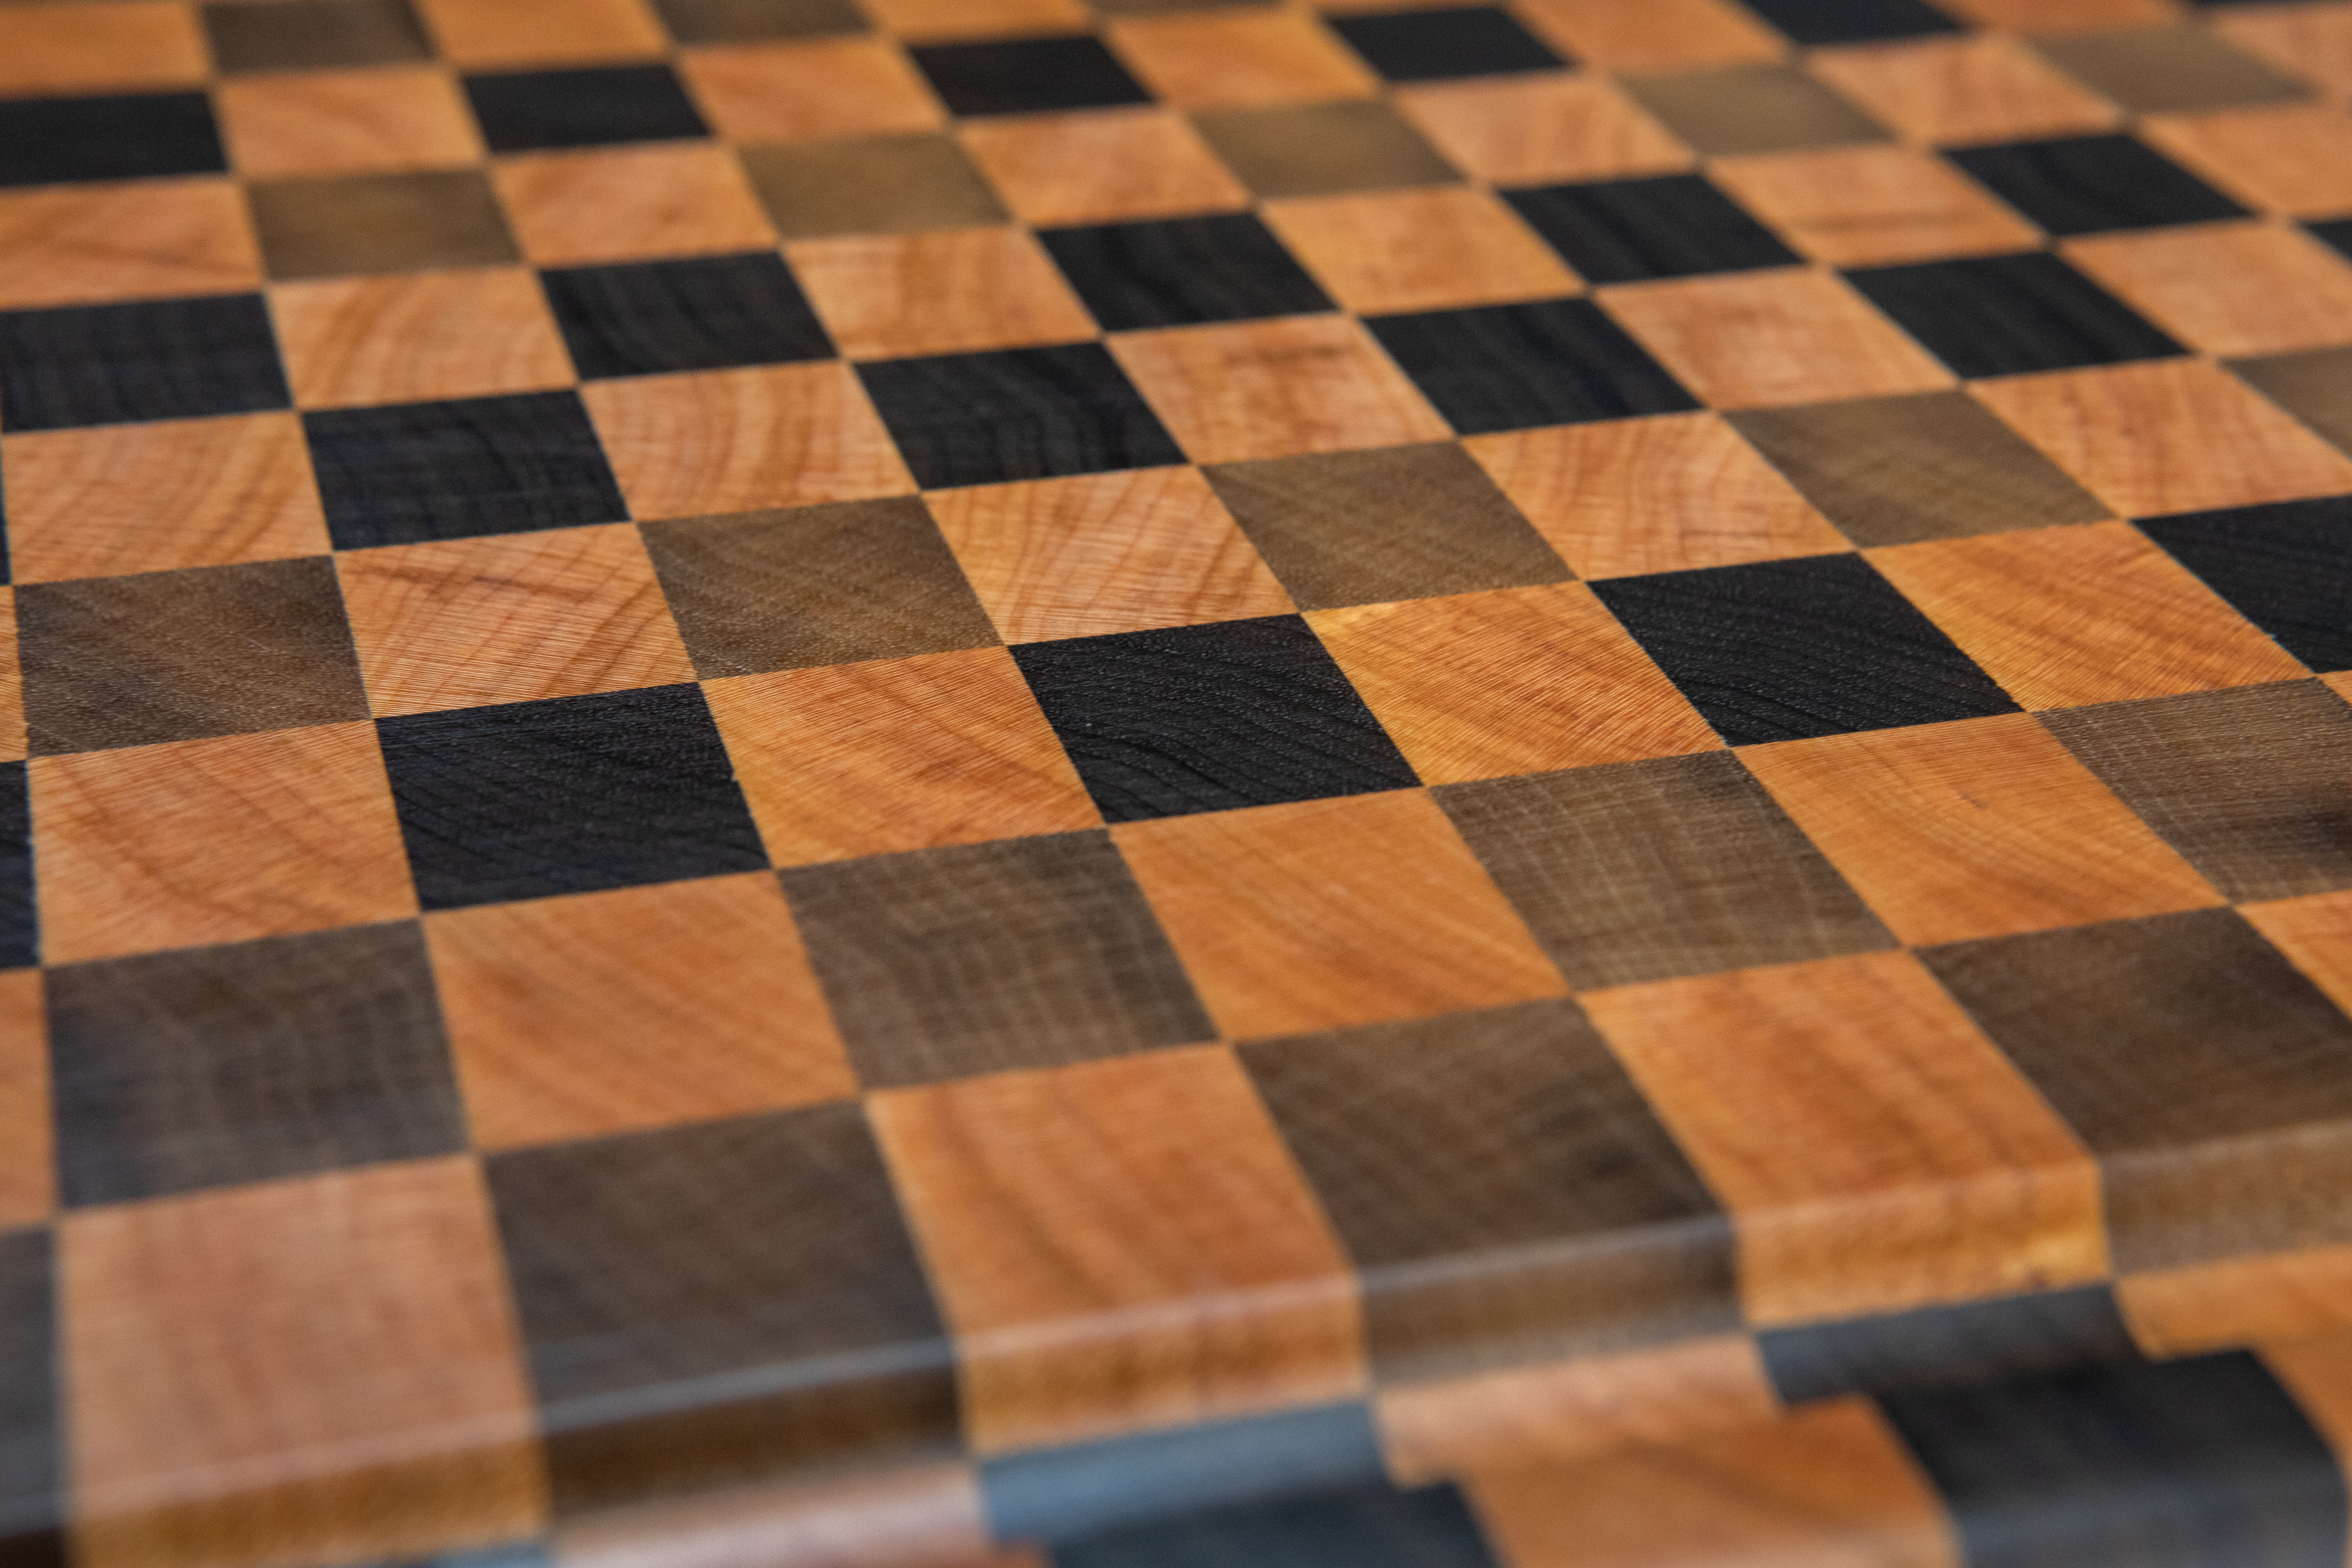
Unlike the first two, this one features a juice groove and finger grips on the sides. These were new techniques for me, so it was a tad stressful making cuts into an otherwise perfectly good cutting board. But I must say, now that it’s done, this board looks and feels like a store bought piece of kitchen equipment. I’m very happy with it.
While it looks like several species of wood, it’s actually only walnut (the dark brown) and cherry (the light, reddish brown). I got lucky with some color variations in the boards I was working with.
I’ve learned a few things from the prior boards. Notably when sanding, after the 220 grit I sprayed it lightly with water to raise the grain before hand sanding it down to 320 grit and finishing it with food grade mineral oil. After the mineral oil I topped it off with food grade wood wax.
They say these things last for years and years with proper care. I guess we’ll start that clock now!
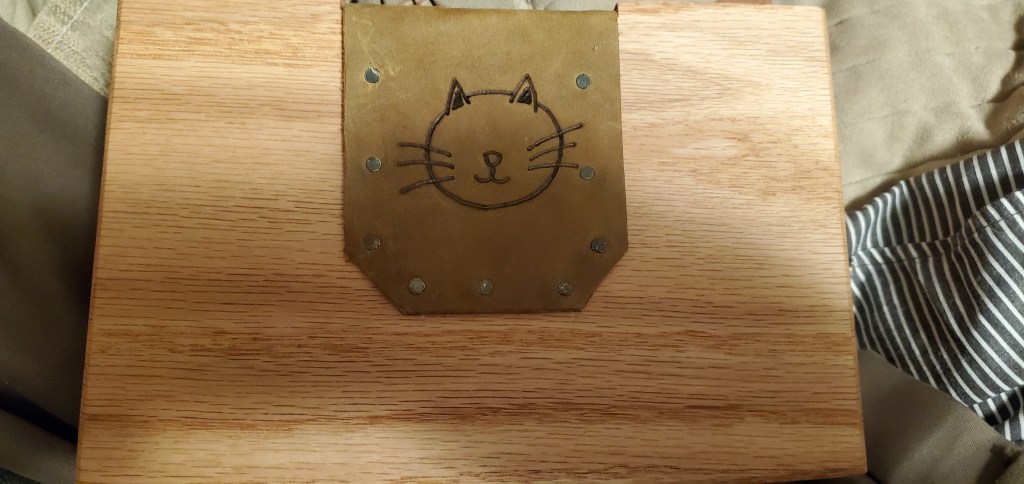
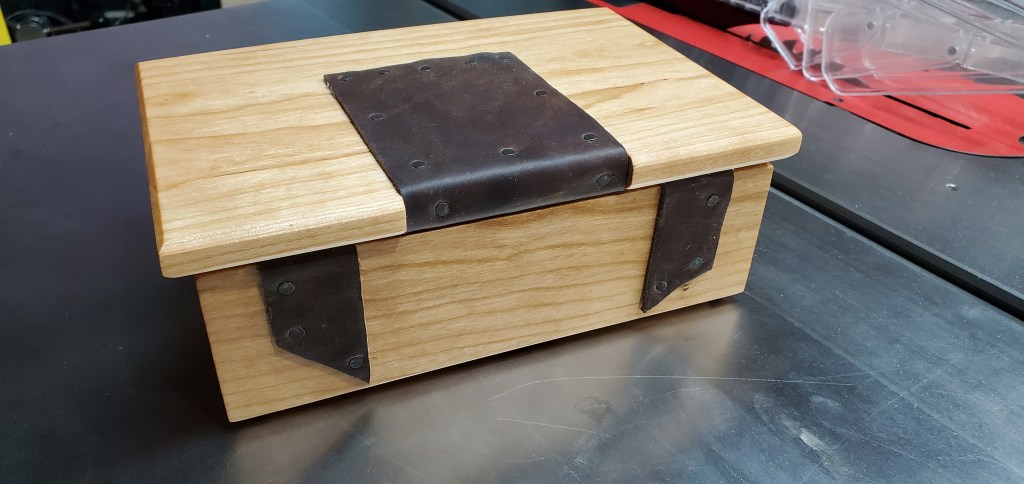
Another style of box I’ve made from the Basic Box Making book by Doug Stowe features a leather hinge. This was the second kind of box I made from the book and was the first time working with another material. They’re pretty handy, we’ve got several of them put to use in the house – holding things ranging from cat medicine to COVID masks.