The Johnson Blog

Ramblings of a geek with a few hobbies…

Tag: woodturning

  • Lantern Accent Lamp

    Lantern Accent Lamp

    Ana and I have been taking glass blowing classes together, for the past year, at the Springfield Art Association. Our instructor, Jason LaBonte has been an incredibly patient, knowledgeable, and enthusiastic teacher (go check him out!)

    This project began after we learned how to make a “fishbowl” one evening. I had been trying to think of ways to come out of the class with a keeper, ideally somehow mixed with woodworking. That project immediately brought to mind a small desk/accent lamp.

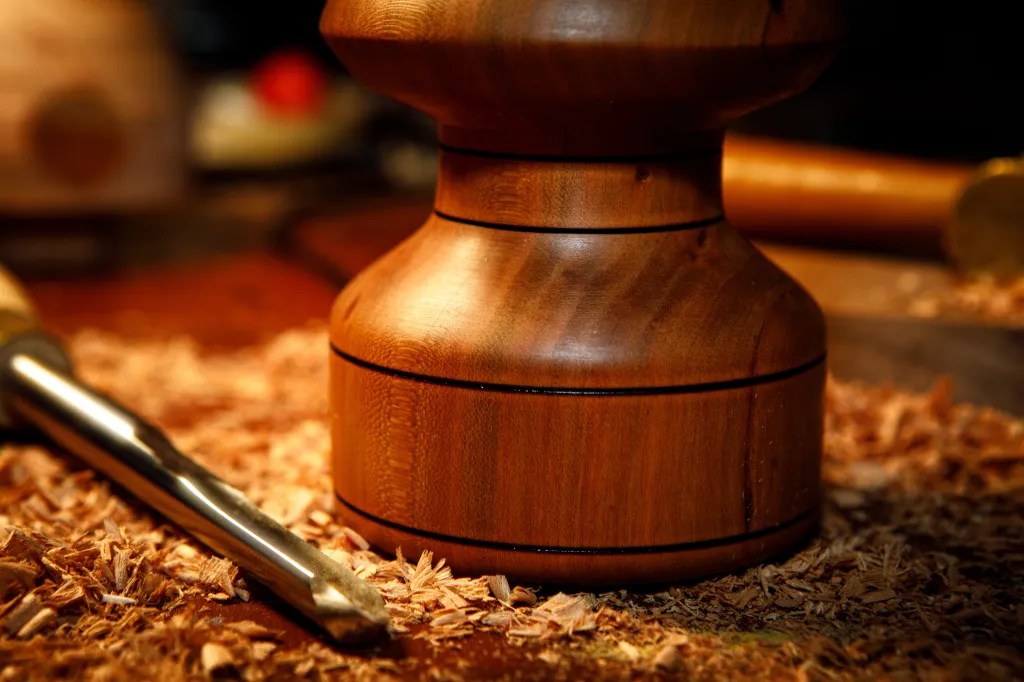
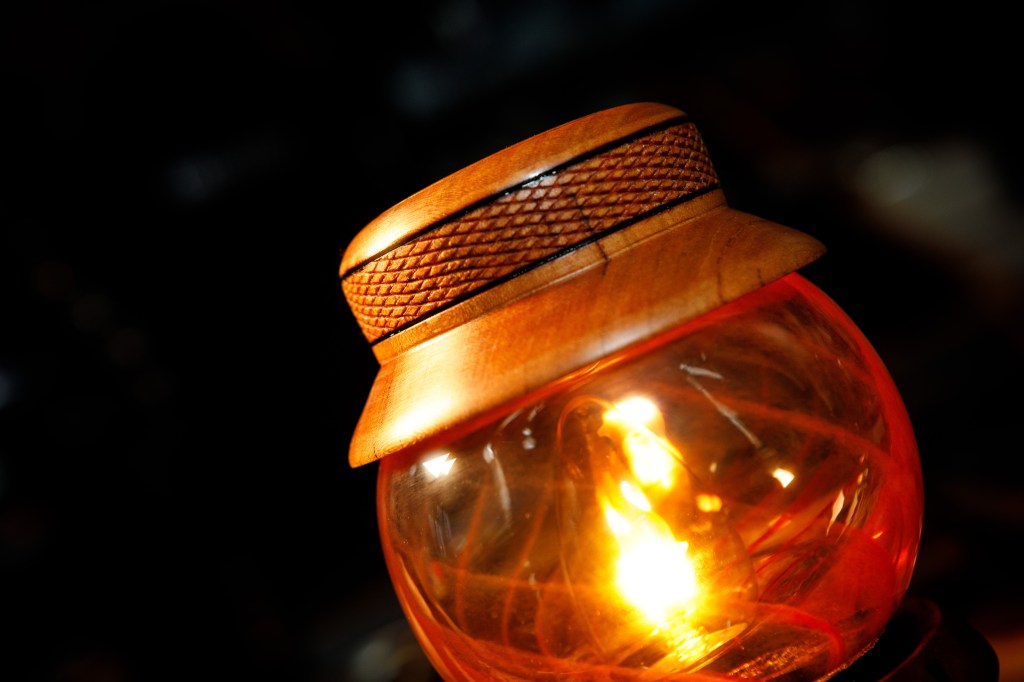
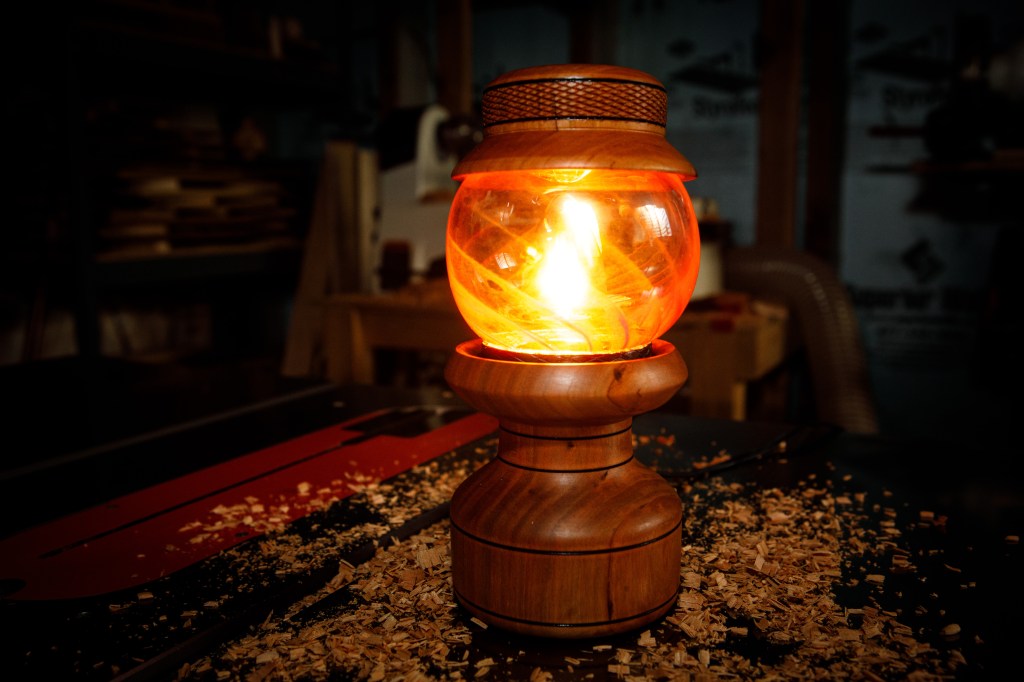
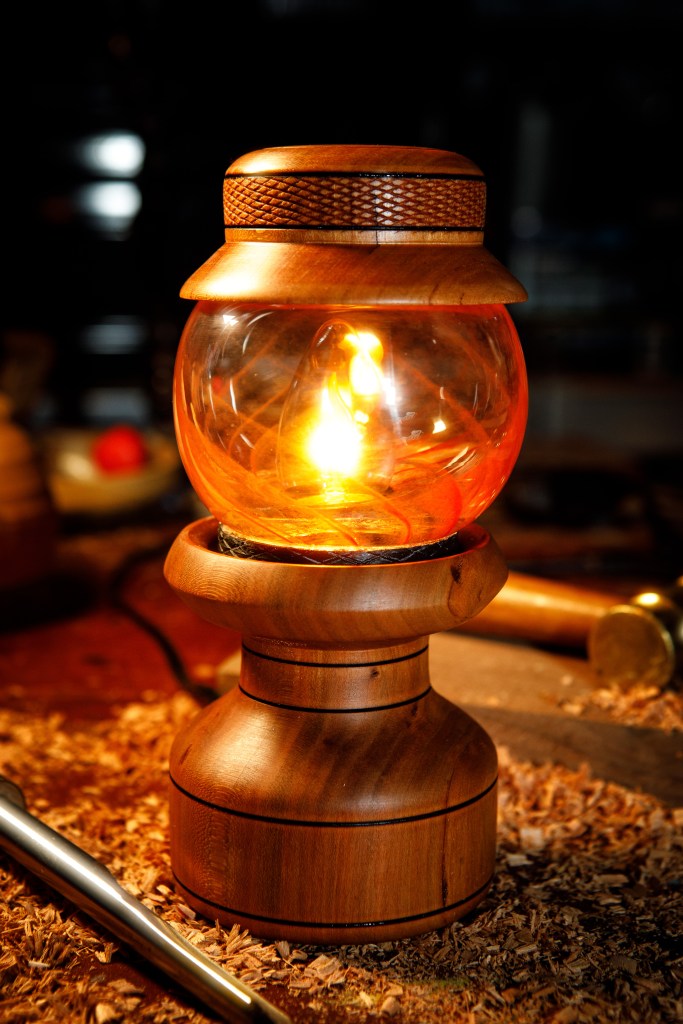
    First, let’s take a quick look at the final result. Build photos to follow.
    Lantern Base

    This started with a good chunk of cherry wood, roughly 4″x4″x14″, if I recall correctly. I cut the piece in two and set aside half for the future lantern “top”.

    I don’t have a photo of the “plans” I drew up, but the difficulty in the base revolved around boring holes of varying diameters and depths to support holding an E26 lamp:
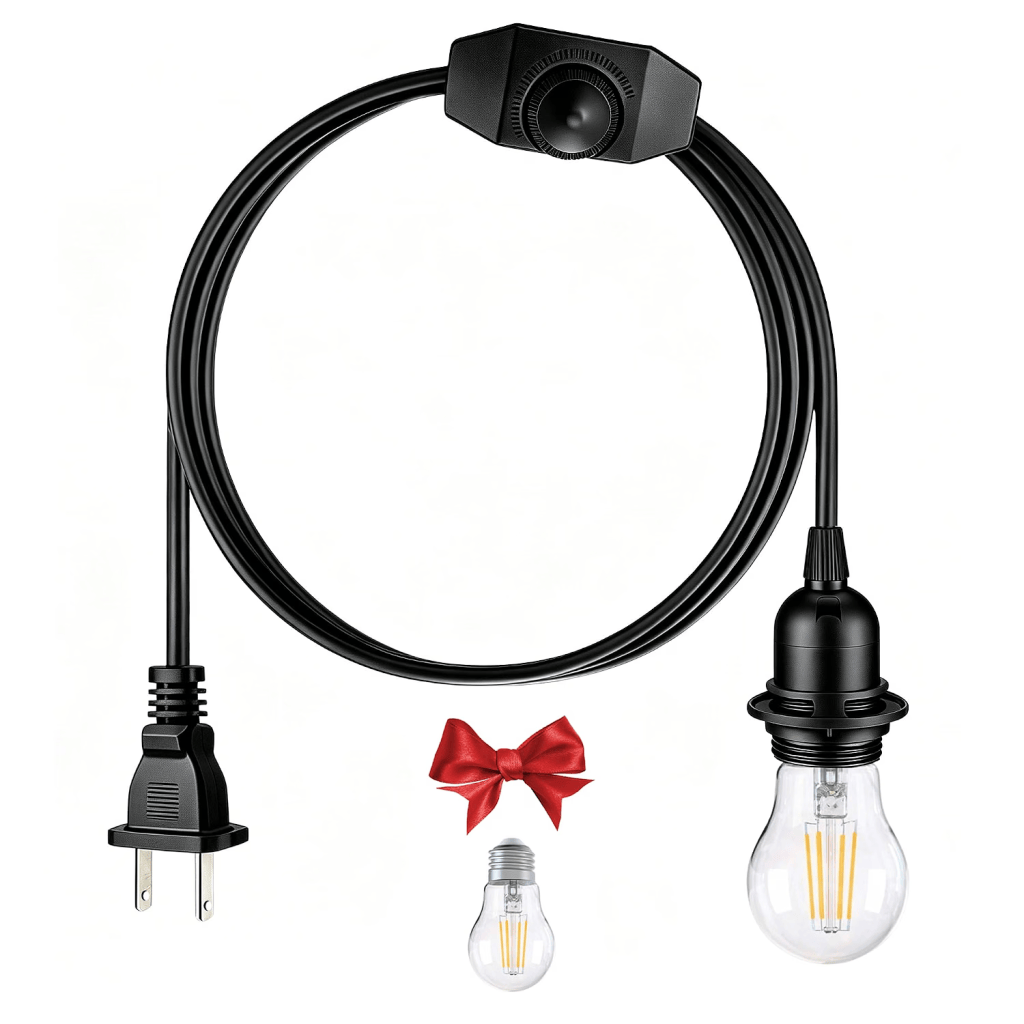
    Source: https://www.amazon.com/dp/B0G69LTL11

    First up was to turn the half-blank round, and add a good sized tenon to use larger set of jaws in hopes of reducing vibrations later.
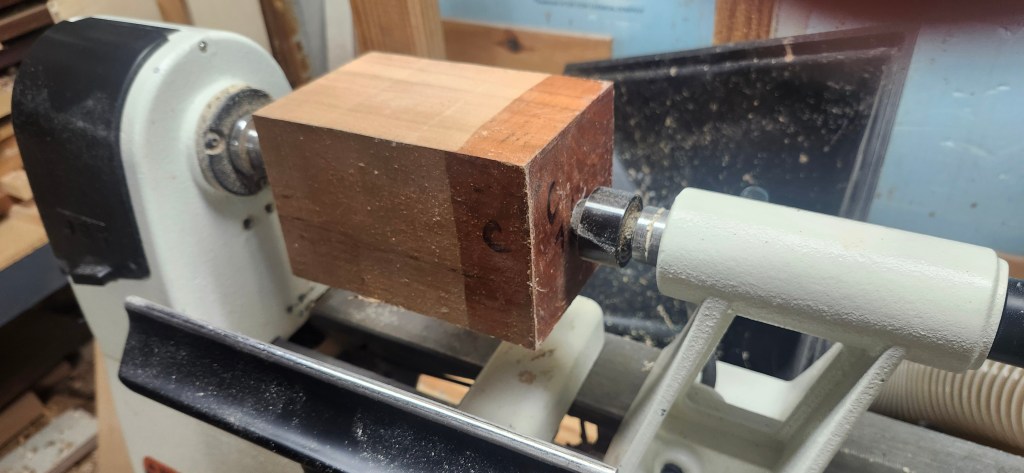
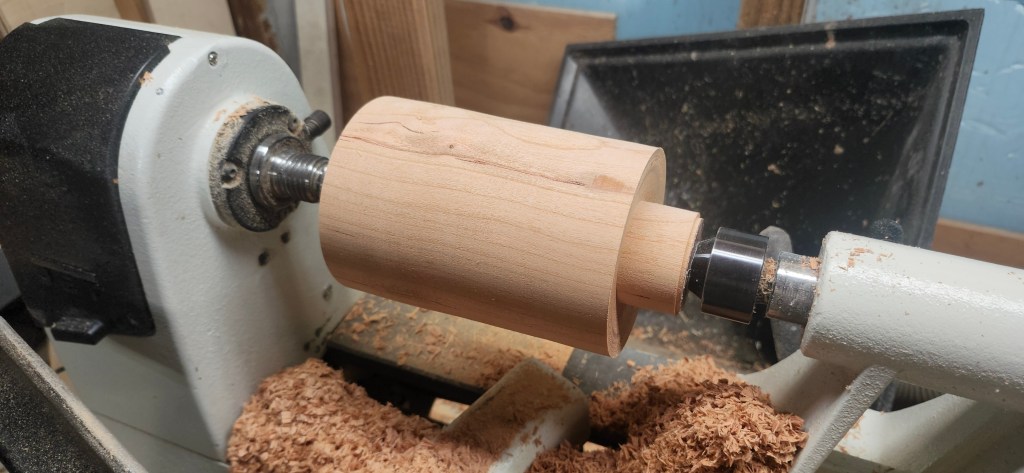
    After flipping it around, I began the boring process.
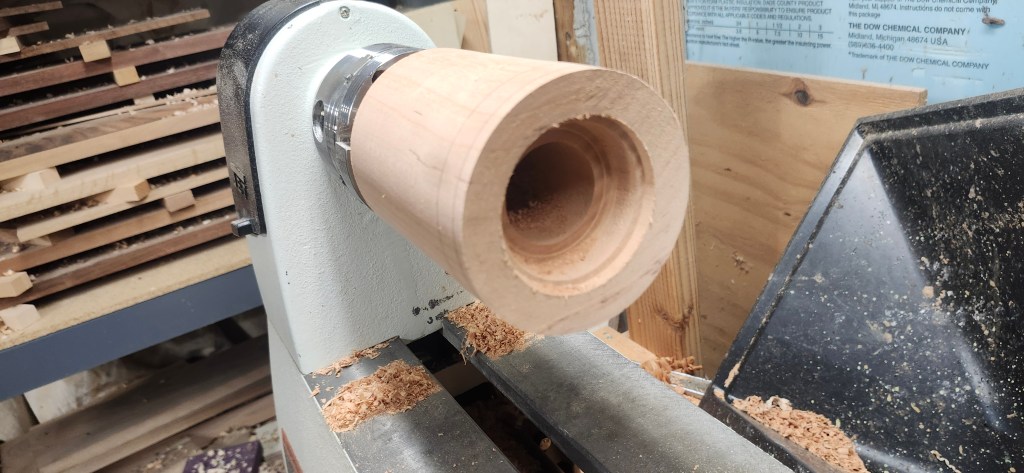
    I’m bad at taking the time to get all of the photos, but about an hour later, it looked as follows 🙂
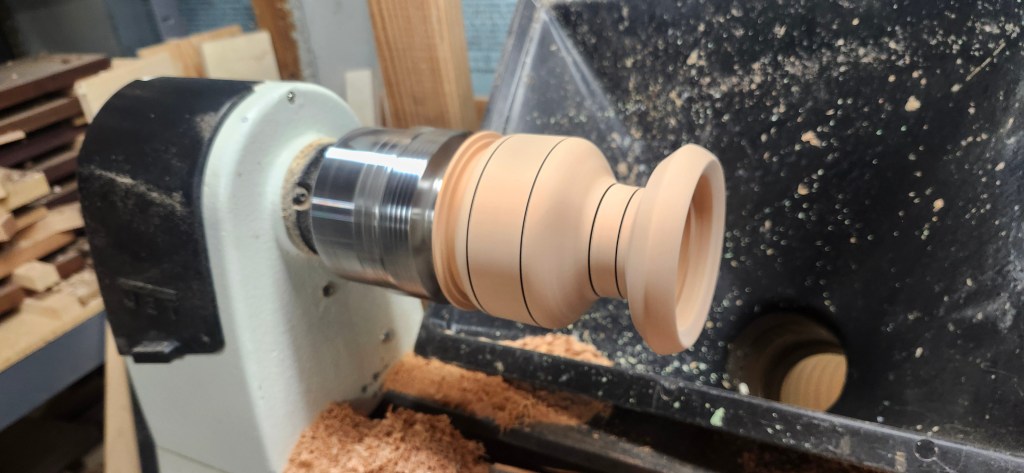
    Flipping yet again gave me access to attach to smaller jaws and bore from the other end, and finish the bottom.
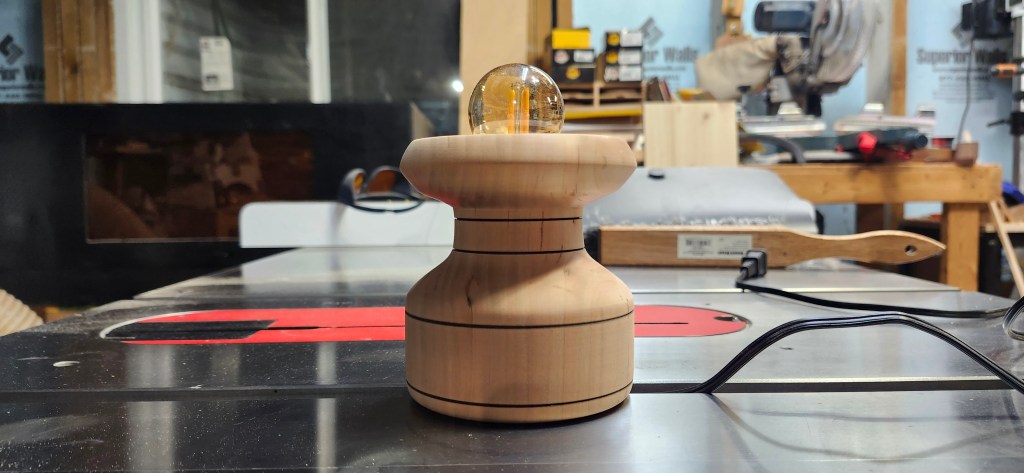
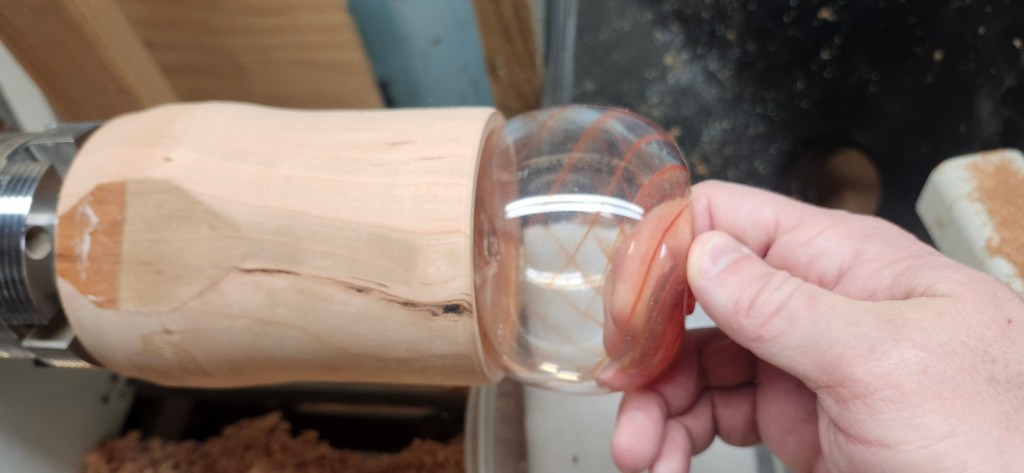
    Not shown is the groove I also put in the top, inside which I plan on embedding half a threaded ring pair so I can screw in the glass globe (with the other half of the threaded ring pair glued on).

    Globe

    And that’s where the project sat for a little while. Not intentionally. Everything was looking good, the glass globe I made in class looked like it was going to fit great. It was 10:45pm and I was done for the night, when I accidentally dropped said globe directly onto my table saw – I swear it exploded in a hundredth of a second.

    To say I was furious is a massive understatement. While I’m glad things didn’t get thrown in the basement, boy was I close. I don’t have a photo of what that globe looked like, or the aftermath. I’m glad for that right now.

    Fast forward a few weeks, and I (with Ana’s assistance) finally got a replacement globe blown. It’s a better shape, though the colors were more prominant on the original. That’ll teach me.

    Lantern Top

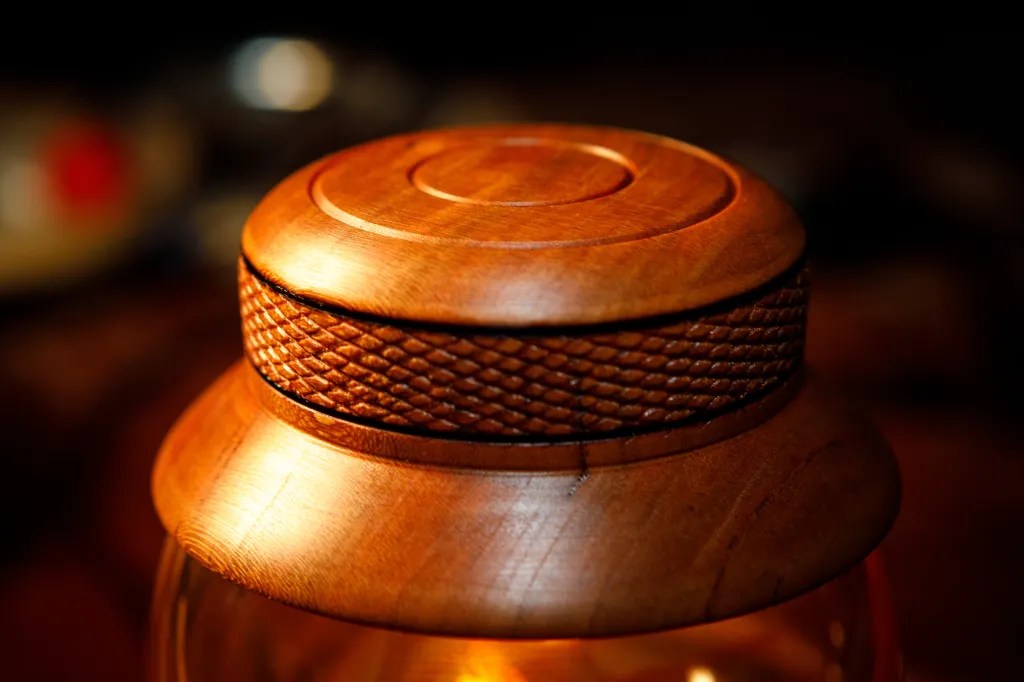
    Now with a replacement globe back in hand, I could proceed with making the lantern top. I threw the other half of the original cherry wood onto the lathe and got to work.
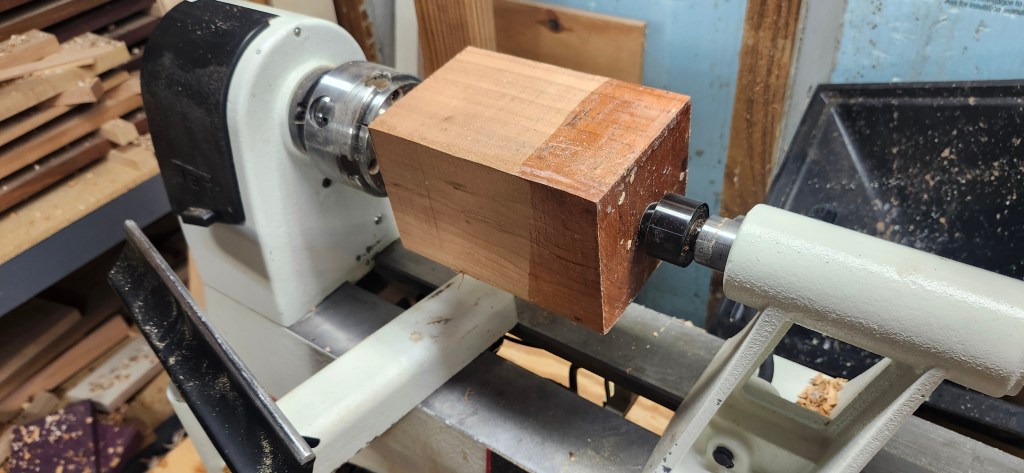
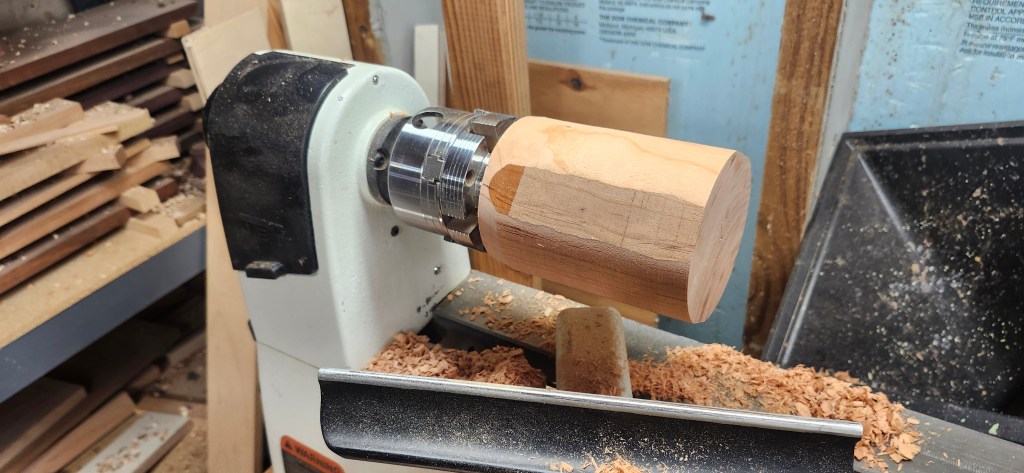
    As you can see, I burned in a par of lines and also took the risk of messing the whole thing up by using the texturing tool to add some knurling. I don’t know why, I thought it would look cool. And I think it does.

    Tung Oil

    Both the base and the top are finished with 100% tung oil. 3 coats.

    Putting It All Together

    I affixed the threaded rings (3d printed, purchased from Amazon) to the base and the globe. In the base I used CA glue. On the glass I used GE Silicon 2 glue. Verdict: the rings are a good idea, but I should have cold-worked the glass to produce a truely flat bottom on the globe. As is it doesn’t fully screw into the base due to a slight obstruction – but it does its job of preventing the glass from falling off and breaking.

    I also routed a small groove for the power cord. And finally, hot melt glued the top onto the globe. I opted for hot glue here because it was easier to use than the silicon. Though the first attempt didn’t fully take because of the aforementioned oil. Attempt 2 is under way after a light sanding of the inside of the top with 120 grid sandpaper – hopefully to give the glue something to hold onto. To be determined.

    Flicker Bulb

    Rather than a regular, low-lumen LED bulb, I opted for a “flickering” model which looks a bit like a dancing flame.

    So that’s it. It’s sitting on my desk here at home, providing a nice little glow to the room – and I love it!

    It’s so satisfying to come up with an idea and turn the raw materials into something geniunely nice to look at, and useful at the same time.
  • Maple Ring Box

    Maple Ring Box

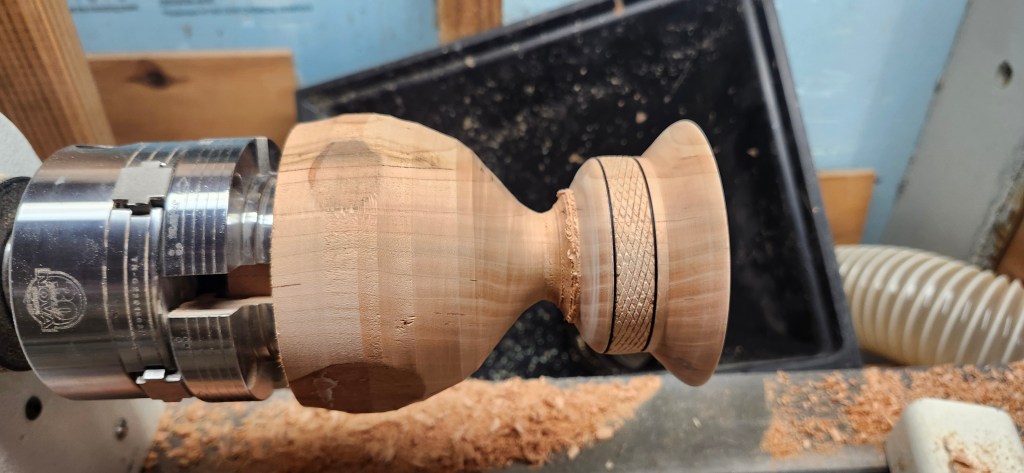
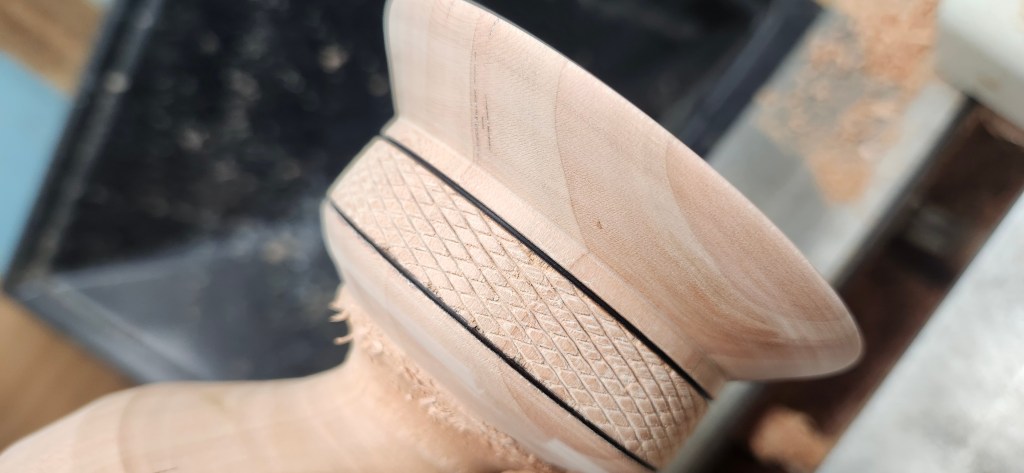
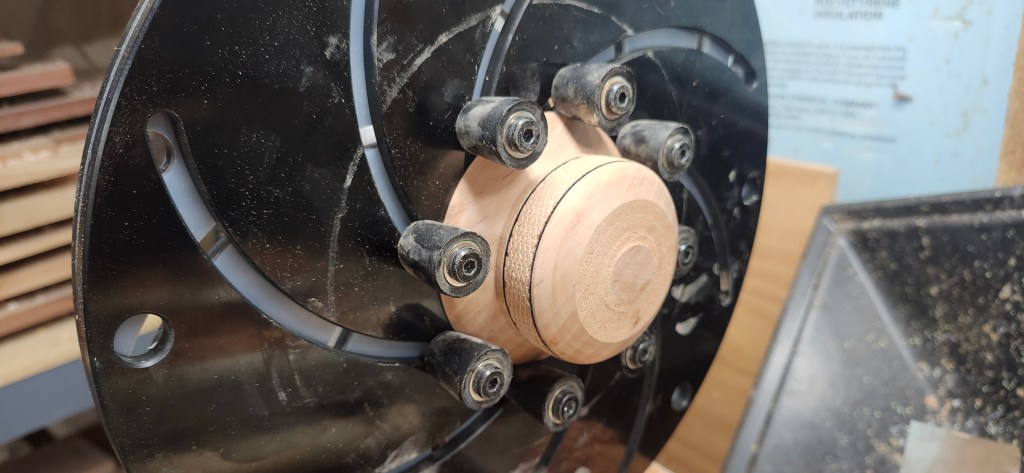
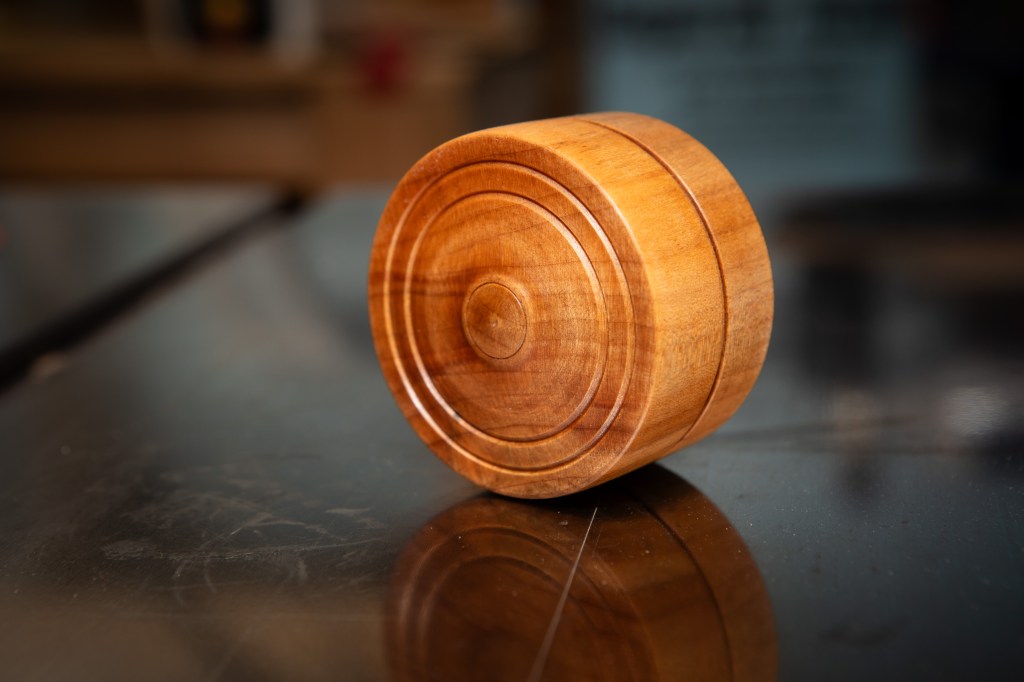
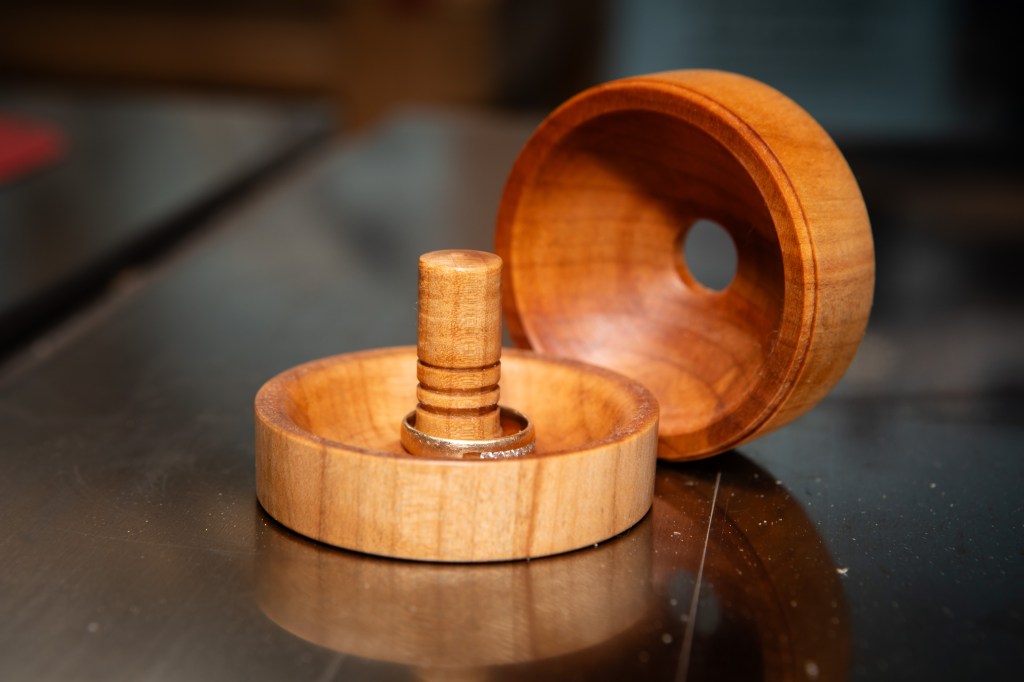
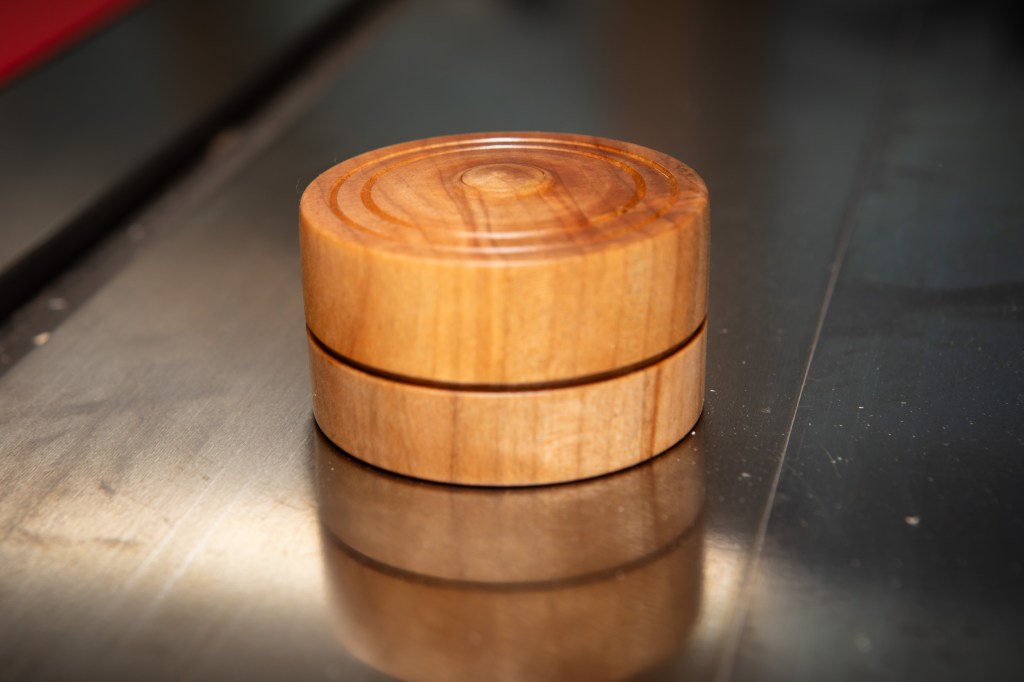
    I recently watched a great video by Tomislav Tomasic where he made this ring box, and I just had to give it a try.

    I had a piece of maple sitting around which I didn’t mind losing if things went south, and the results were great. The fit is perfect, closing with a satisfying snap – and staying there.

    I finished it with 3 coats of natural tung oil (50/50 mix with citrus solvent).

    If you’re a turner and haven’t discovered Tomislav (I’m not sure how that’s possible), he’s a great teacher. Thanks Tomislav!

  • Campfire Roasting Forks

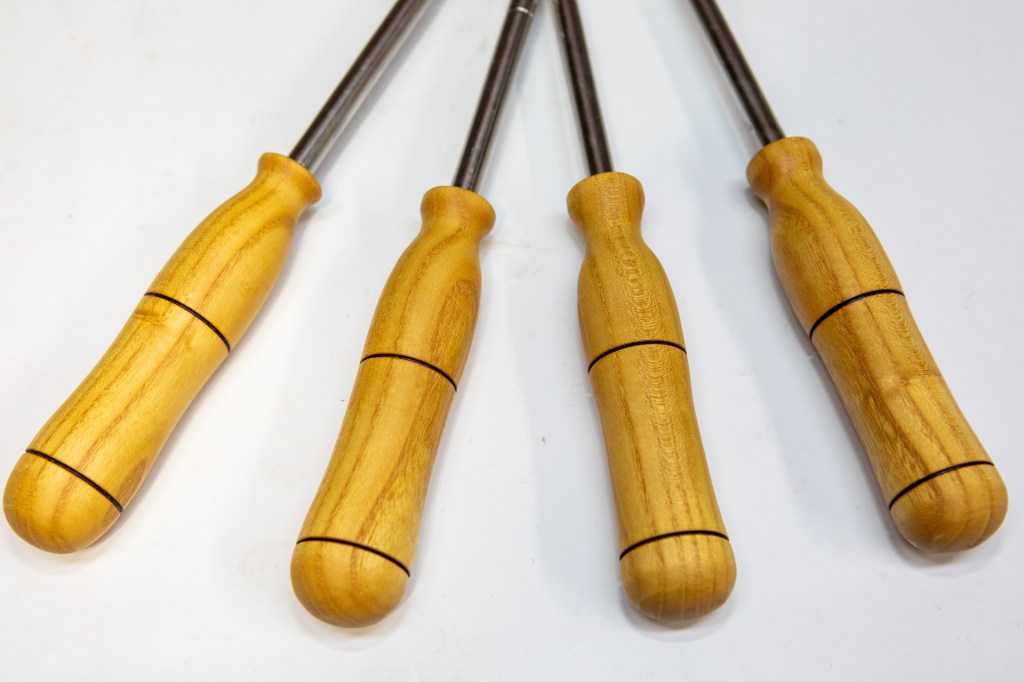
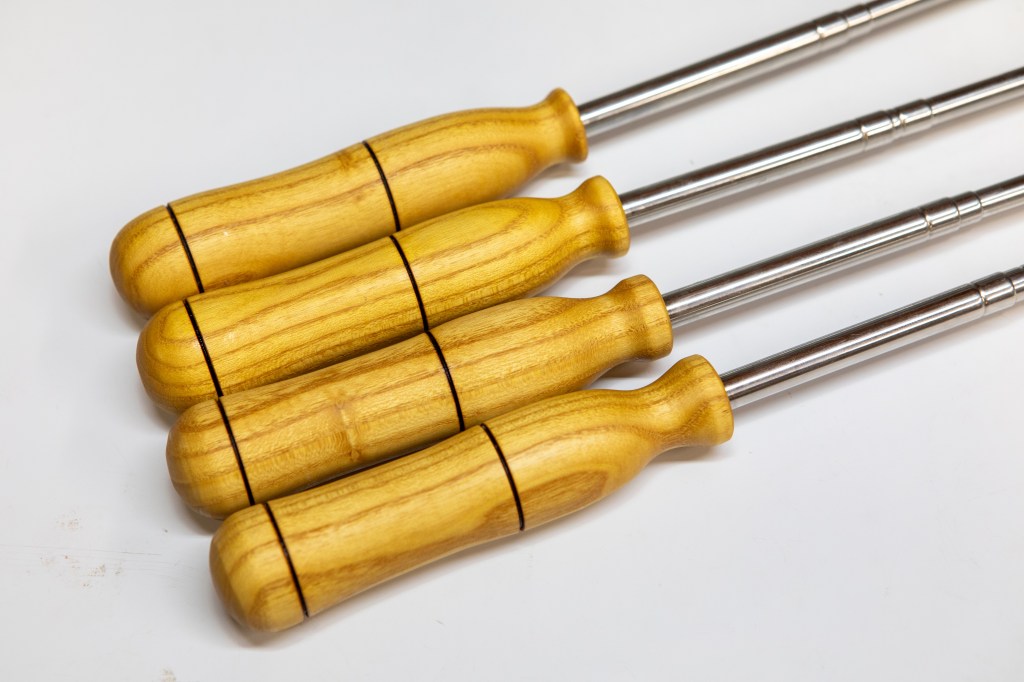
    A few months ago, we visited a Woodcraft where they had a Campfire Roasting Fork Turning Kit on sale, so I picked it up. I knew winter was coming and there would be some to get them made.

    That time came last week. I hunted through my wood stash and found a couple perfect pieces of Mulberry and got started turning a set of handles.

    The set of four came out nicely, they actually look like a matching set. Good thing I threw away the first one, the one I tried without sketching a profile – wow it was ugly.

    Anyway, fun project and I’m certain they will get put to use this year when camping.

  • Logs to Bowls

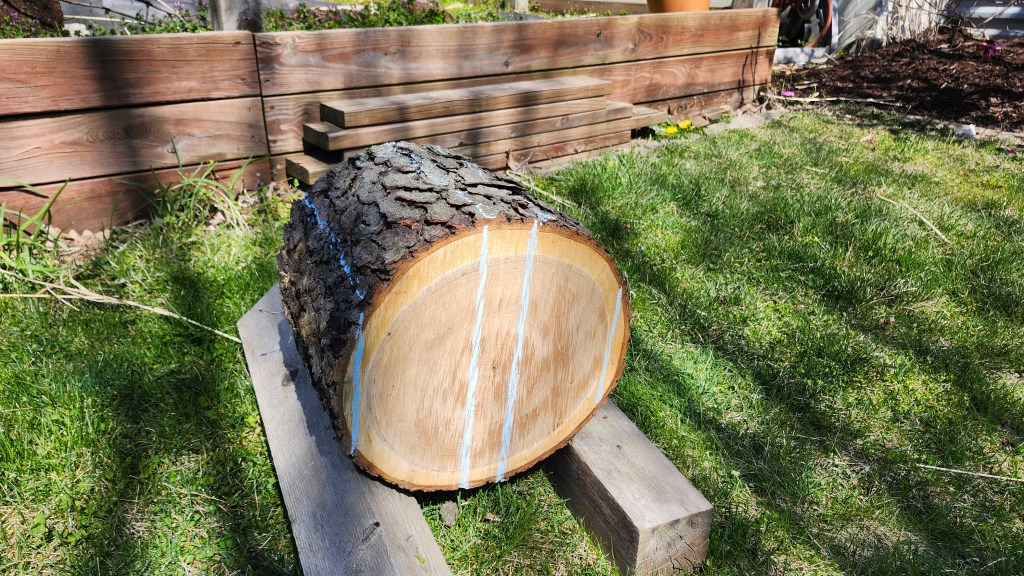
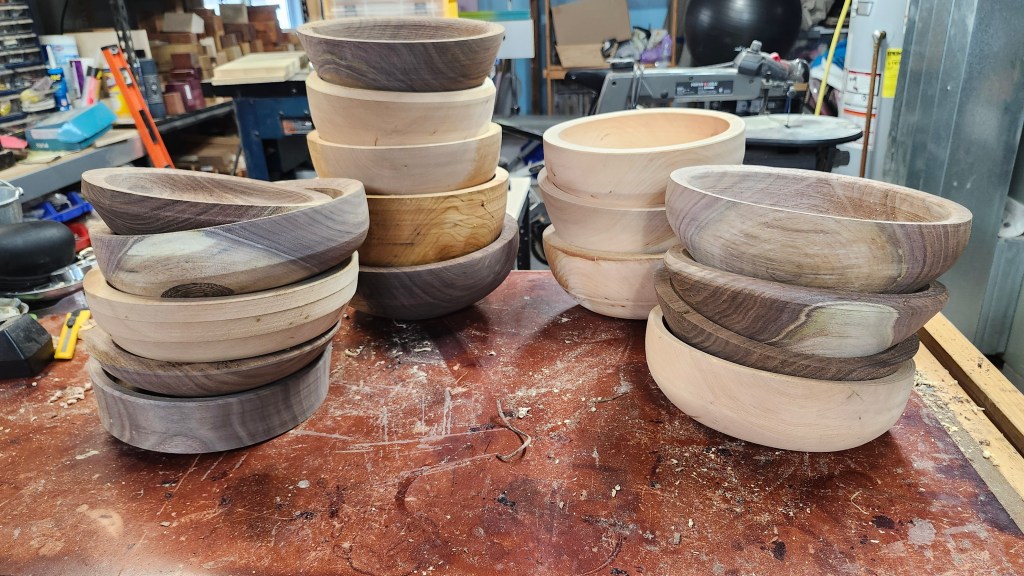
    Earlier this year I was given several logs from which to make bowls. This includes several varieties: cherry; walnut; bradford pear; honey locust; and others.

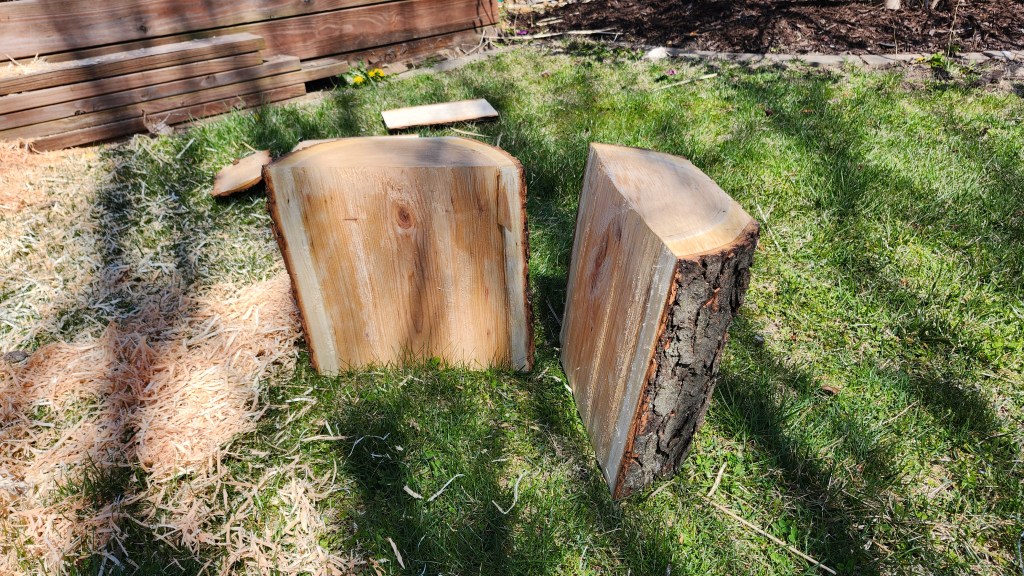
    I don’t have a sophisticated setup, and have never processed logs on my own so it was a learning experience.

    I ended up with far too much waste, but I did also end up with a good set of bowl blanks which I then took the time to rough turn on the lathe to cut down some of the weight and help the drying process.

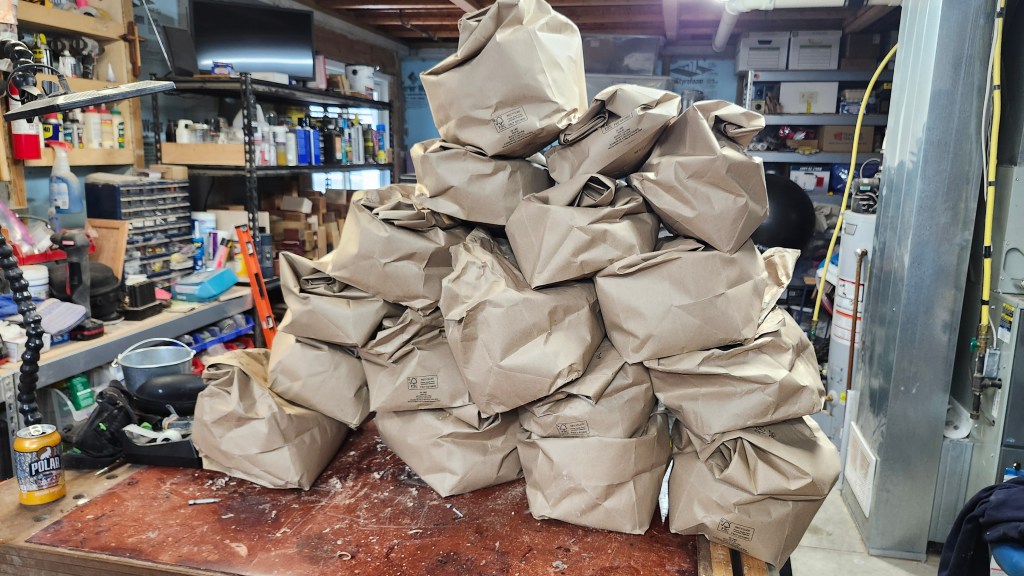
    After the initial roughing out, I weighed each blank and placed them into a paper bag with some of their shavings. Every 4-6 weeks I re-weighed and recorded the info on the bag. Once I see the weight loss has stabilized, I know they’re ready to be finally turned into bowls.

    Now I have a good stash to make it through the winter.

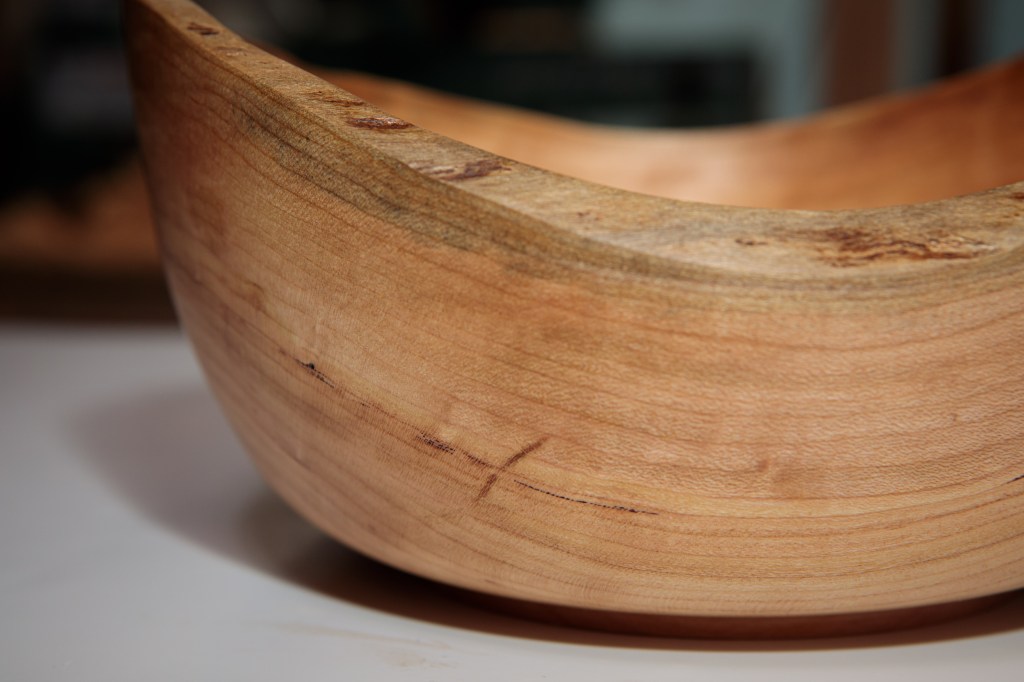
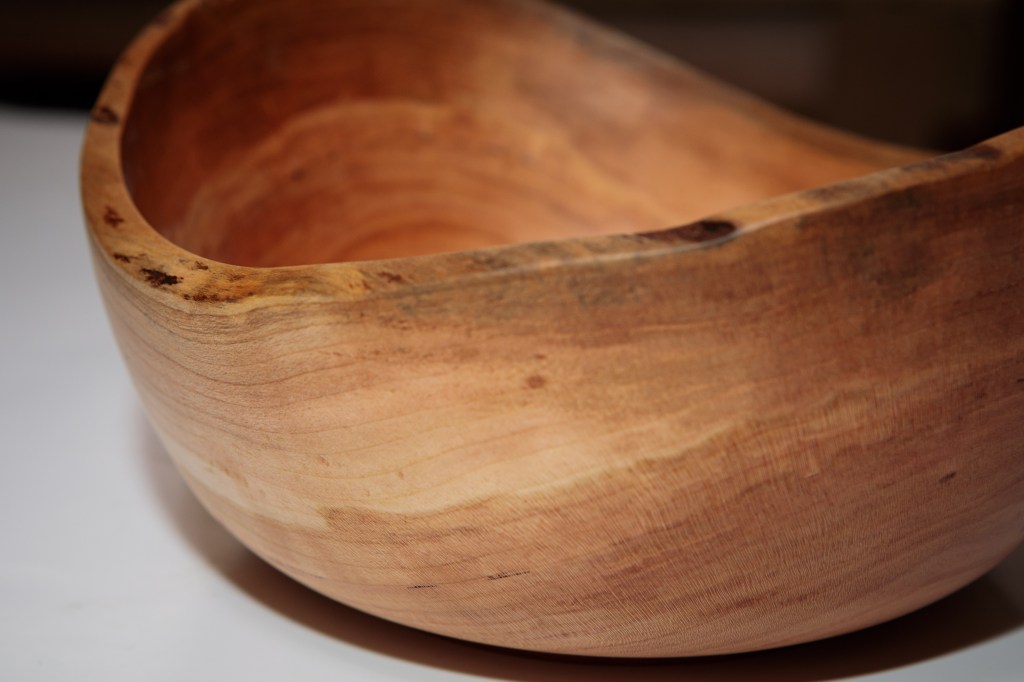
  • Natural Edge Bowl

    Natural Edge Bowl

    I have now had my lathe for a year. When I first starting using it, my goal was to be able to make some simple things by the end of the first year. I was able to achieve this, and even start turning some basic bowls.

    Last week I decided to try a more ambitious bowl – one starting from a far more raw form than the “blanks” I’ve been using, and much larger.

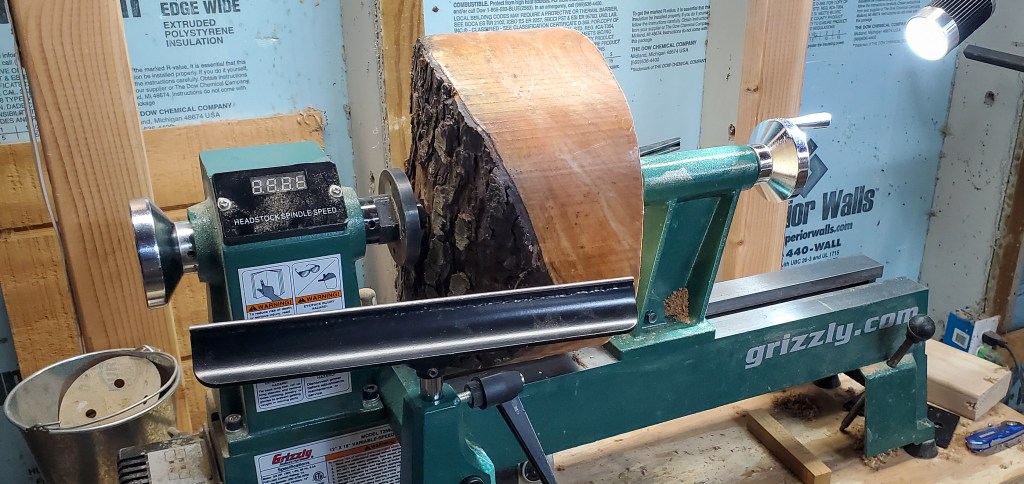
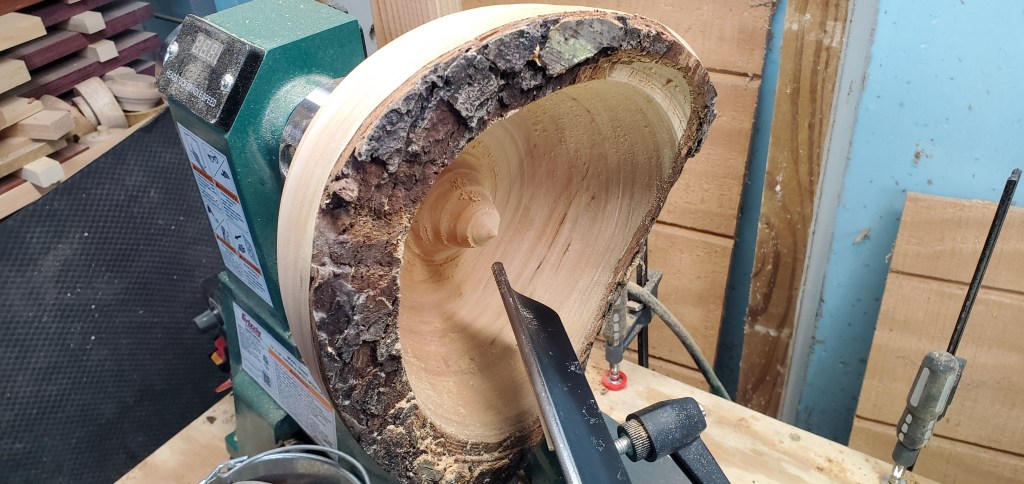
    Enter this nice piece of cherry, which only barely fit on my lathe. This tool can handle up to 12″ round, this one clocked in at 11 1/2″. It’s also the heaviest thing I’ve tried on this machine.

    It was rough starting out. I initially had the lathe set to the lowest speed in the High range, and boy did it complain. It was slow to start, quick to slow down under pressure, and had just enough vibration to make cutting a struggle.

    Once I got smart and changed the belts to Low mode, things went much better and progress much quicker.

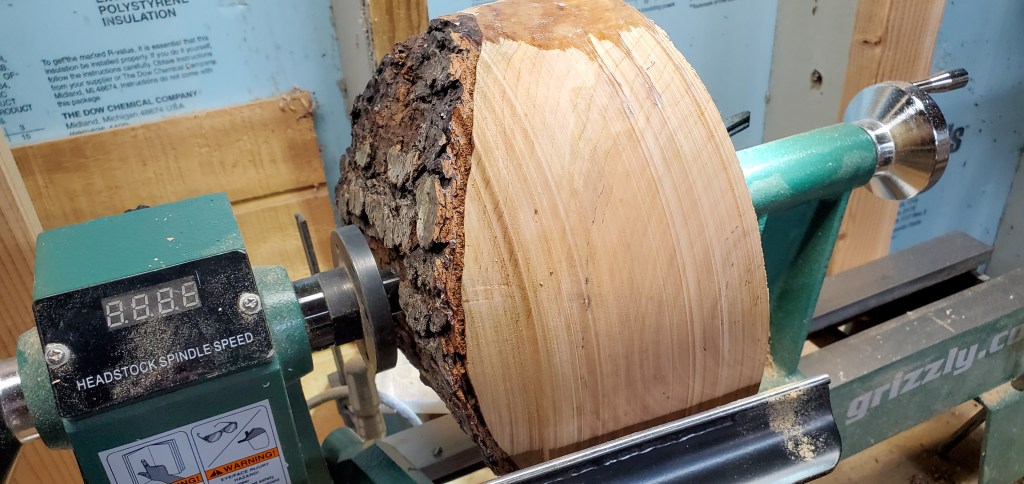
    It wasn’t too long until it actually started to look like a bowl – at least on the outside.

    I had every intention of making a live edge bowl – meaning the bark remains along the rim. It started out well, but eventually enough came off that I decided to strip all of it and end up with a natural edge bowl instead.

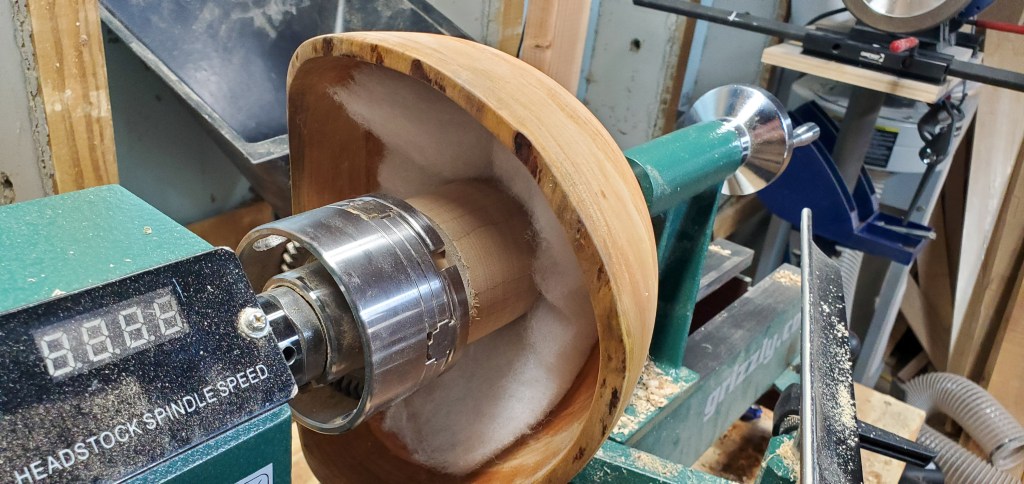
    After the main portion of the bowl was complete, I made my first jam chuck and turned the bowl around (with some quilting batting from Ana) so that I could complete the bottom. 4 months ago, the thought of having to first turn a jam chuck on the lathe before using it was daunting. Now? Not so much. Progress.

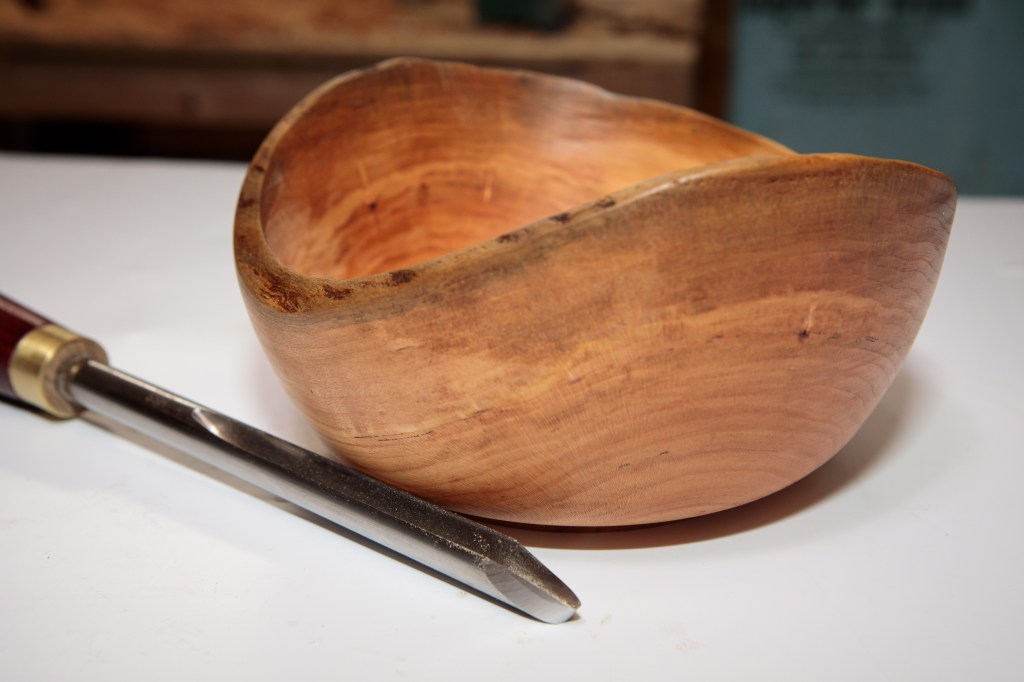
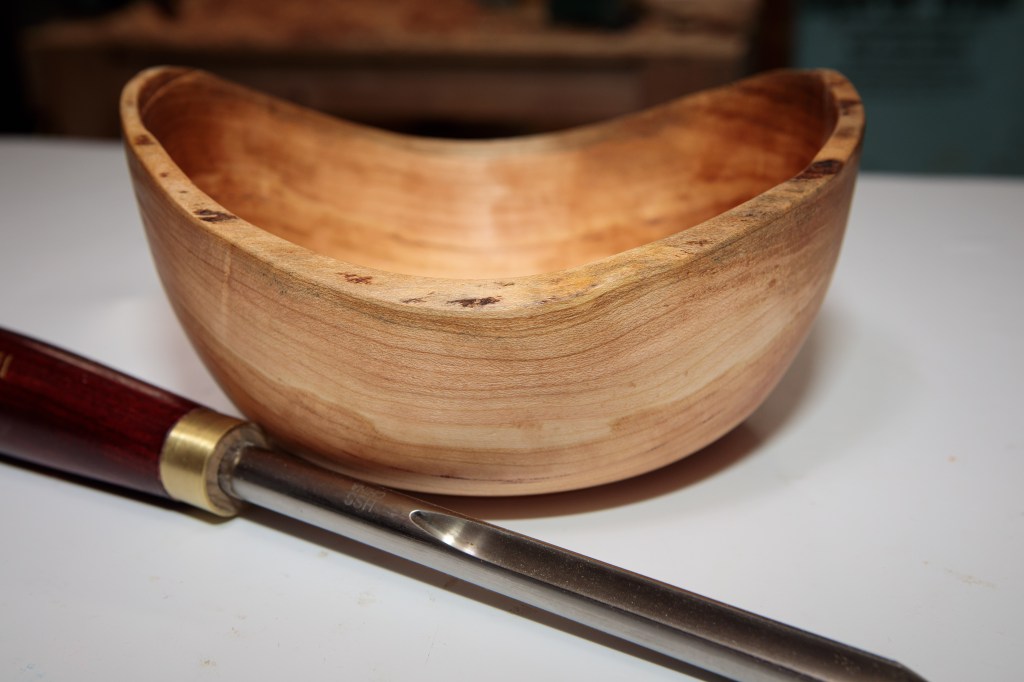
    After turning and applying some tung oil, the bowl was complete. There are still some tool marks in the bowls I make, and this one is no exception. I am, however, improving with each one I make. I’ve also made some great strides with regards to sharpening, which helps tremendously.

    Here’s the final product! I don’t know what we’ll do with it, but it feels like a bit of a milestone I’m proud of.

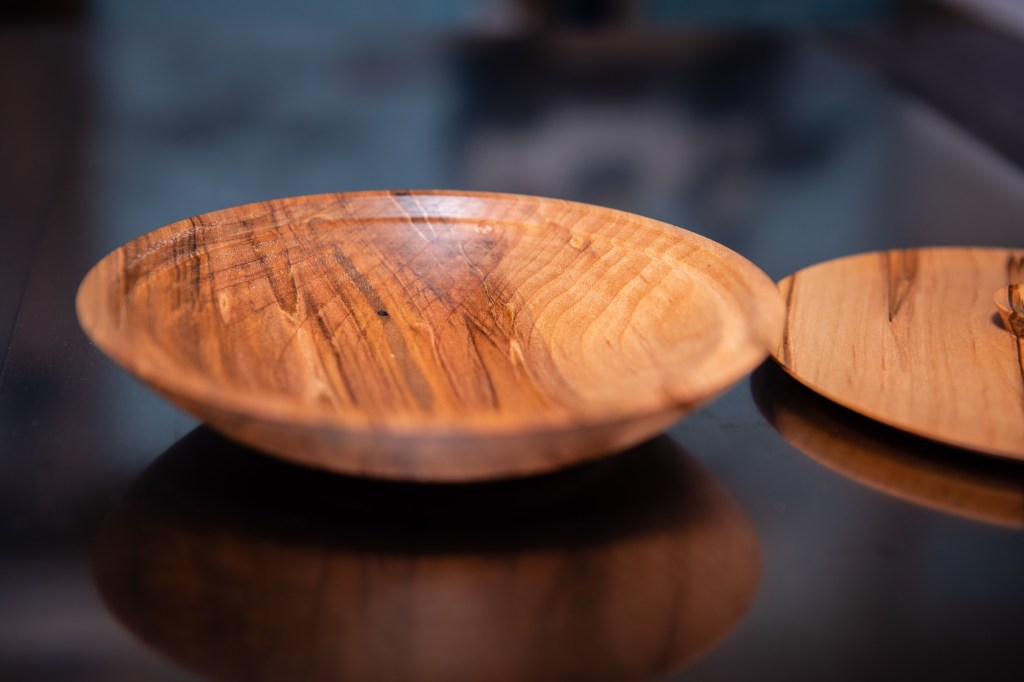
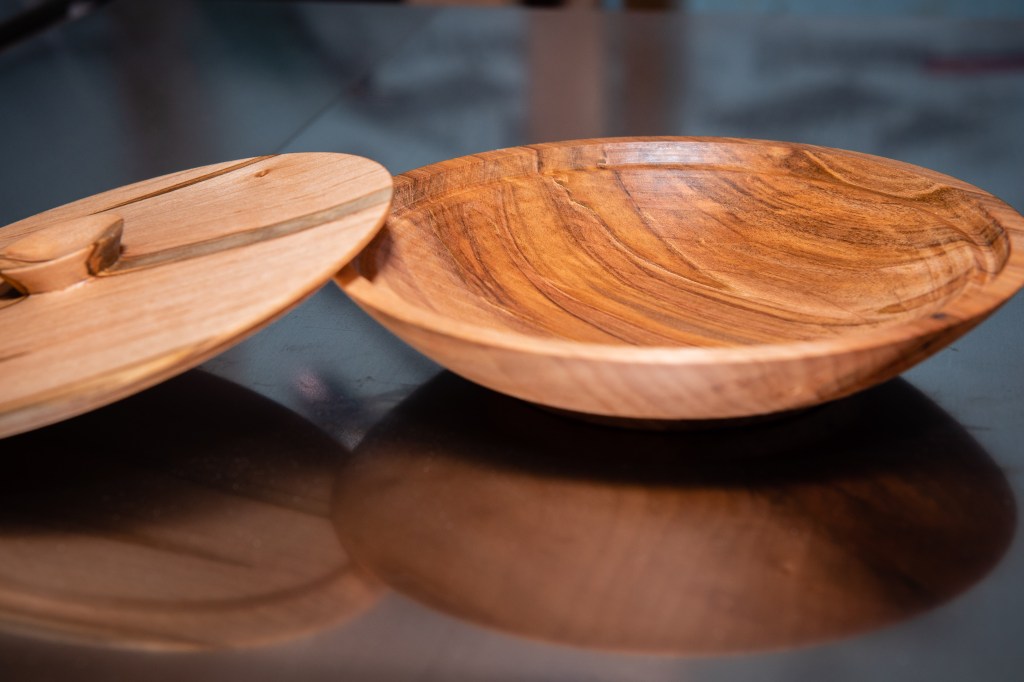
  • Lidded Bowl

    Lidded Bowl

    Furthering my effort to chronicle my projects and progress with a woodworking lathe, here’s my latest creation. My first bowl with a lid.

    Using Kent Weakley’s great tutorials and videos at https://turnawoodbowl.com, this was a breeze. Since I really only have small stock available, the results are quite a bit smaller than I’ve seen elsewhere but I’m still learning the basics.

    This one is made out of two pieces of spalted maple.

  • Maple Candy Dish

    Maple Candy Dish

    To get some woodturning practice in this afternoon, I turned a small piece of maple (6″x6″x2″ I believe) into what I’m calling a candy dish.

    It isn’t a regular bowl shape. Rather, there’s a small base upon which the dish sits and the sides of the dish have more character than a simple bowl shape.

    A maple “candy dish”

    Looking at it now after a few hours, I can see the base could use a little shaping itself and possibly be made a little shorter. I find it funny that I’ve seen bowls and dishes my whole life but it isn’t easy to come up with pleasing shapes when turning. This is close, I think, but could benefit from some tweaks.

    Two other new things for me in this piece are: 1) the black groove, burned in with wire, and 2) the use of friction polish to give it it’s glossy finish.

    I bought this wood as cheap practice blanks but, wow, I really like how they look.