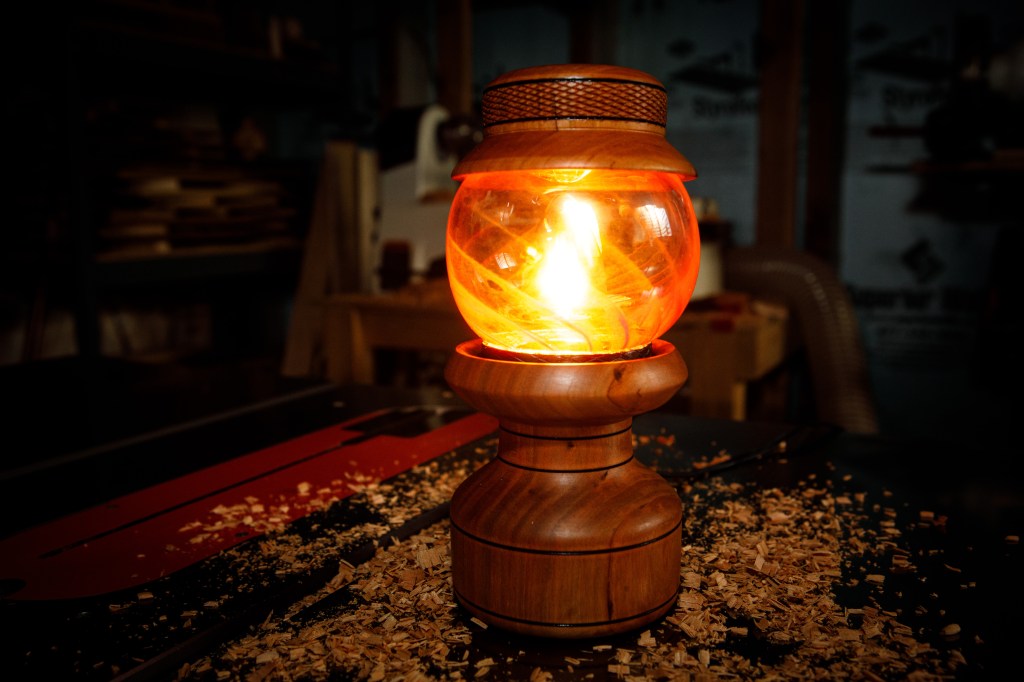
Ana and I have been taking glass blowing classes together, for the past year, at the Springfield Art Association. Our instructor, Jason LaBonte has been an incredibly patient, knowledgeable, and enthusiastic teacher (go check him out!)
This project began after we learned how to make a “fishbowl” one evening. I had been trying to think of ways to come out of the class with a keeper, ideally somehow mixed with woodworking. That project immediately brought to mind a small desk/accent lamp.
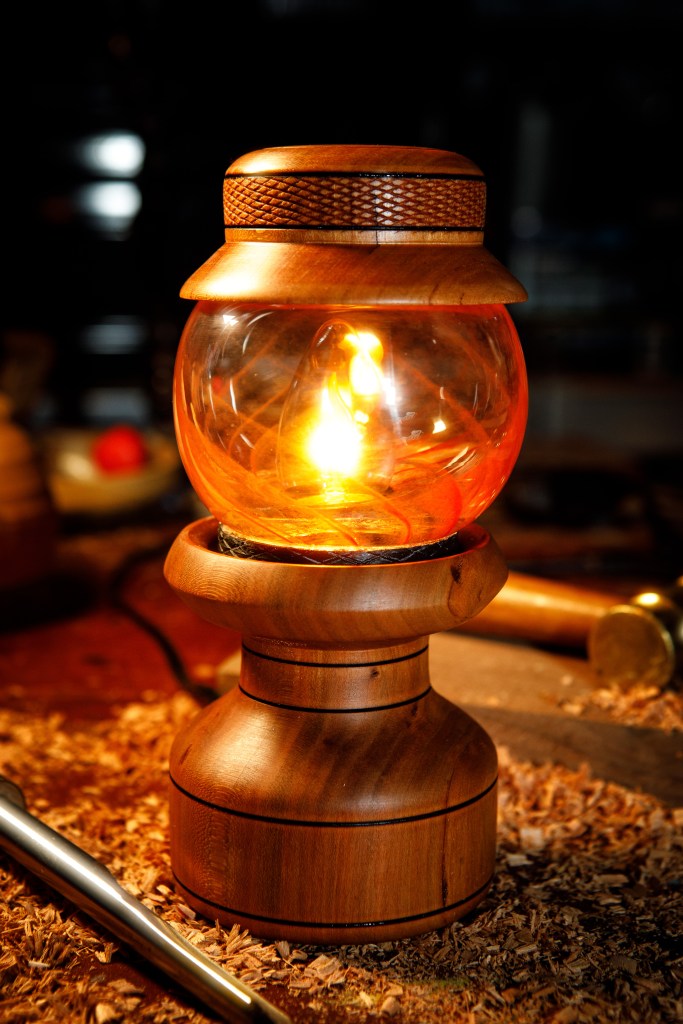
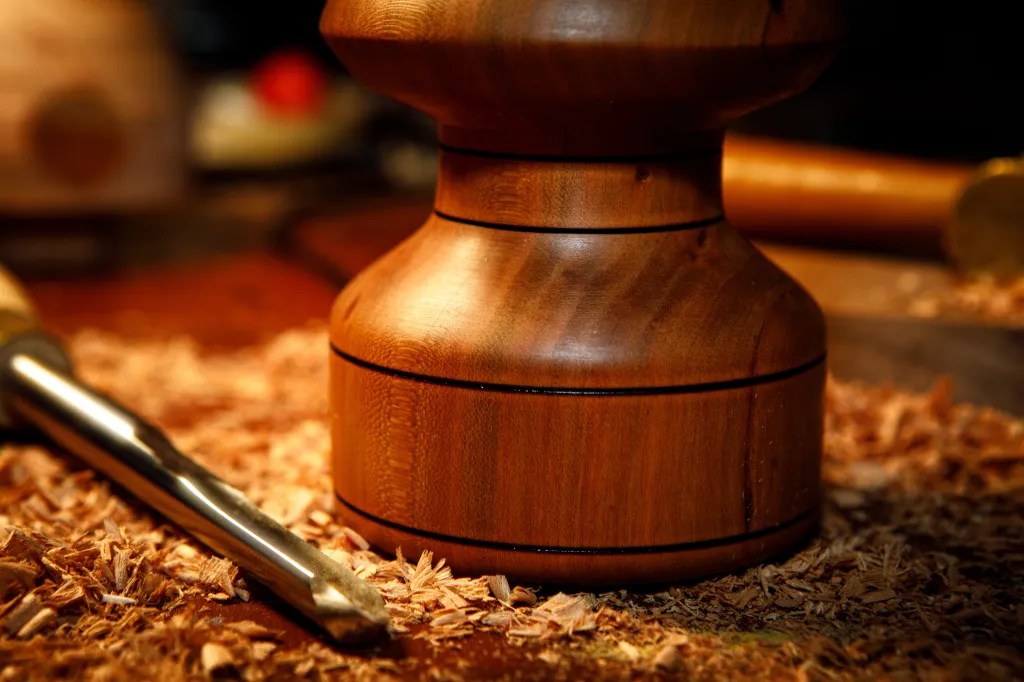
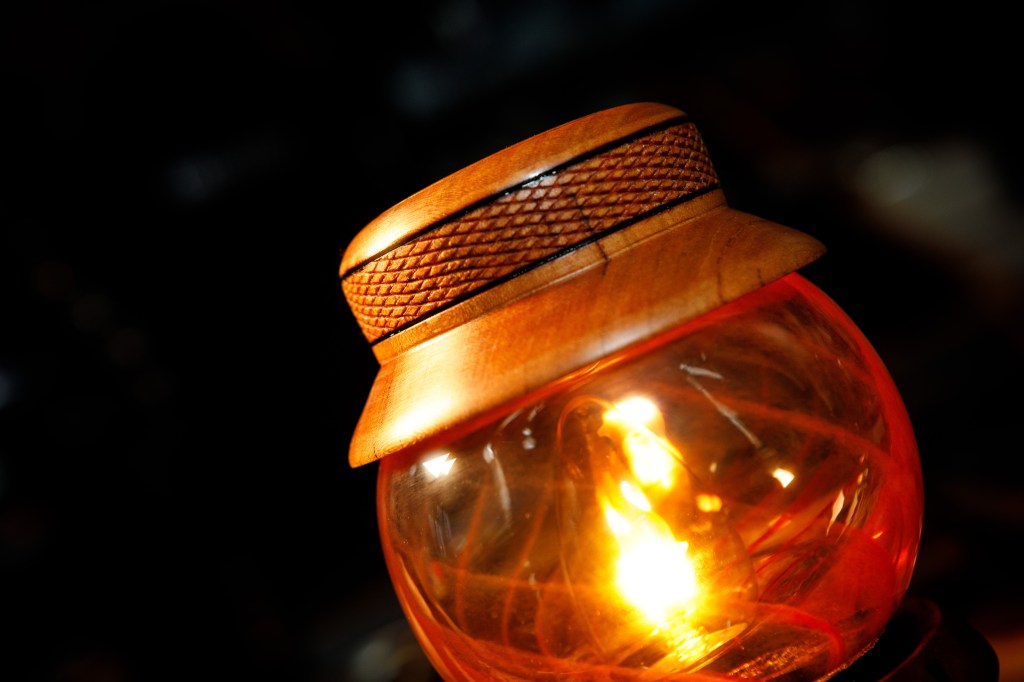
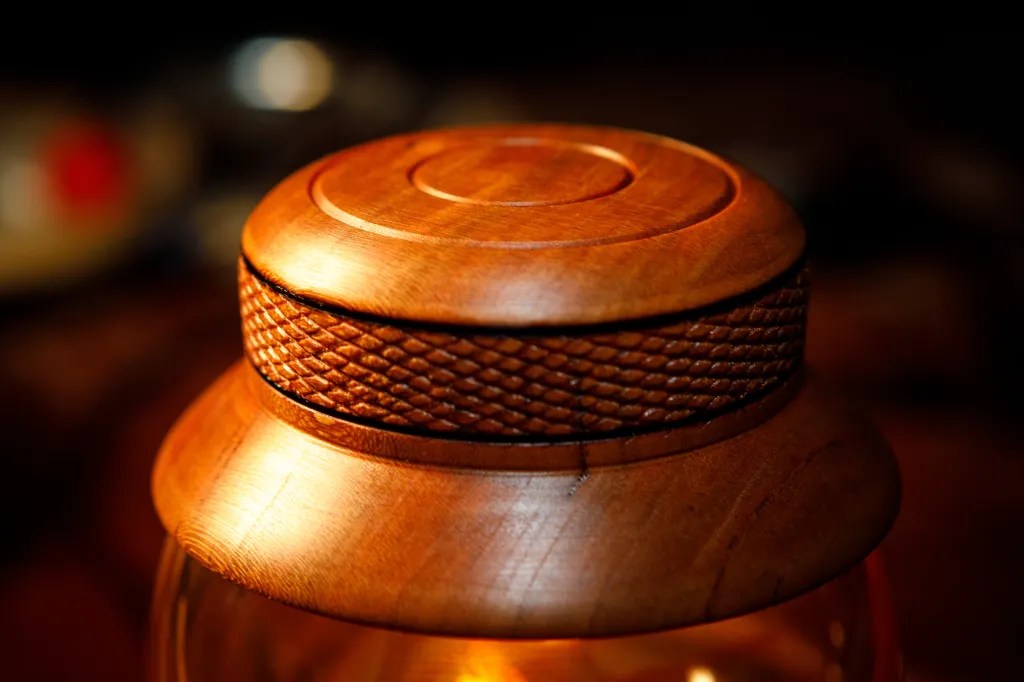
First, let’s take a quick look at the final result. Build photos to follow.
Lantern Base
This started with a good chunk of cherry wood, roughly 4″x4″x14″, if I recall correctly. I cut the piece in two and set aside half for the future lantern “top”.
I don’t have a photo of the “plans” I drew up, but the difficulty in the base revolved around boring holes of varying diameters and depths to support holding an E26 lamp:
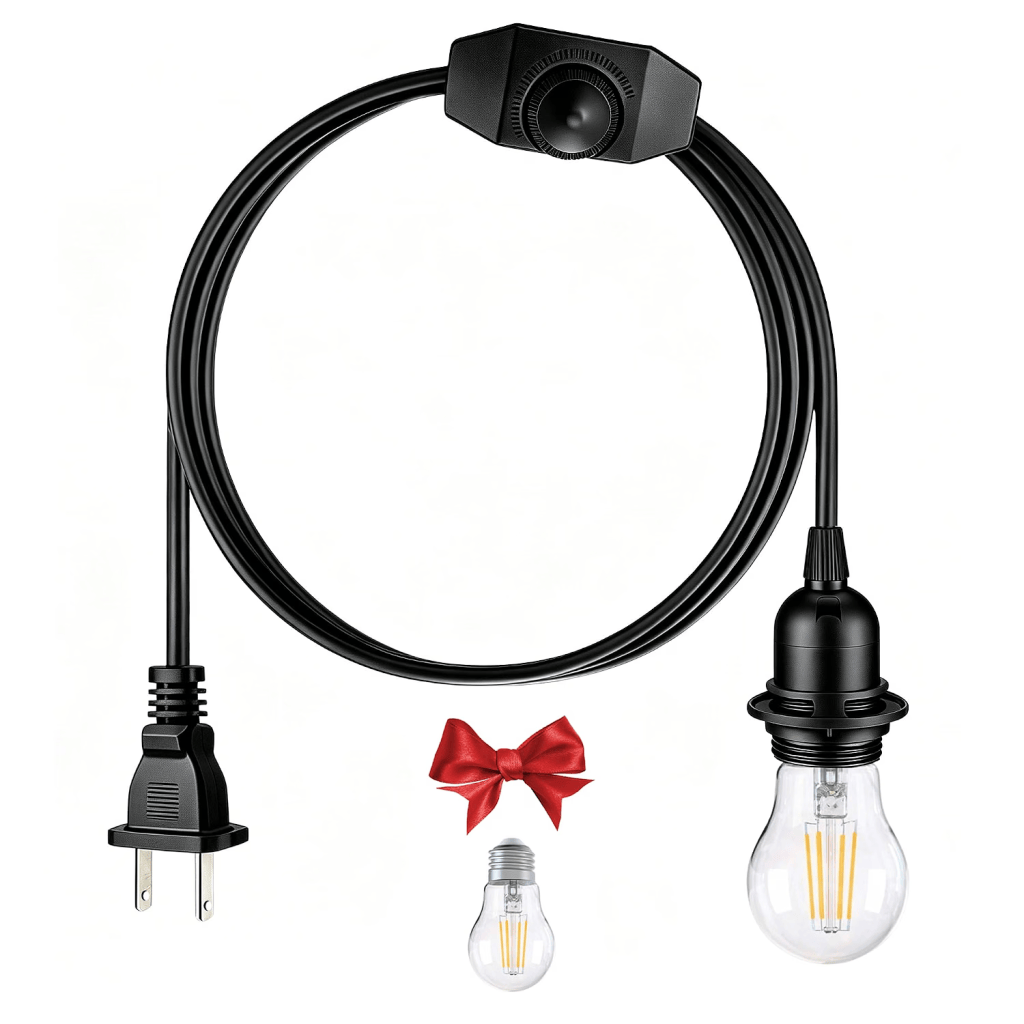
Source: https://www.amazon.com/dp/B0G69LTL11
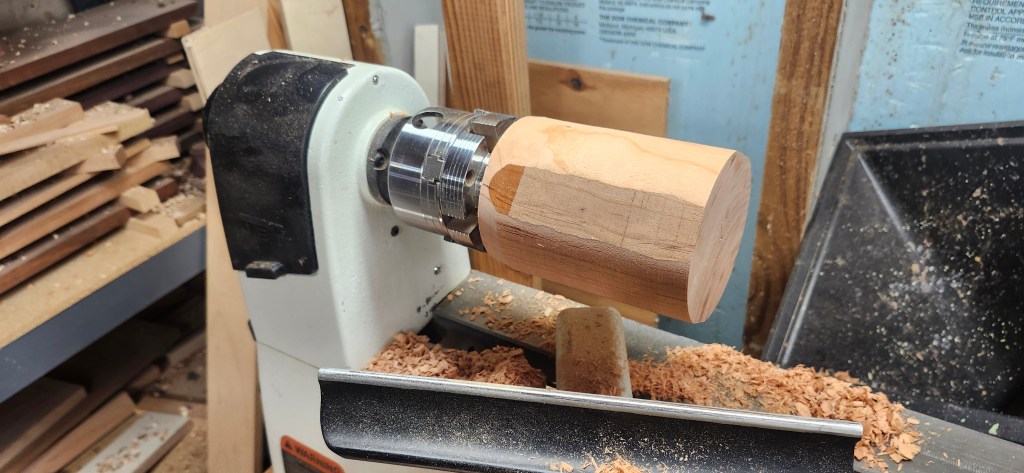
First up was to turn the half-blank round, and add a good sized tenon to use larger set of jaws in hopes of reducing vibrations later.
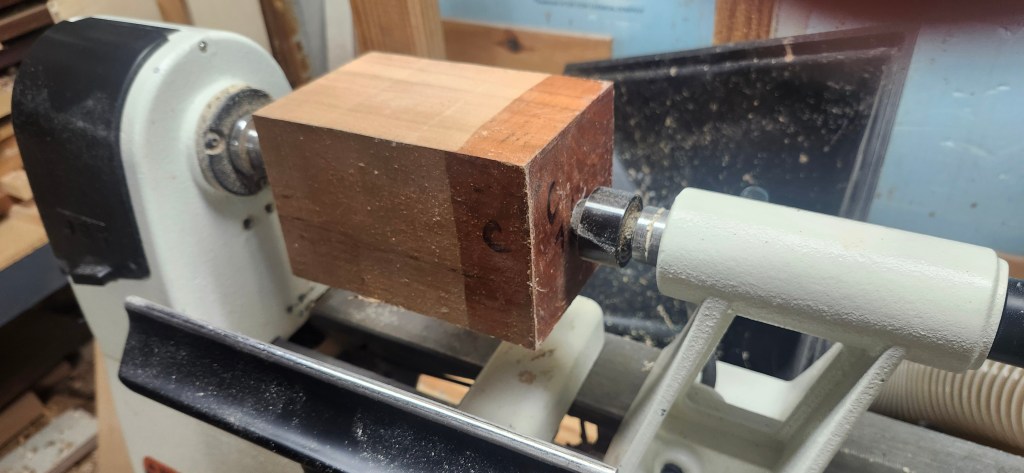
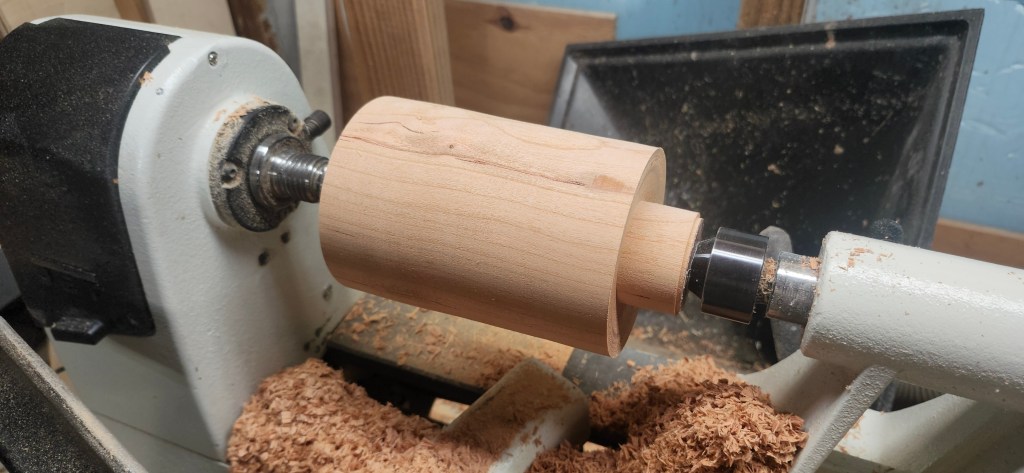
After flipping it around, I began the boring process.
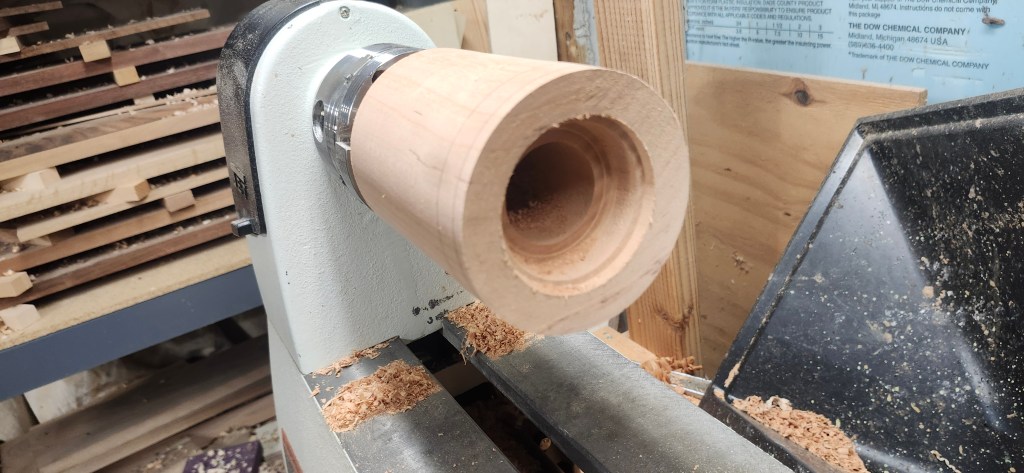
I’m bad at taking the time to get all of the photos, but about an hour later, it looked as follows 🙂
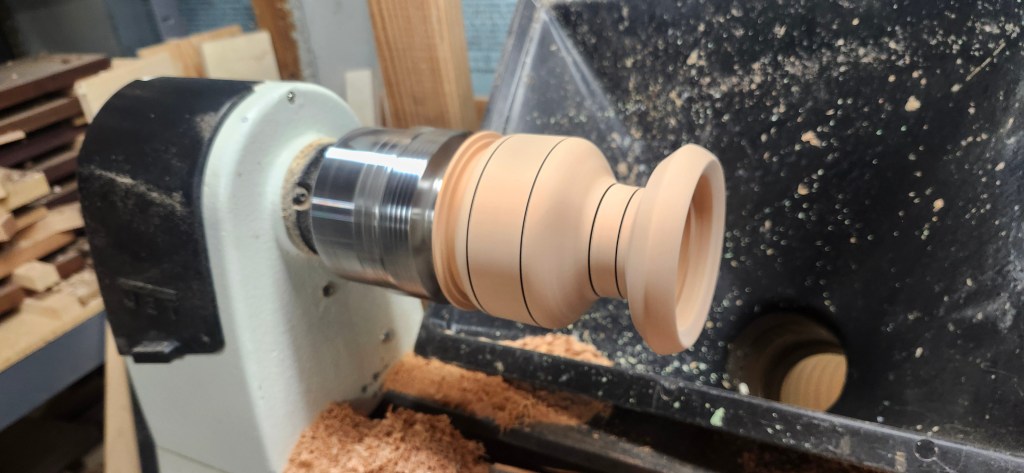
Flipping yet again gave me access to attach to smaller jaws and bore from the other end, and finish the bottom.
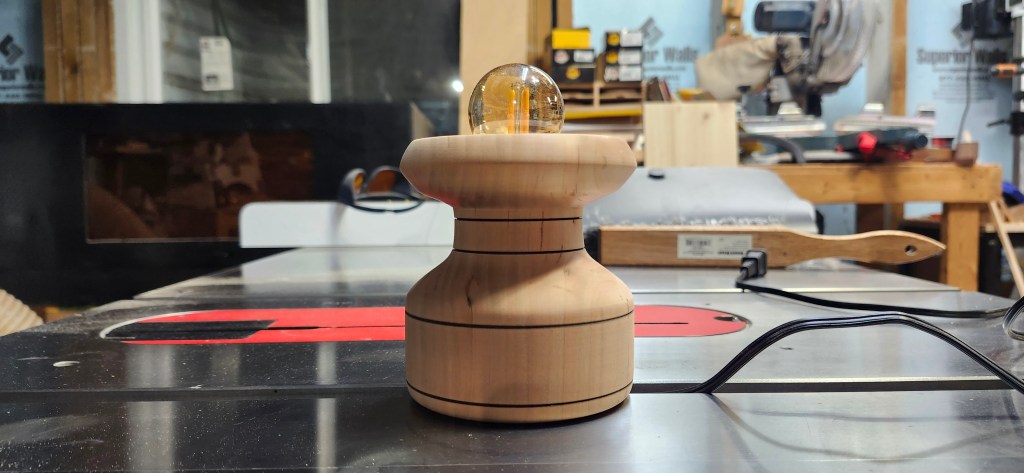
Not shown is the groove I also put in the top, inside which I plan on embedding half a threaded ring pair so I can screw in the glass globe (with the other half of the threaded ring pair glued on).
Globe
And that’s where the project sat for a little while. Not intentionally. Everything was looking good, the glass globe I made in class looked like it was going to fit great. It was 10:45pm and I was done for the night, when I accidentally dropped said globe directly onto my table saw – I swear it exploded in a hundredth of a second.
To say I was furious is a massive understatement. While I’m glad things didn’t get thrown in the basement, boy was I close. I don’t have a photo of what that globe looked like, or the aftermath. I’m glad for that right now.
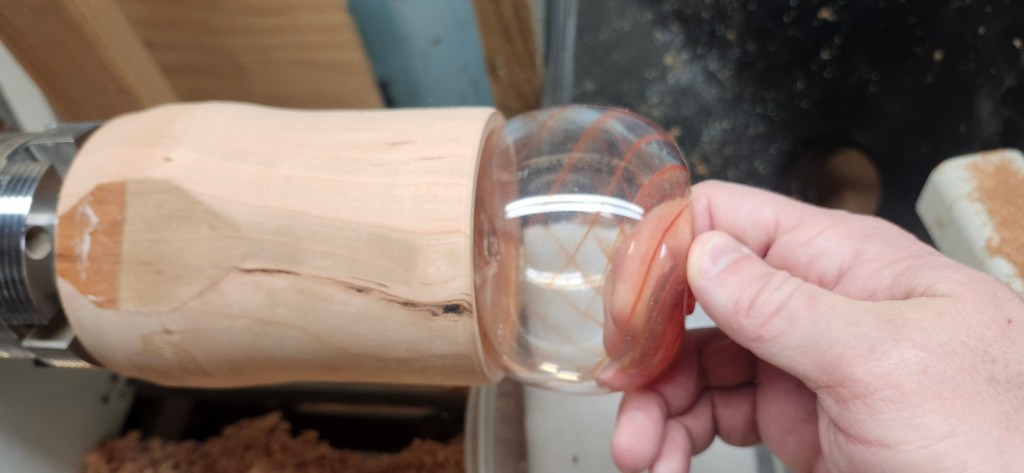
Fast forward a few weeks, and I (with Ana’s assistance) finally got a replacement globe blown. It’s a better shape, though the colors were more prominant on the original. That’ll teach me.
Lantern Top
Now with a replacement globe back in hand, I could proceed with making the lantern top. I threw the other half of the original cherry wood onto the lathe and got to work.
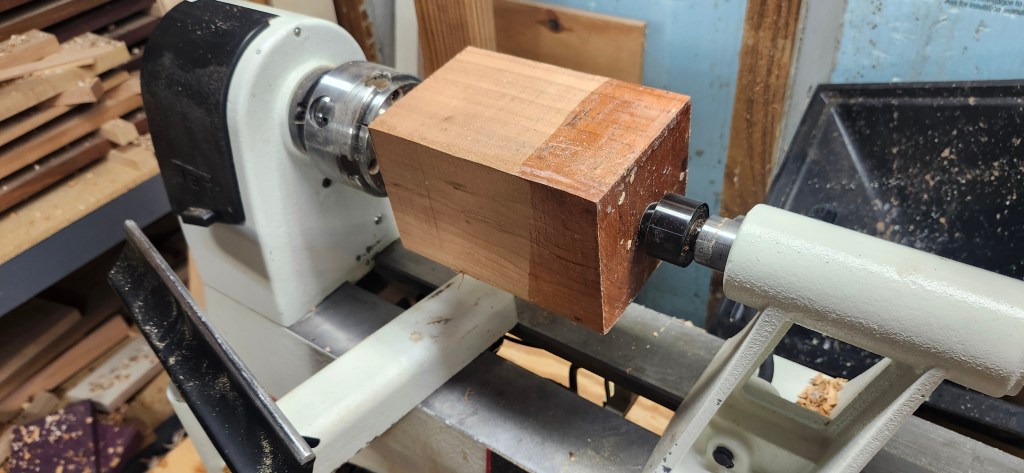
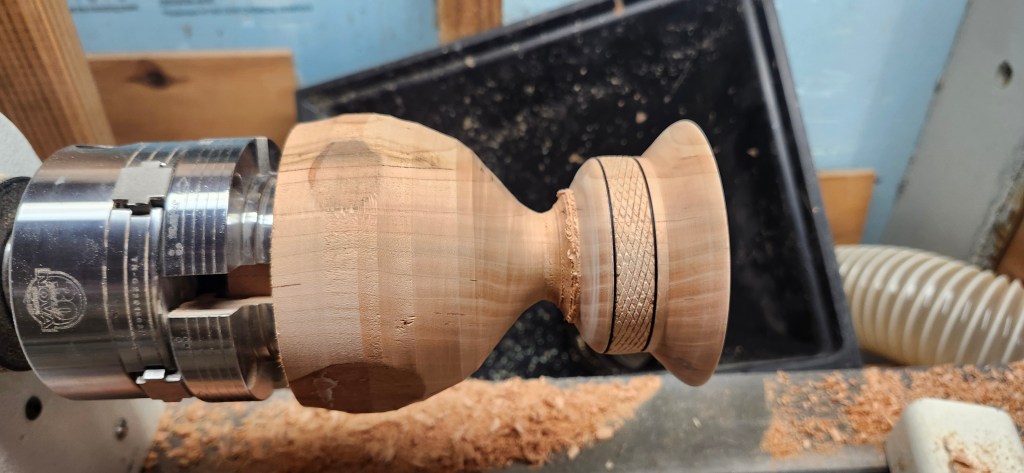
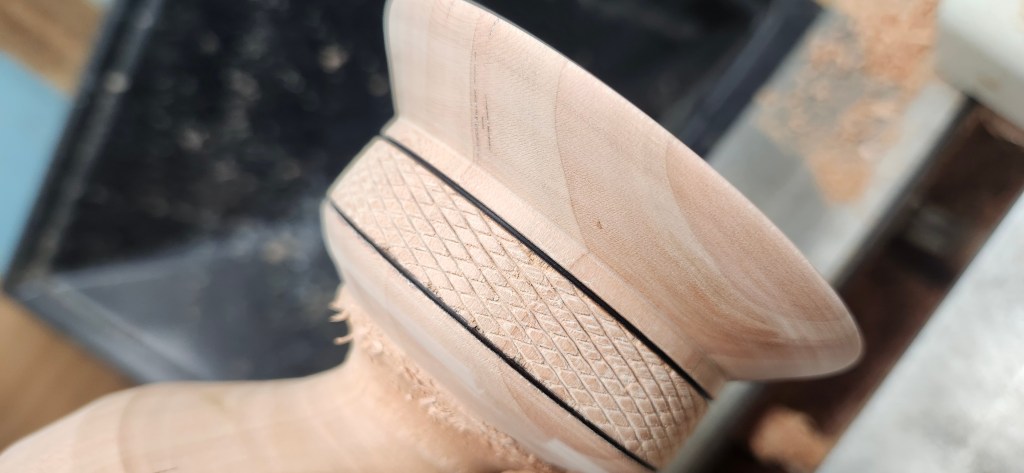
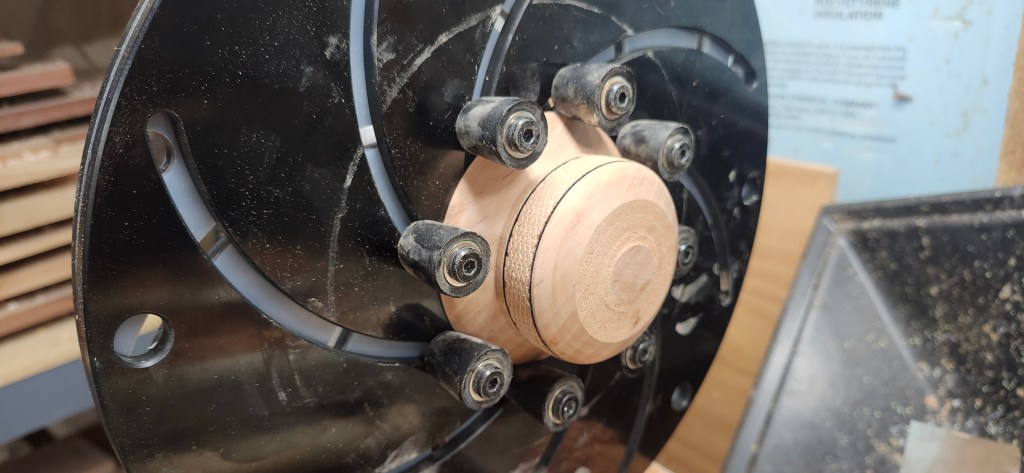
As you can see, I burned in a par of lines and also took the risk of messing the whole thing up by using the texturing tool to add some knurling. I don’t know why, I thought it would look cool. And I think it does.
Tung Oil
Both the base and the top are finished with 100% tung oil. 3 coats.
Putting It All Together
I affixed the threaded rings (3d printed, purchased from Amazon) to the base and the globe. In the base I used CA glue. On the glass I used GE Silicon 2 glue. Verdict: the rings are a good idea, but I should have cold-worked the glass to produce a truely flat bottom on the globe. As is it doesn’t fully screw into the base due to a slight obstruction – but it does its job of preventing the glass from falling off and breaking.
I also routed a small groove for the power cord. And finally, hot melt glued the top onto the globe. I opted for hot glue here because it was easier to use than the silicon. Though the first attempt didn’t fully take because of the aforementioned oil. Attempt 2 is under way after a light sanding of the inside of the top with 120 grid sandpaper – hopefully to give the glue something to hold onto. To be determined.
Flicker Bulb
Rather than a regular, low-lumen LED bulb, I opted for a “flickering” model which looks a bit like a dancing flame.
So that’s it. It’s sitting on my desk here at home, providing a nice little glow to the room – and I love it!
It’s so satisfying to come up with an idea and turn the raw materials into something geniunely nice to look at, and useful at the same time.


Leave a Reply