The last couple times we’ve gone camping, my uncle has brought along a small plywood box lined with aluminum flashing which my grandfather made years and years ago – a great little camp oven!
Baking in it is as simple as putting a small tray with a few pieces of hot charcoals in the bottom and food on the metal rack, close the door and wait. It’s perfect for little side dishes to go with the rest of your camp dinners.
In order to compliment the Chuck Box I built last fall, I decided it was time to build one myself. This was the perfect opportunity to address a few of the shortcomings of the original:
- You have to open the door to see how the baking is going
- The temperature inside is anyone’s guess
- As coals lose their heat you want to lower the food closer
- Opening the door is the only way to regulate airflow, but you’ll lose much heat.
The last time we went camping, my uncles brought out a small plywood box, lined with metal flashing, which my grandfather had made years and years ago. What was this curious device? An oven!
Here is the final result!

Window
I custom ordered a piece of 1/8″ thick PyroCeram, heat resistant glass for the 3″x8″ window. It can resist temperatures upwards of 1300 degrees Fahrenheit. This was purchased through http://onedayglass.com.

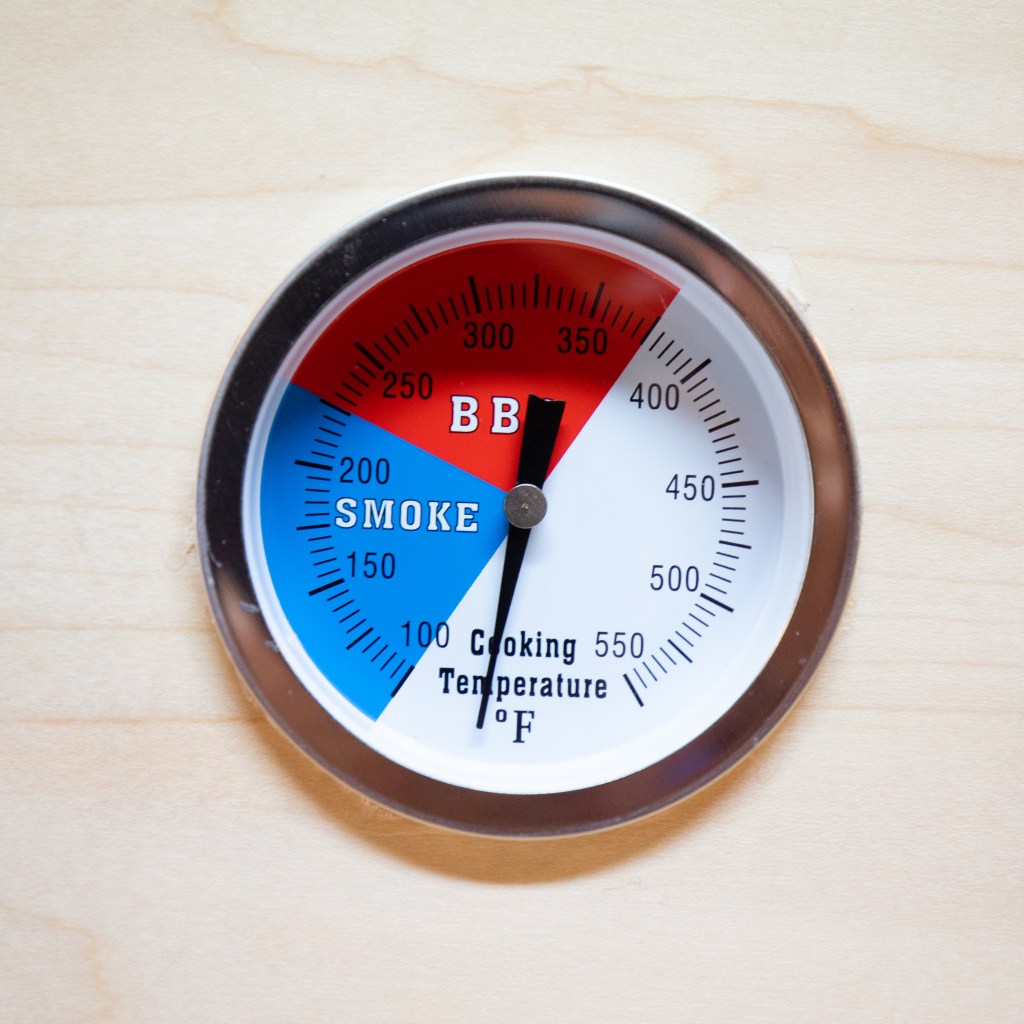
Thermometer
No more guessing how warm it is inside. This is an inexpensive smoker thermometer available through Amazon.com. I picked this one because it is large, has good readability, relatively flat, and had a probe that looked compact enough to not get in the way. It’s essentially countersunk into the door panel and the probe ends up sticking beneath the baking rack and where the coals will sit. I’m sure it will read a little high given the location, but it’s better than nothing.
Adjustable Vents
Airflow can be tweaked by turning either the front or top vents. They’re just like the vents on any grill, wrapped in Anti Slip Traction Tape for easy turning.


One-hand Latch
Knowing we’ll probably be opening and closing this with something in our hands, I wanted it to be easily latched with one hand without fiddling with little metal fasteners. A little spring does the trick.
Adjustable Rack
This still needs a little work, namely I need to learn how to braze aluminum and permanently attach the wires to the sides of the rack. Once that’s done, the whole rack will be able to slide in and out as well as be moved top to bottom.

The remaining two pieces I am contemplating are a handle on the top for easy carrying and two rails on the bottom so the door can open freely if sitting directly on a surface.
We can’t wait to try it out!

Leave a comment